Torn Paper Manger Craft
It’s the Christmas season; my favorite time of the year! There are so many wonderful activities for kids this time of year. Today I’m sharing an easy craft using torn paper. This torn paper manger craft is adorable and also a great way for little ones to work on fine motor skills.
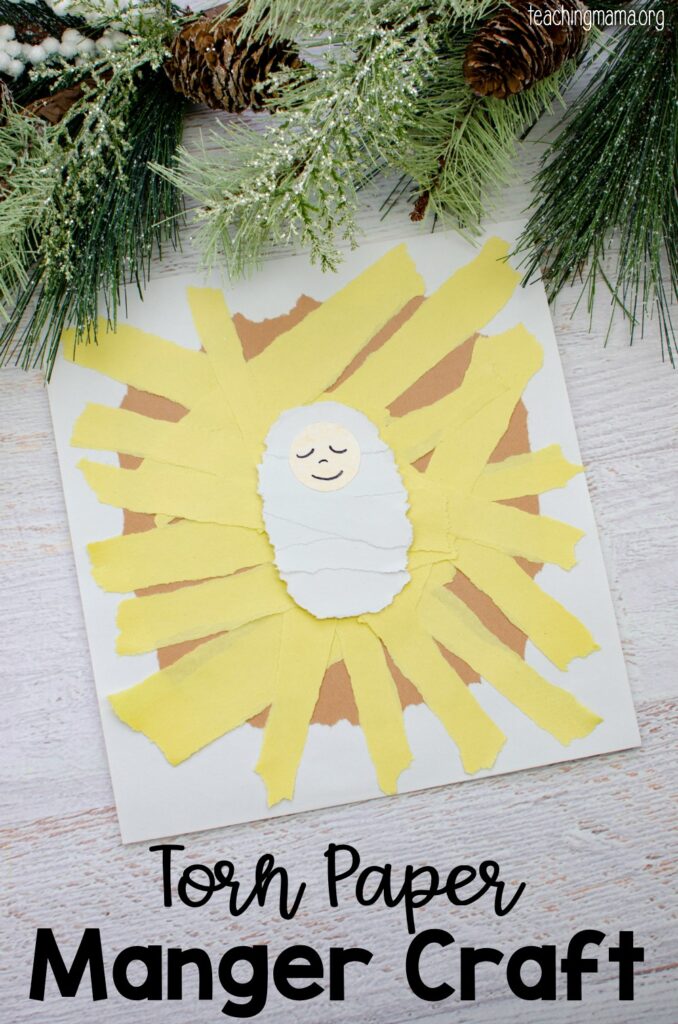
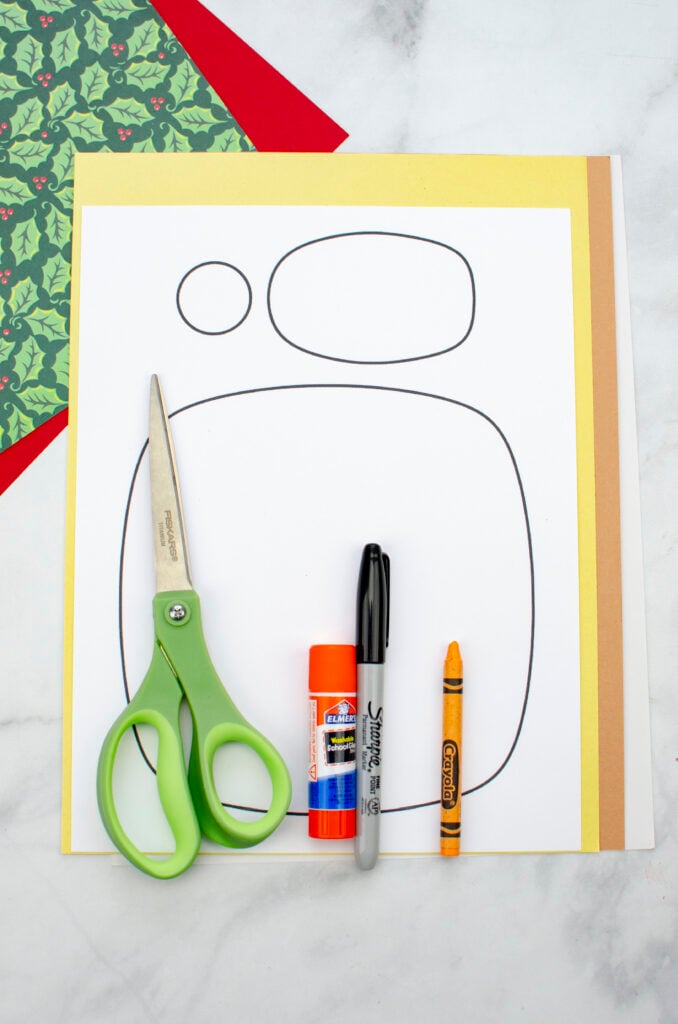
Torn Paper Manger Craft Supplies:
- Manger template
- Brown, yellow and white construction paper
- Skin colored crayon
- Black marker
- Glue stick
- Scissors
How to Make the Manger Craft:
- First, print out the template and cut all the pieces out. Color the circle with the crayon.
2. Cut the white construction paper into a square.
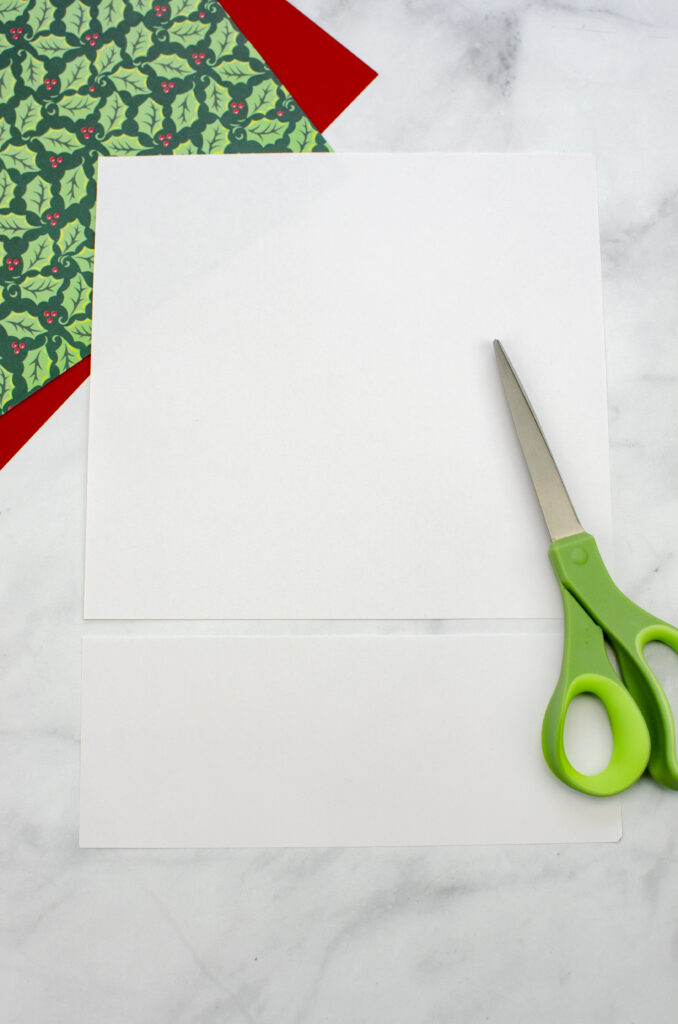
3. Use the leftover strip of white construction paper and tear it into short strips.
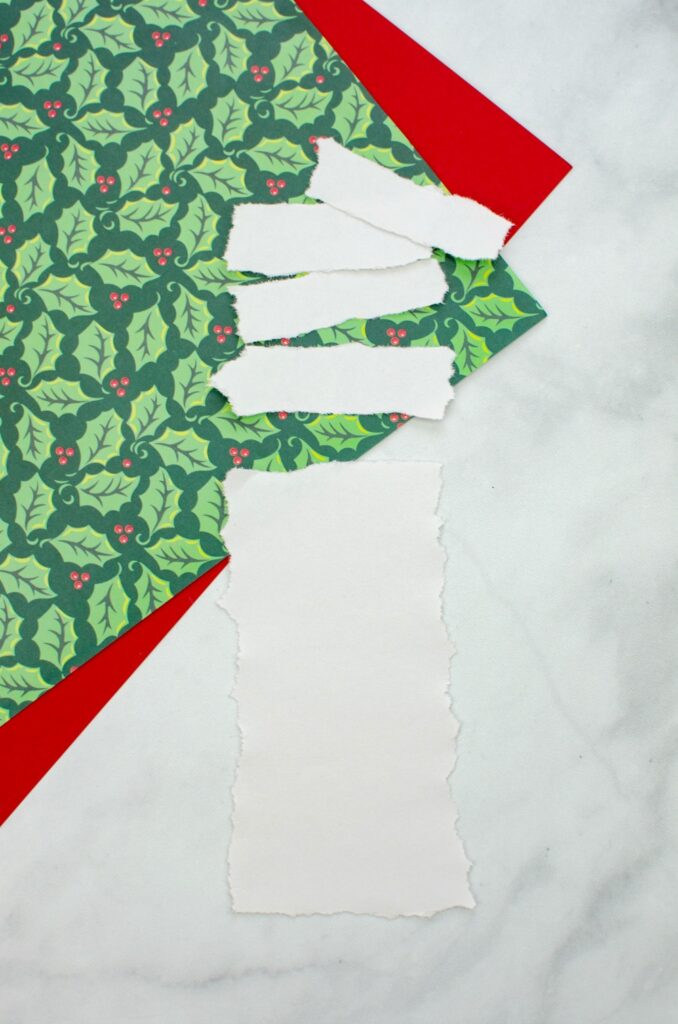
4. Now glue these strips to the oval shape template. Once the shape is covered, tear around the edges to define the oval shape again.
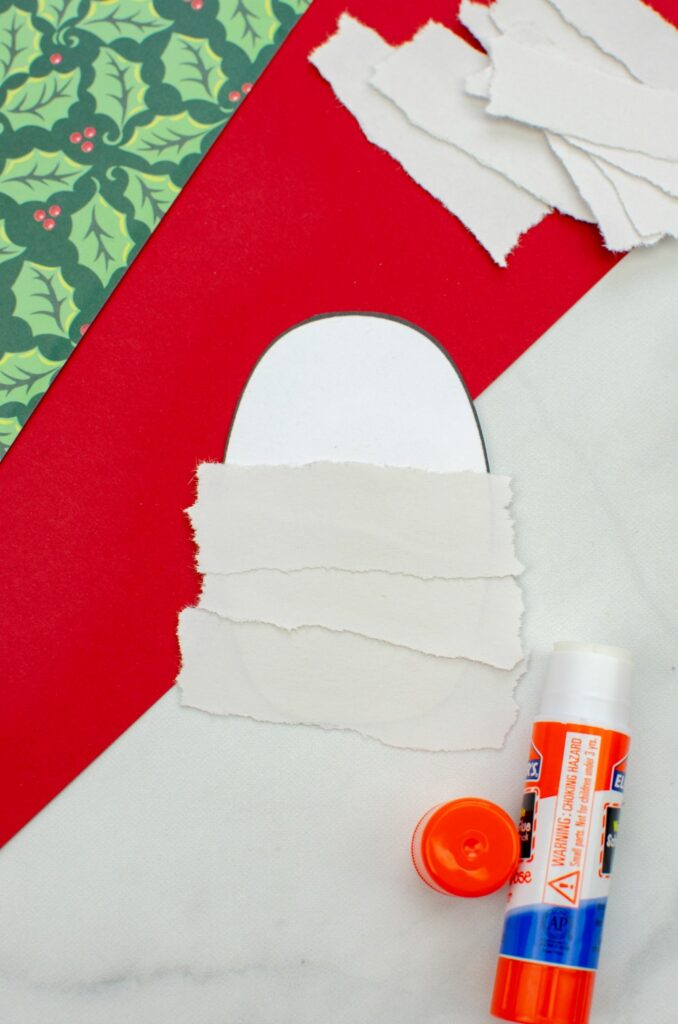
5. Next, use the marker to draw the face onto the circle and glue it onto the oval body.
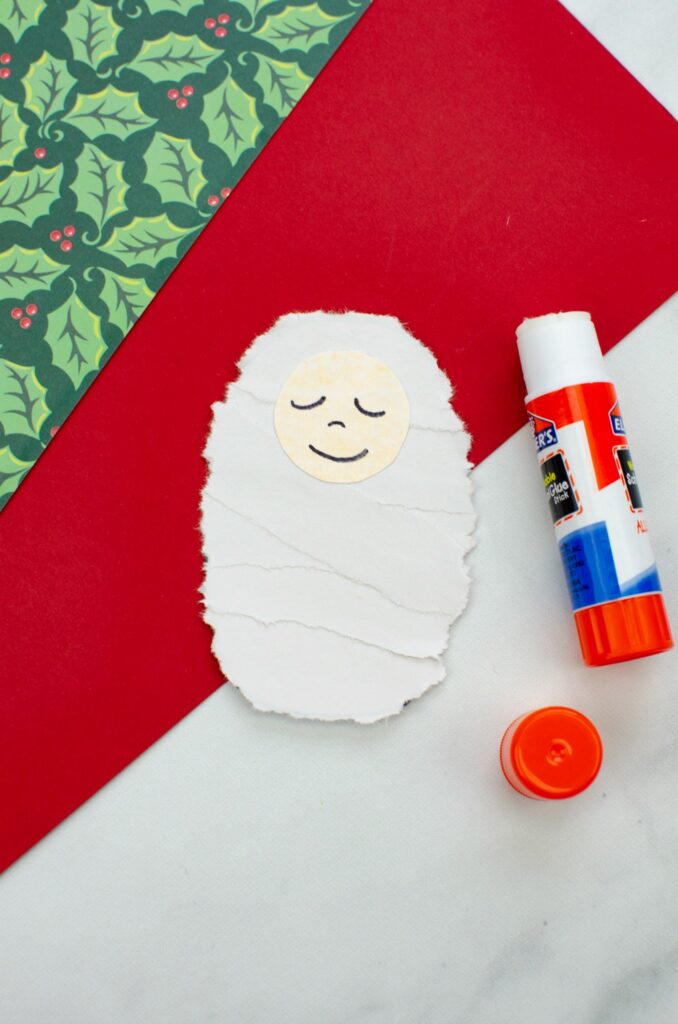
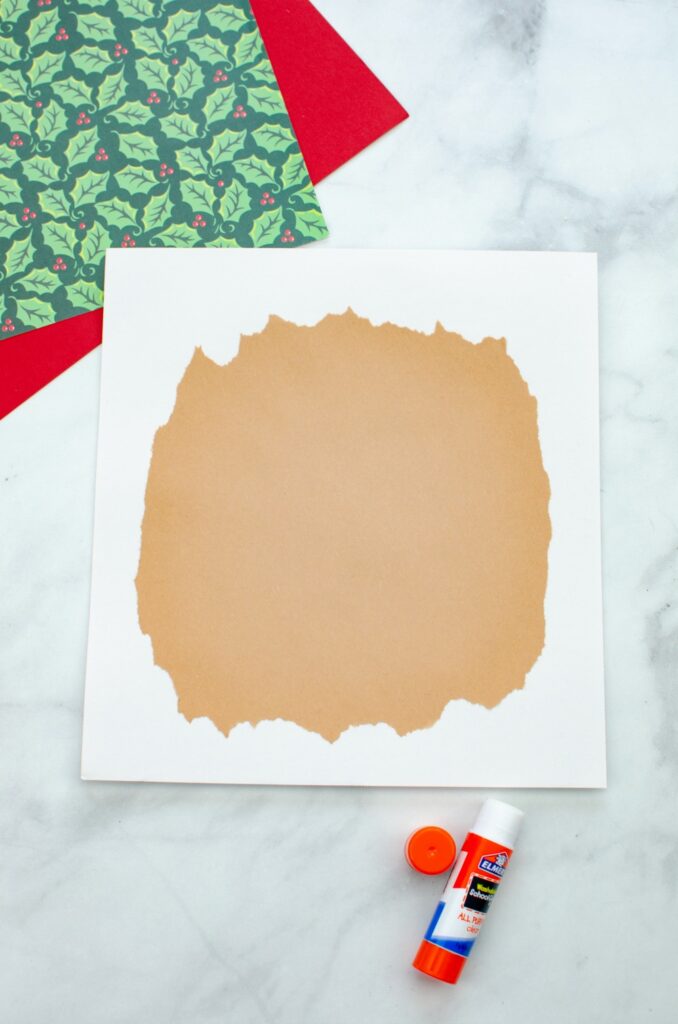
6. Then, take the rounded square shape and trace it onto the construction paper. Don’t use the scissors, but tear around the edges. It’s okay if it’s a little sloppy and off the lines.
7. Glue the brown paper to the white square paper.
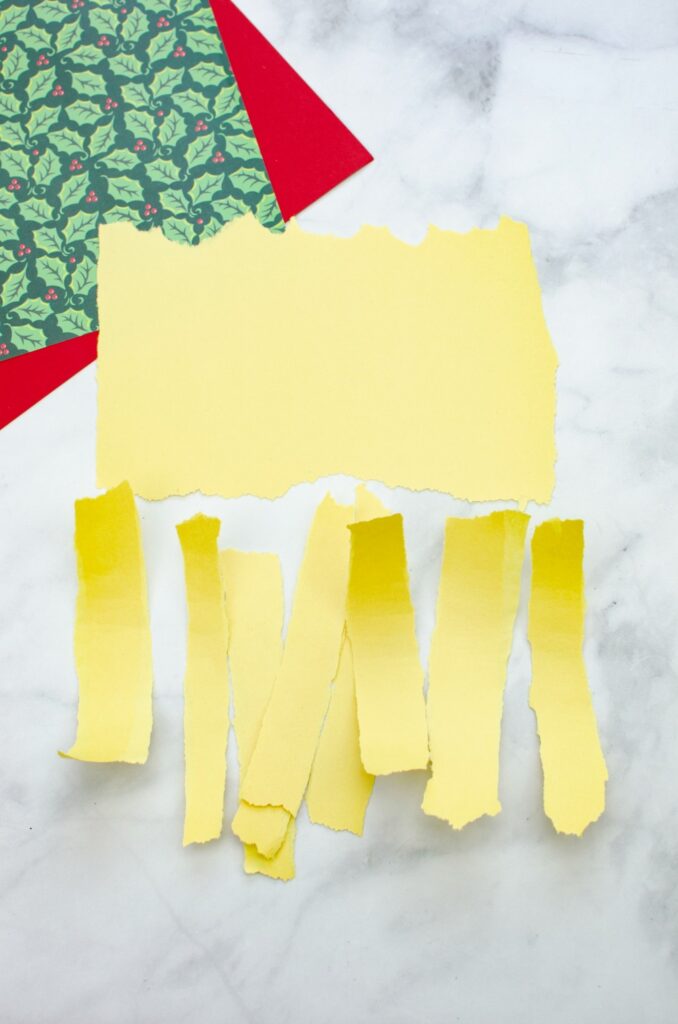
8. Now, take the yellow construction paper and tear around the edges, then tear in half. Tear each half into narrow strips.
9. Glue the yellow strips to the brown paper.
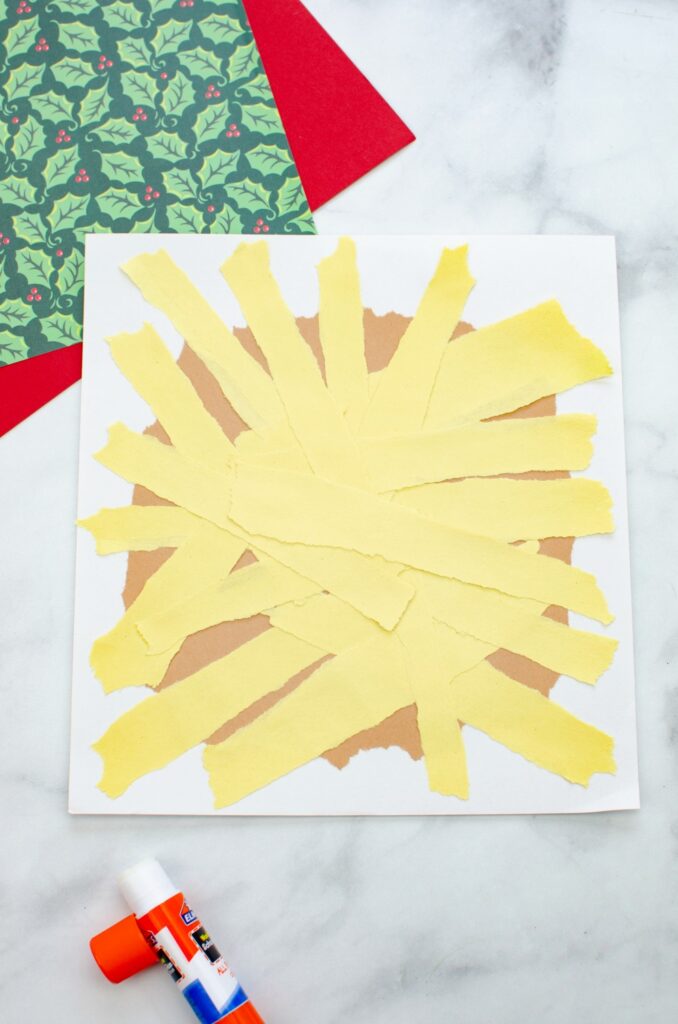
10. Finally, glue the baby Jesus to the center of the manger.
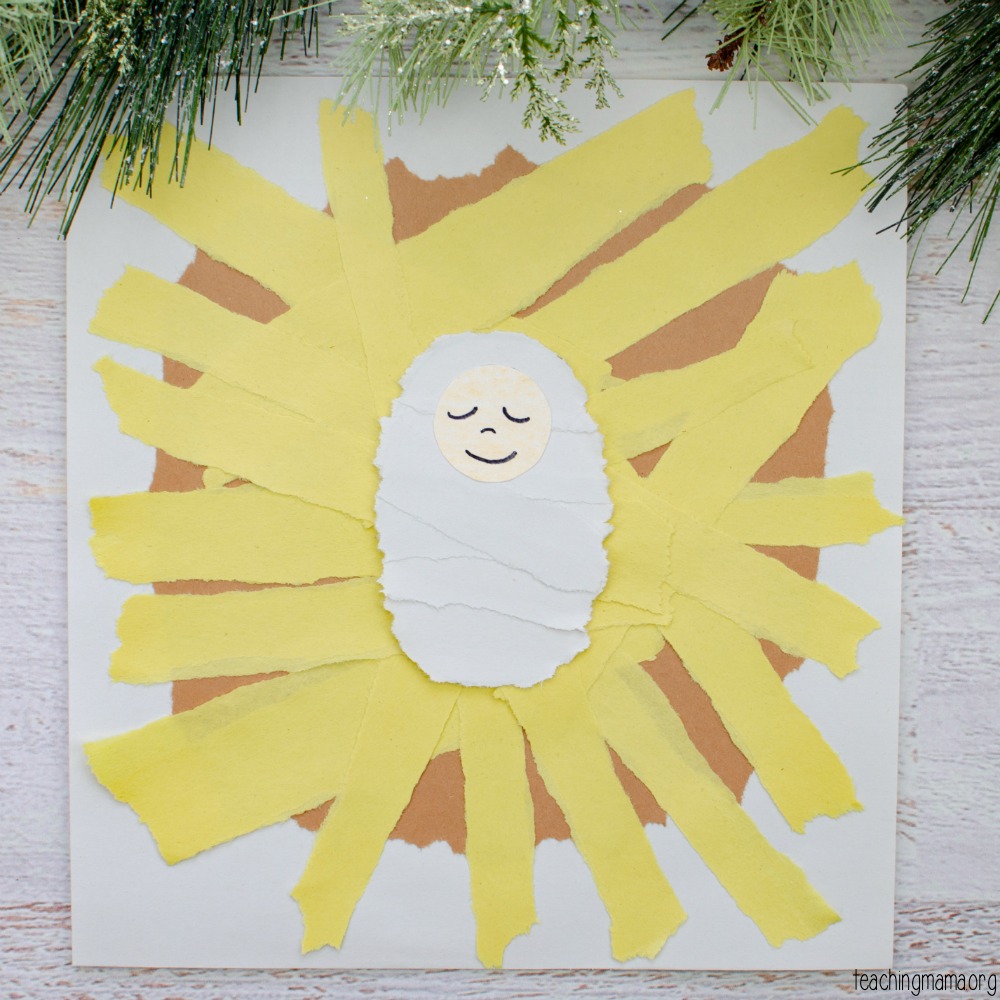
You can use this craft as a tool for teaching your child the true meaning of Christmas. It’s easy to get caught up in Santa, presents and the busyness of the season, but it’s also the perfect time to teach children about the birth of Jesus.
Here are some more Christ-centered Christmas activities:
May you be filled with hope and joy this Christmas season!


What a excellent way to use paper, we do Christmas chains every year. I love having the students do a wish list, or who we are great full for.
Thanks for the extra help in class ideas.
I love this simple and yet meaningful activity!