Puffy Paint Christmas Pictures
If you’re looking for a fun holiday craft, you’re in the right place! I’m excited to share my puffy paint Christmas pictures with you today! The best part is that it’s simple and you probably already have the supplies at home for this. Don’t worry, I’ll supply the printable for you, too!
Christmas Pictures
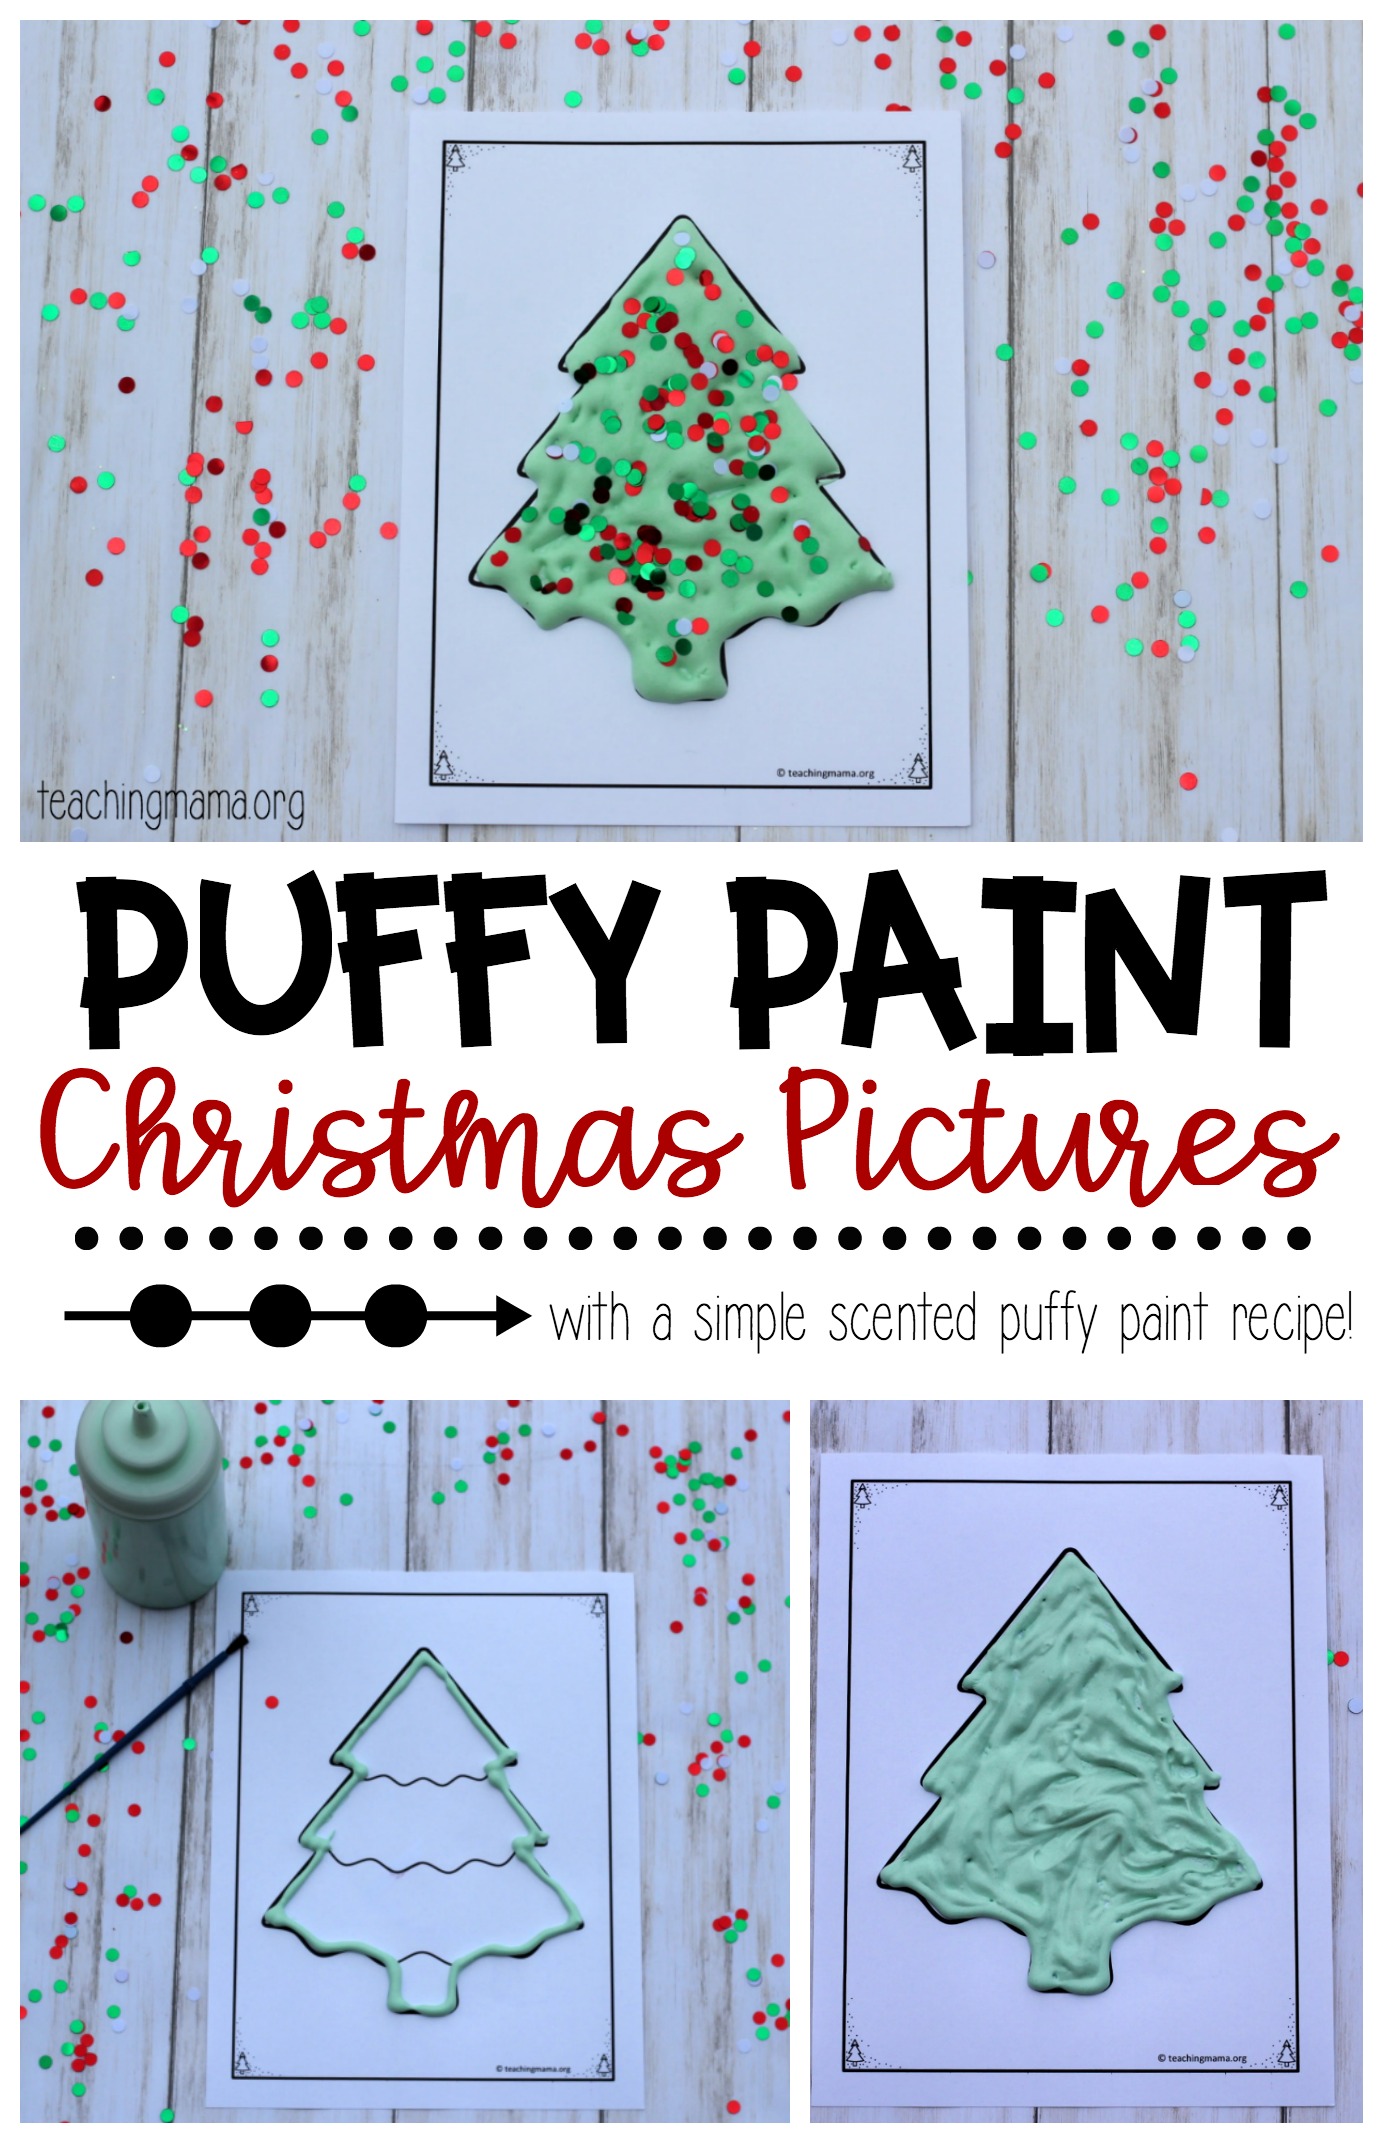
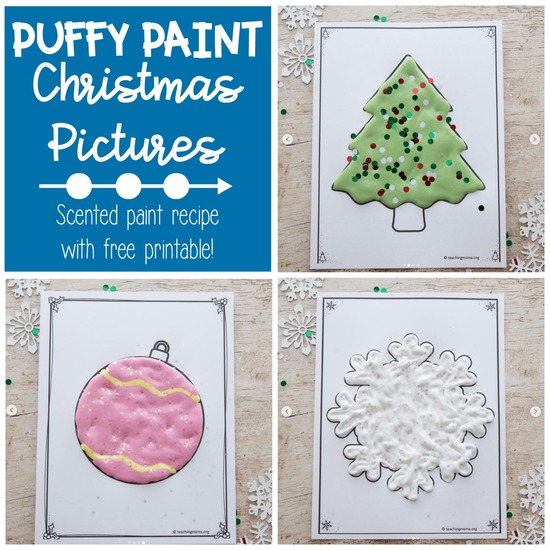
Before I get to the recipe for this, let me share the five Christmas pictures in this printable:
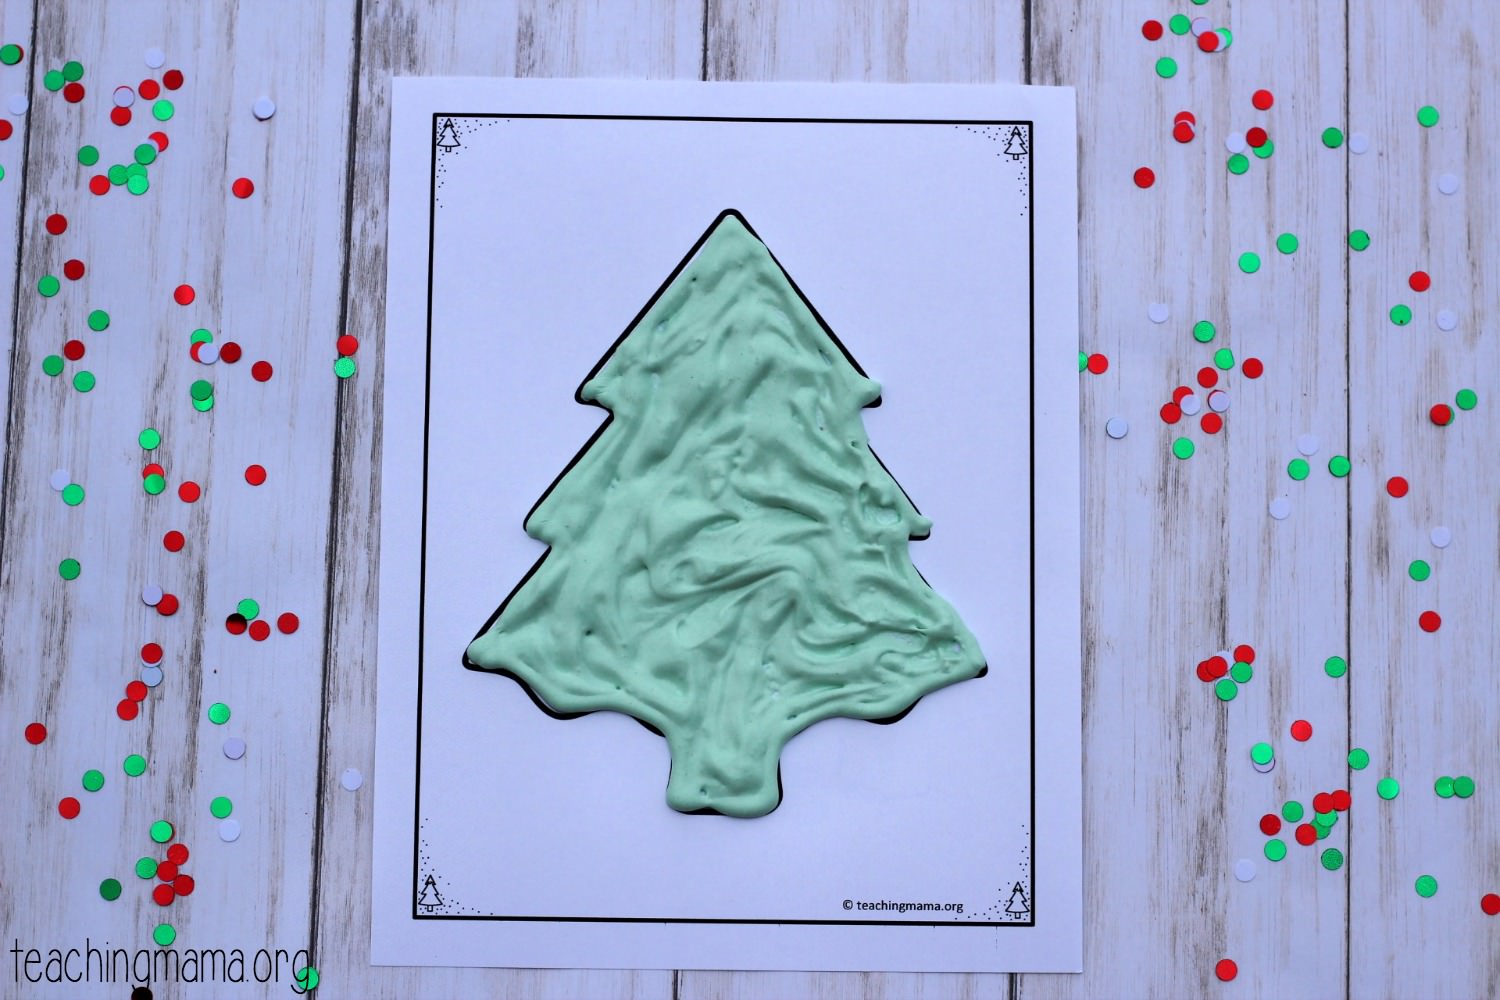
- Christmas tree
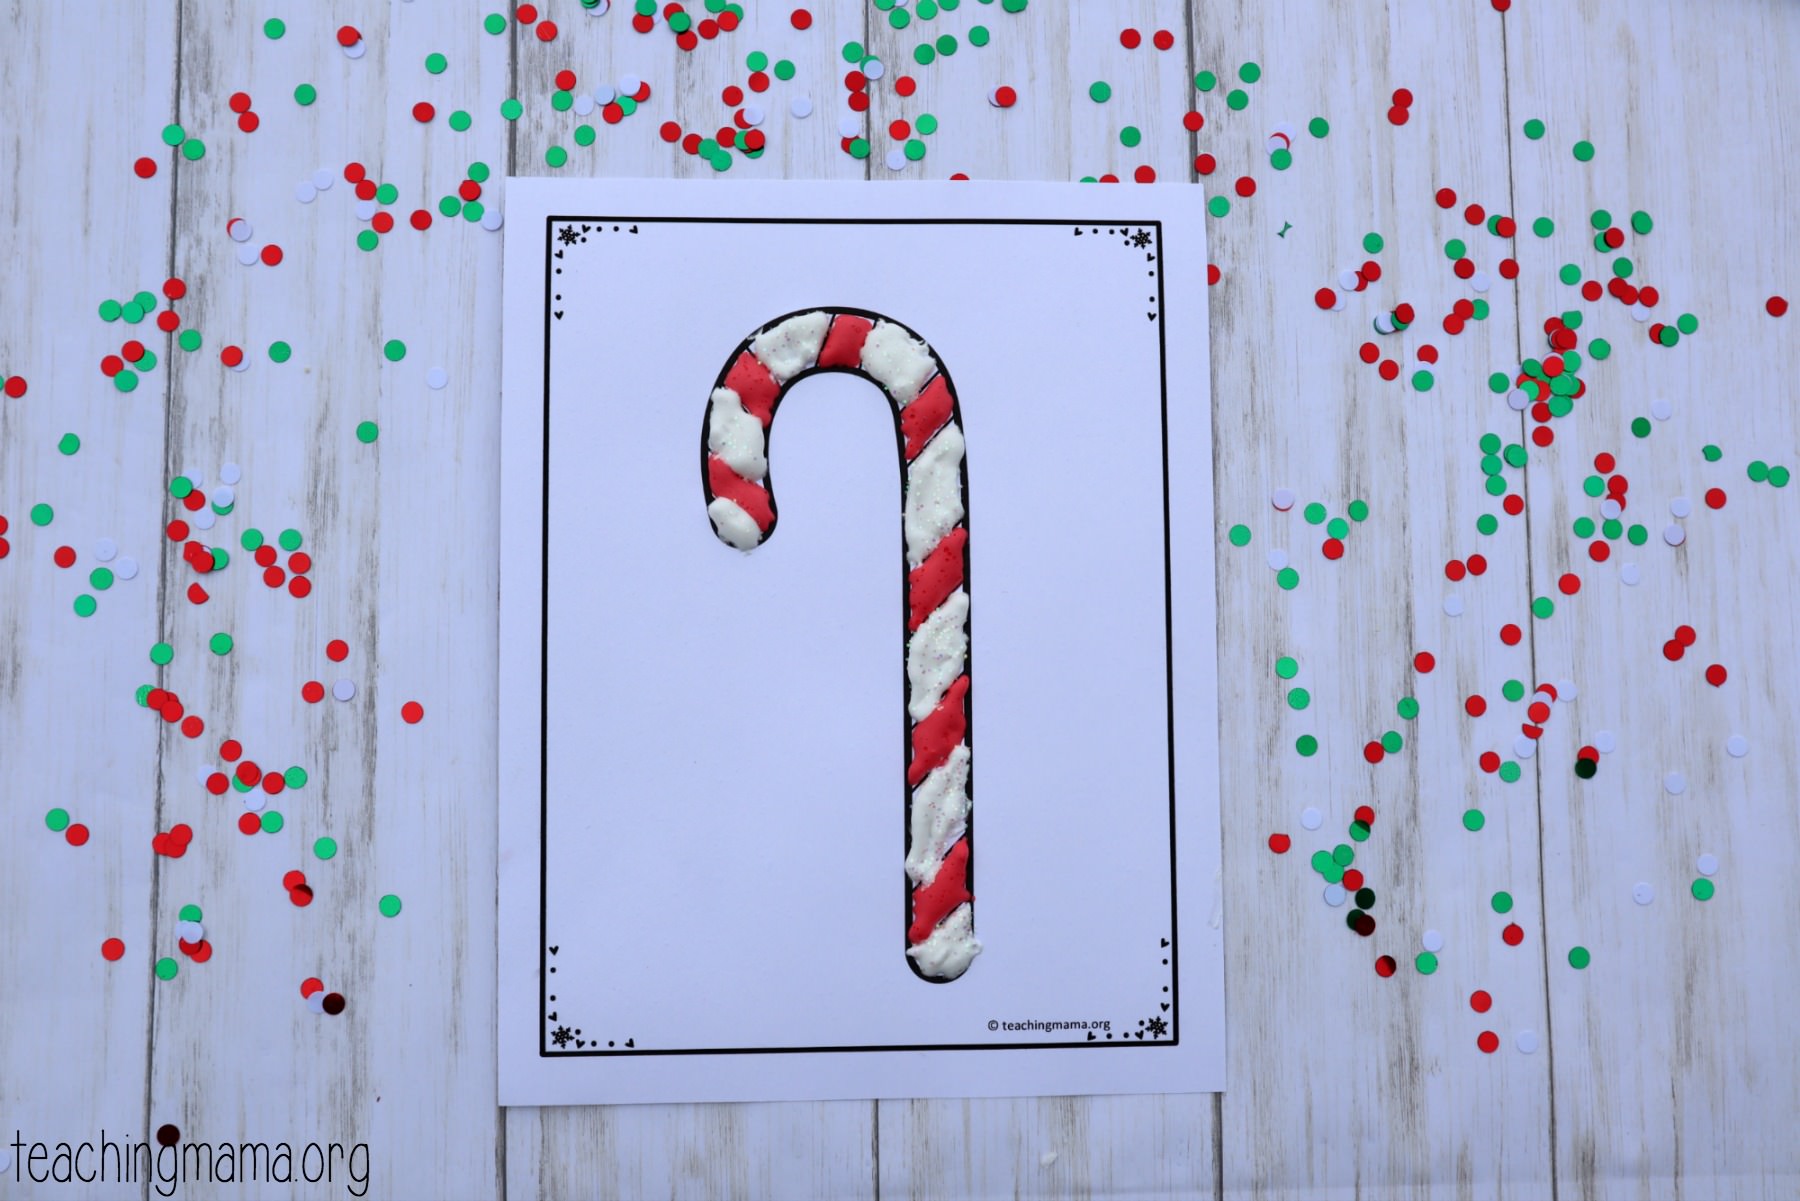
- candy cane
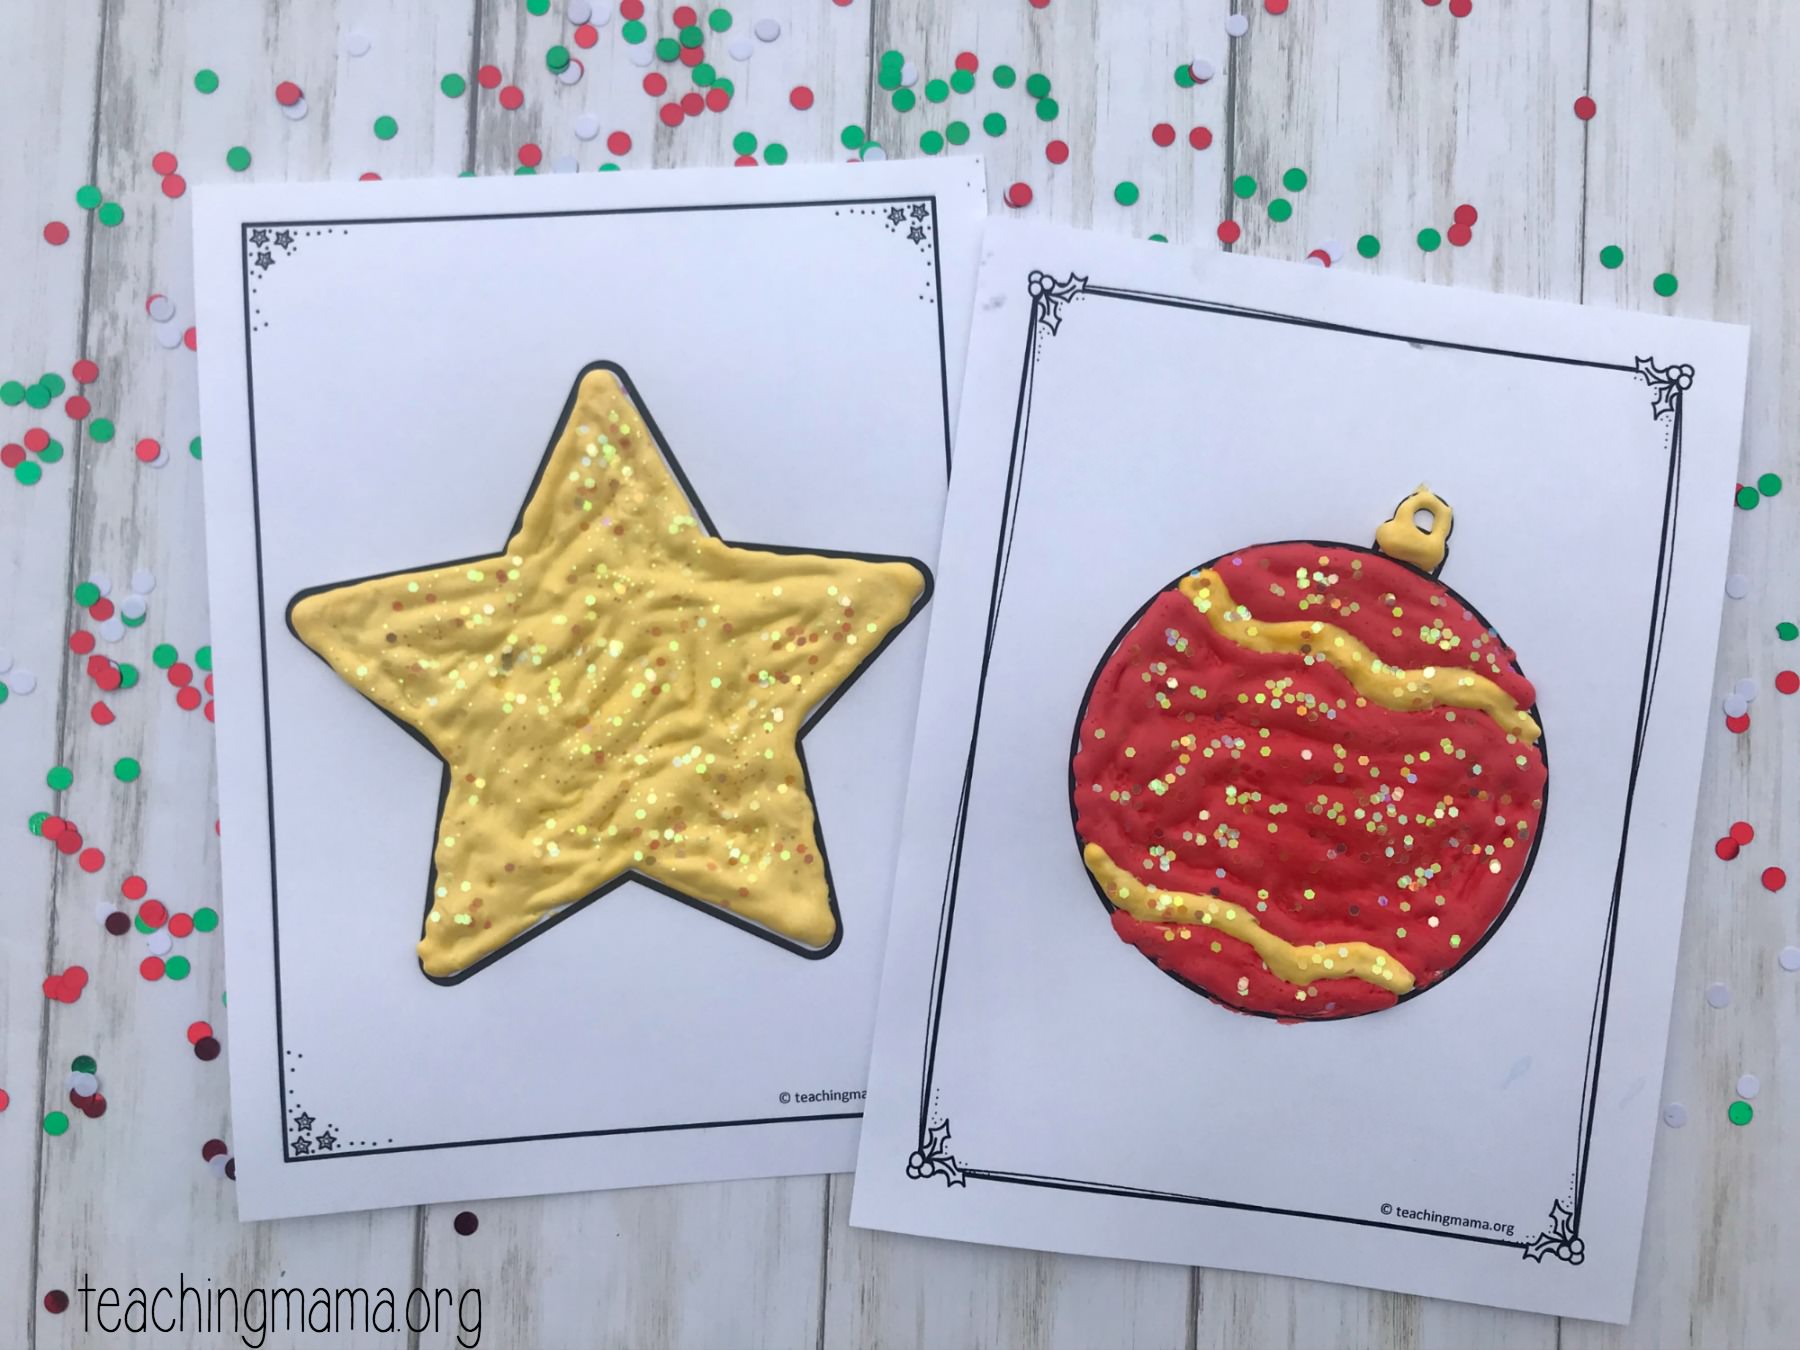
- star
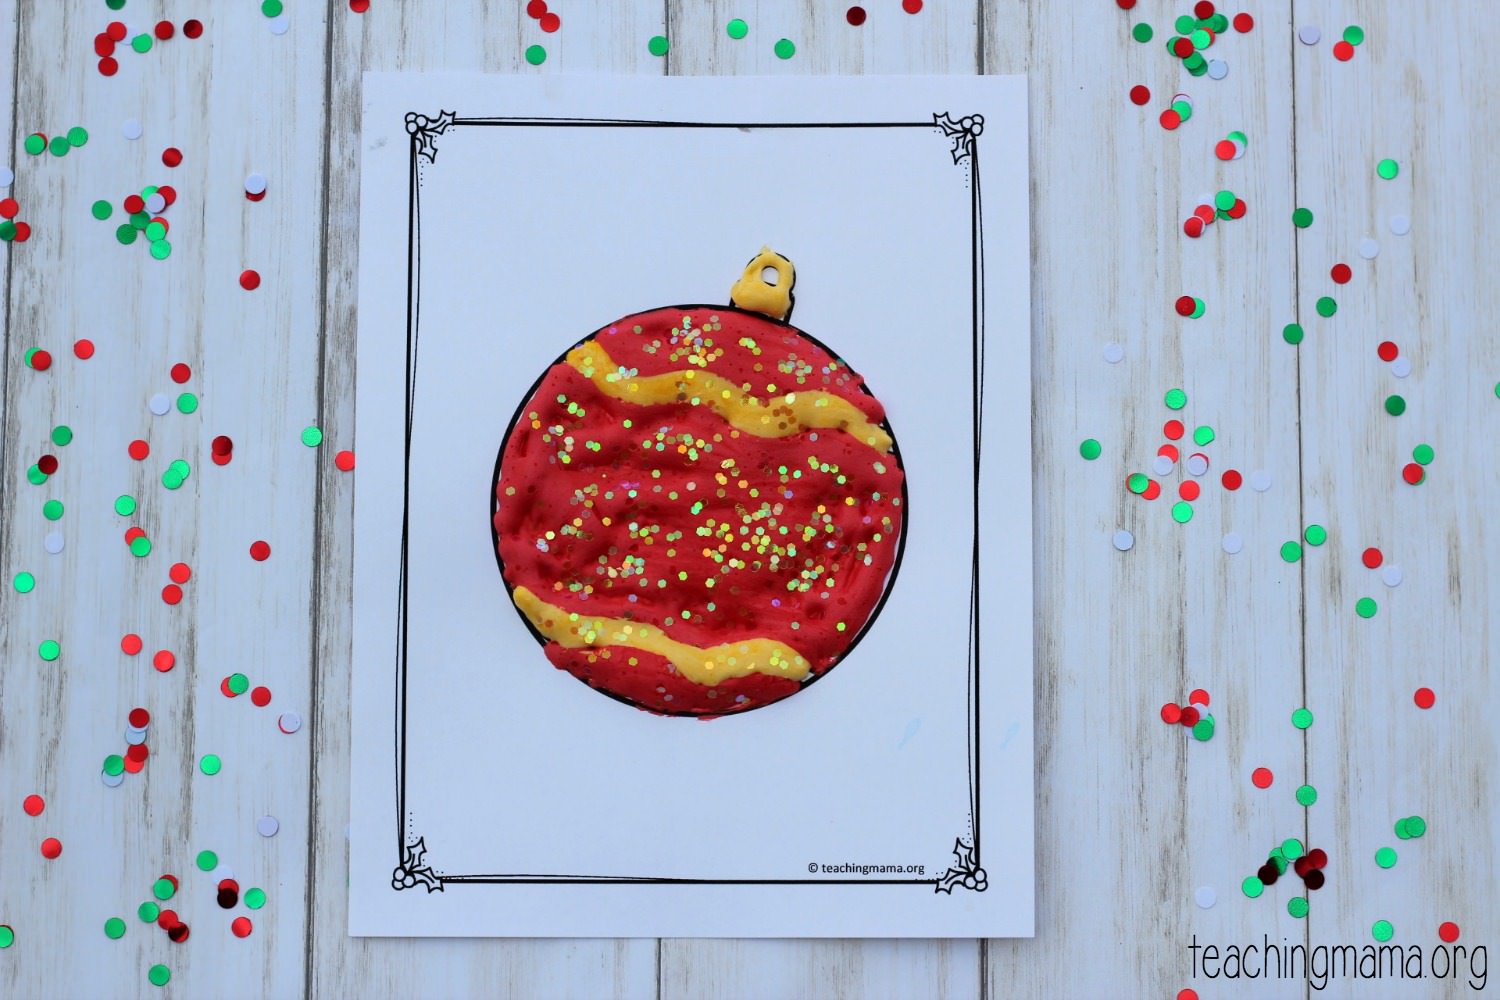
- ornament
- snowflake
You can try all 5 of the crafts or just one!
Supplies Needed
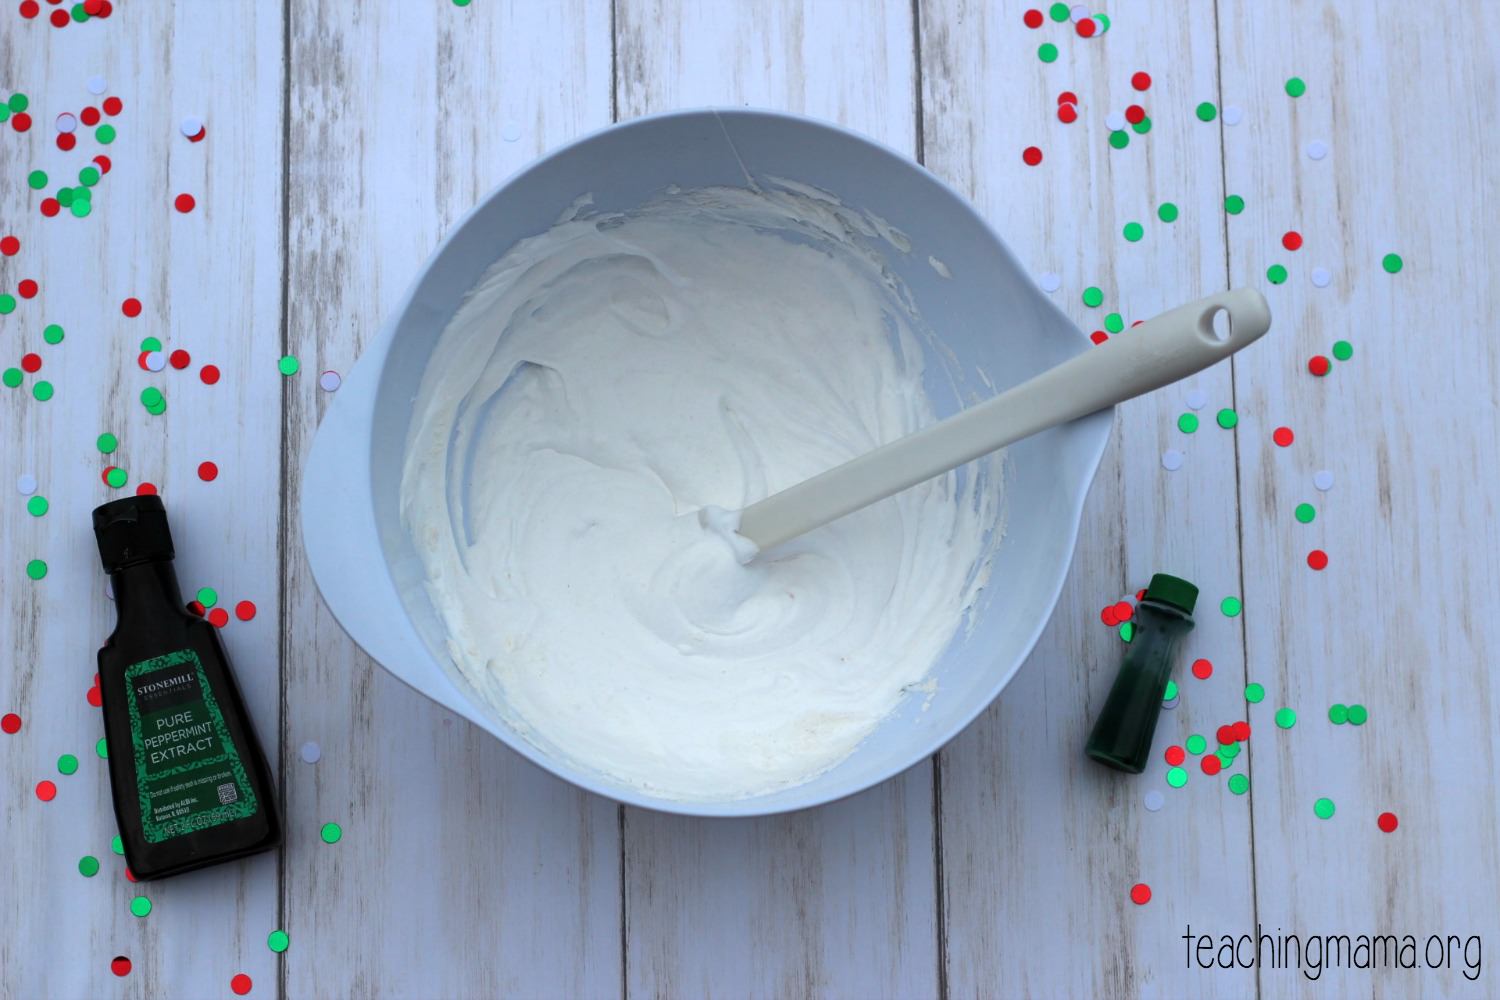
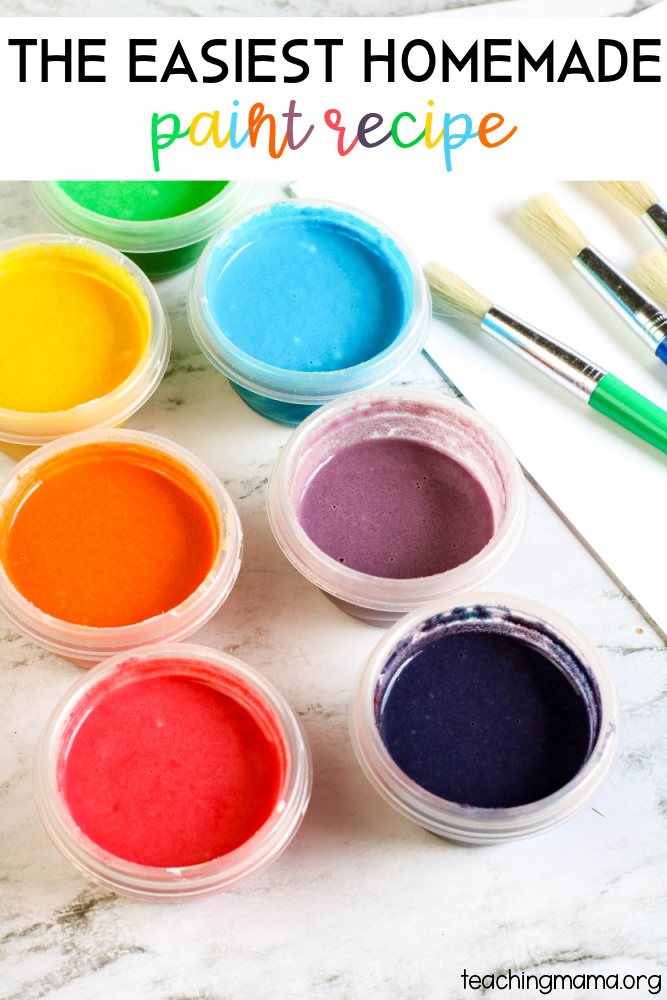
To make the puffy paint, you will need the following:
- 1.5 cups foam shaving cream
- 1/2 cups white Elmer’s glue
- 1/4 cup flour
- 1-2 drops of peppermint essential oil or extract (optional)
- food coloring
- a squeeze bottle or a plastic Ziploc bag
How to Make Puffy Paint
- Begin by mixing the three ingredients together. Use a spatula to mix it up.
- Then add in 1-2 drops of peppermint essential oil or peppermint extract.
- Mix in some food coloring.
- Then use a spoon to scoop it into a squeeze bottle or plastic Ziplock bag.
I think a squeeze bottle is easier for a child to use. But if you don’t have one on hand, you can put it in a Ziploc bag, seal it shut, and snip a small corner for the paint to squeeze out.
I recommend outlining the picture with the puffy paint first.
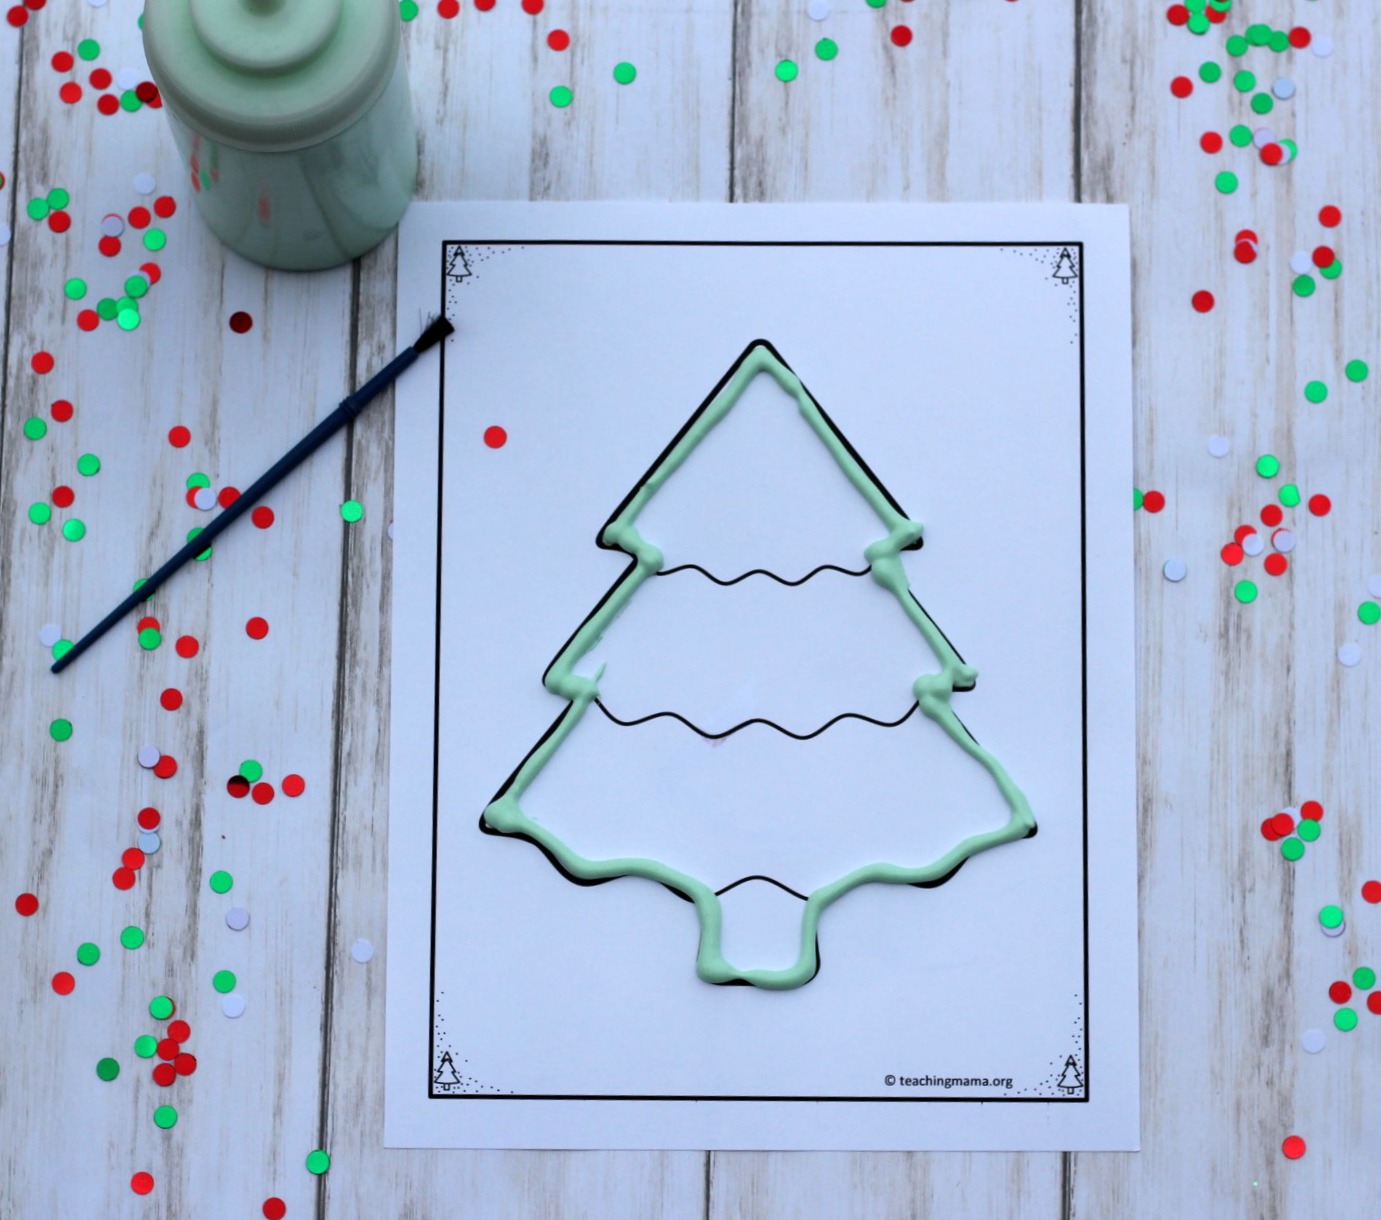
Then squeeze the paint in the middle and use a paintbrush to spread it around.
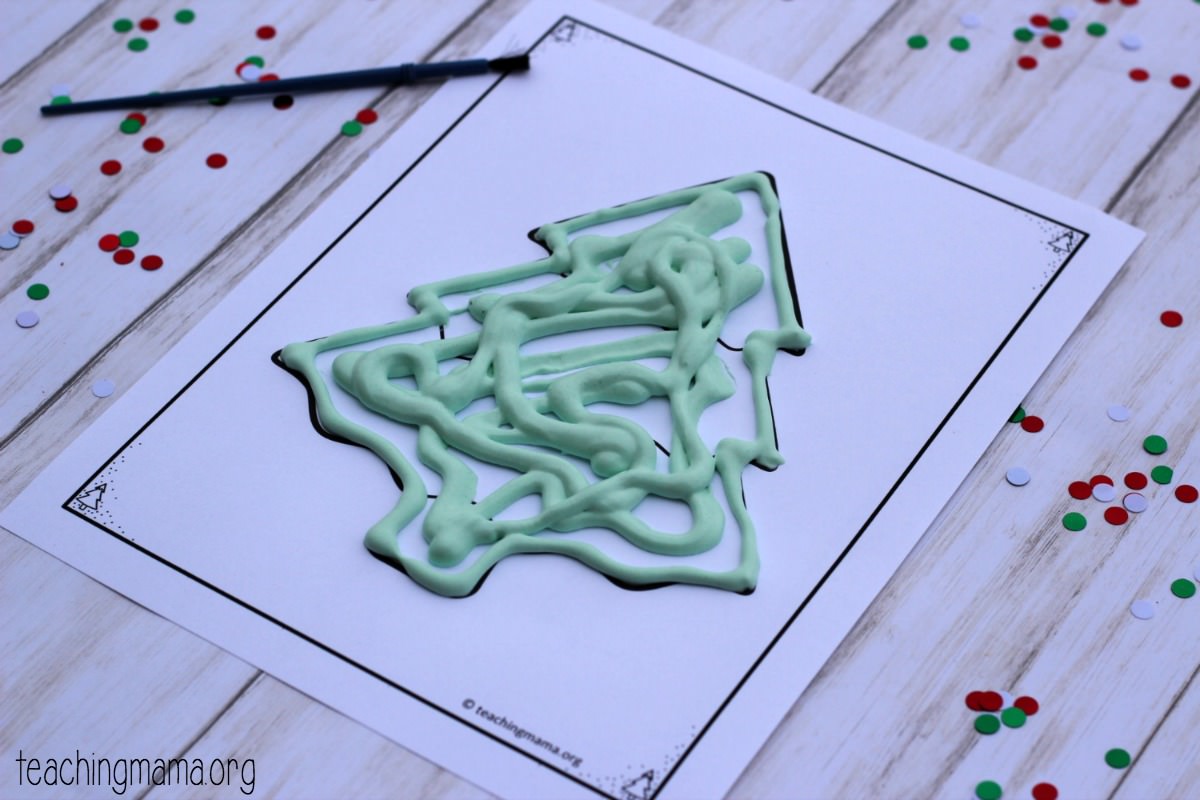
Once it’s filled in, you can sprinkle confetti or glitter on top. When it dries, the confetti will stay in place!
There are two pictures that are more challenging because they have more lines and you can use two colors. I recommend using these with older children. First is the candy cane picture.
The other challenging one is the Christmas ornament picture. They are so pretty though!
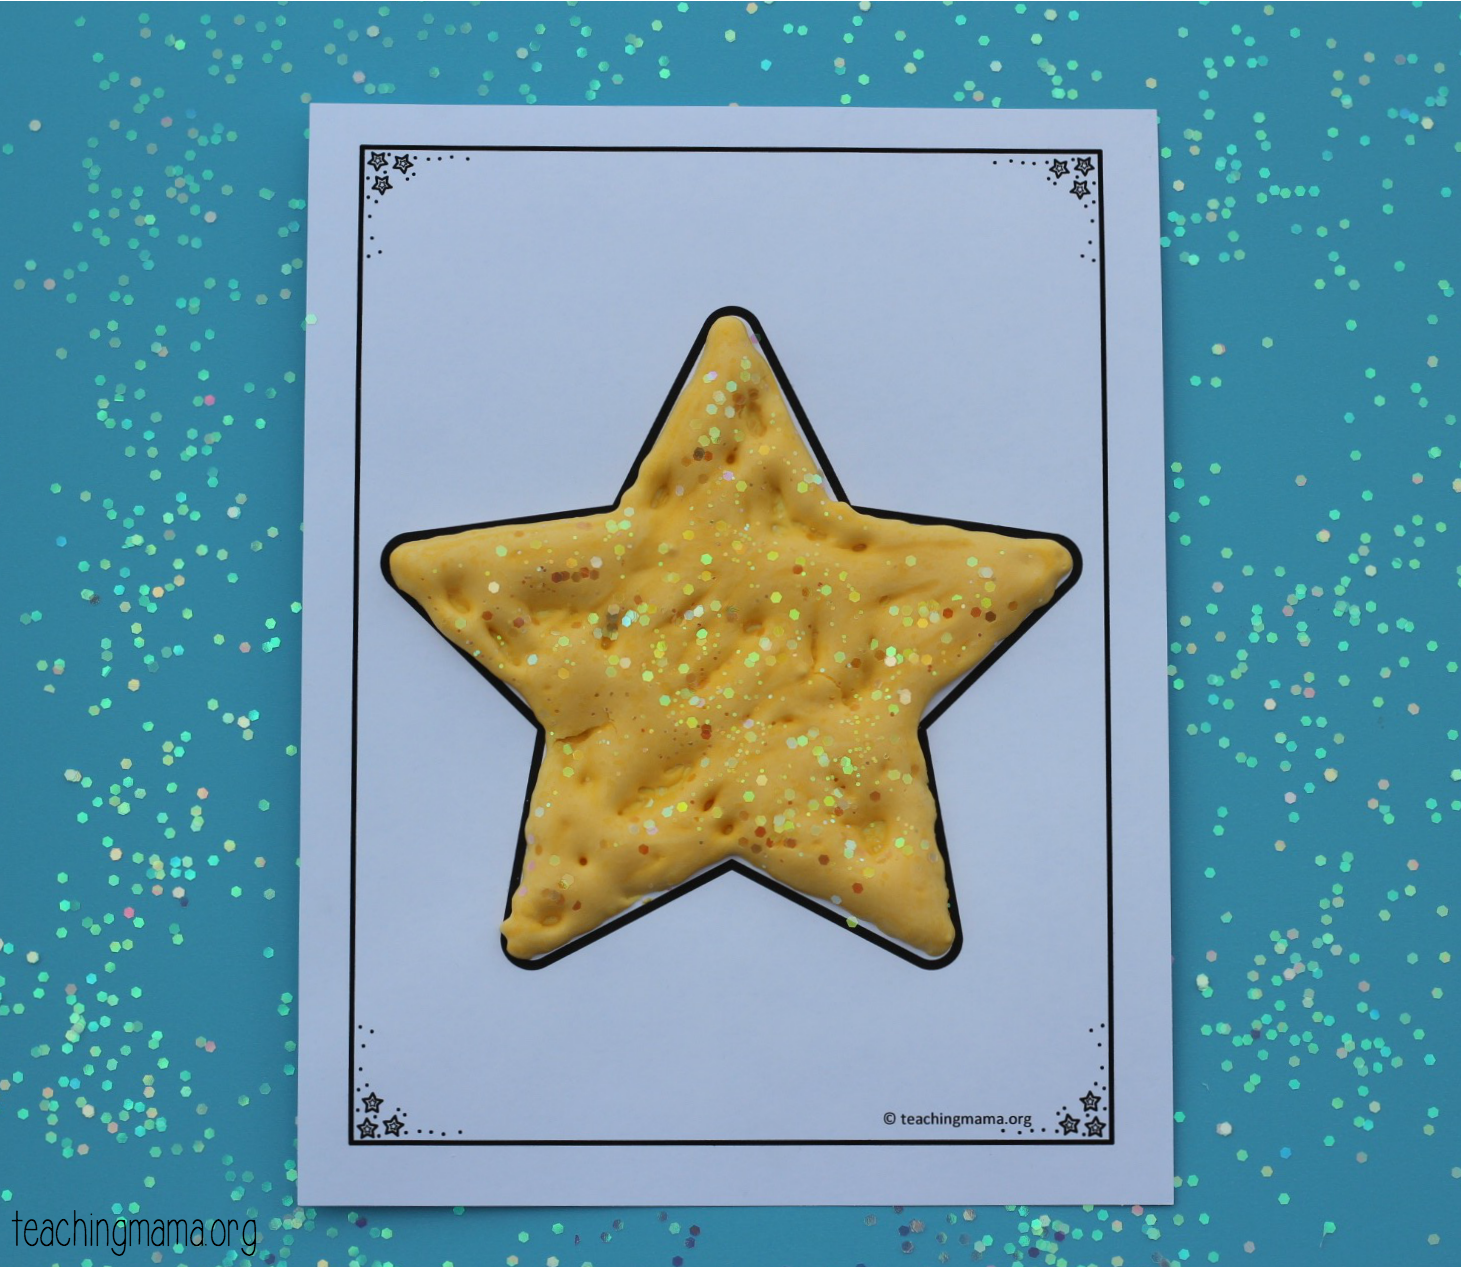
A simple one, yet still beautiful is the shining star! I loved using some clear sparkly glitter on this one with yellow puffy paint.
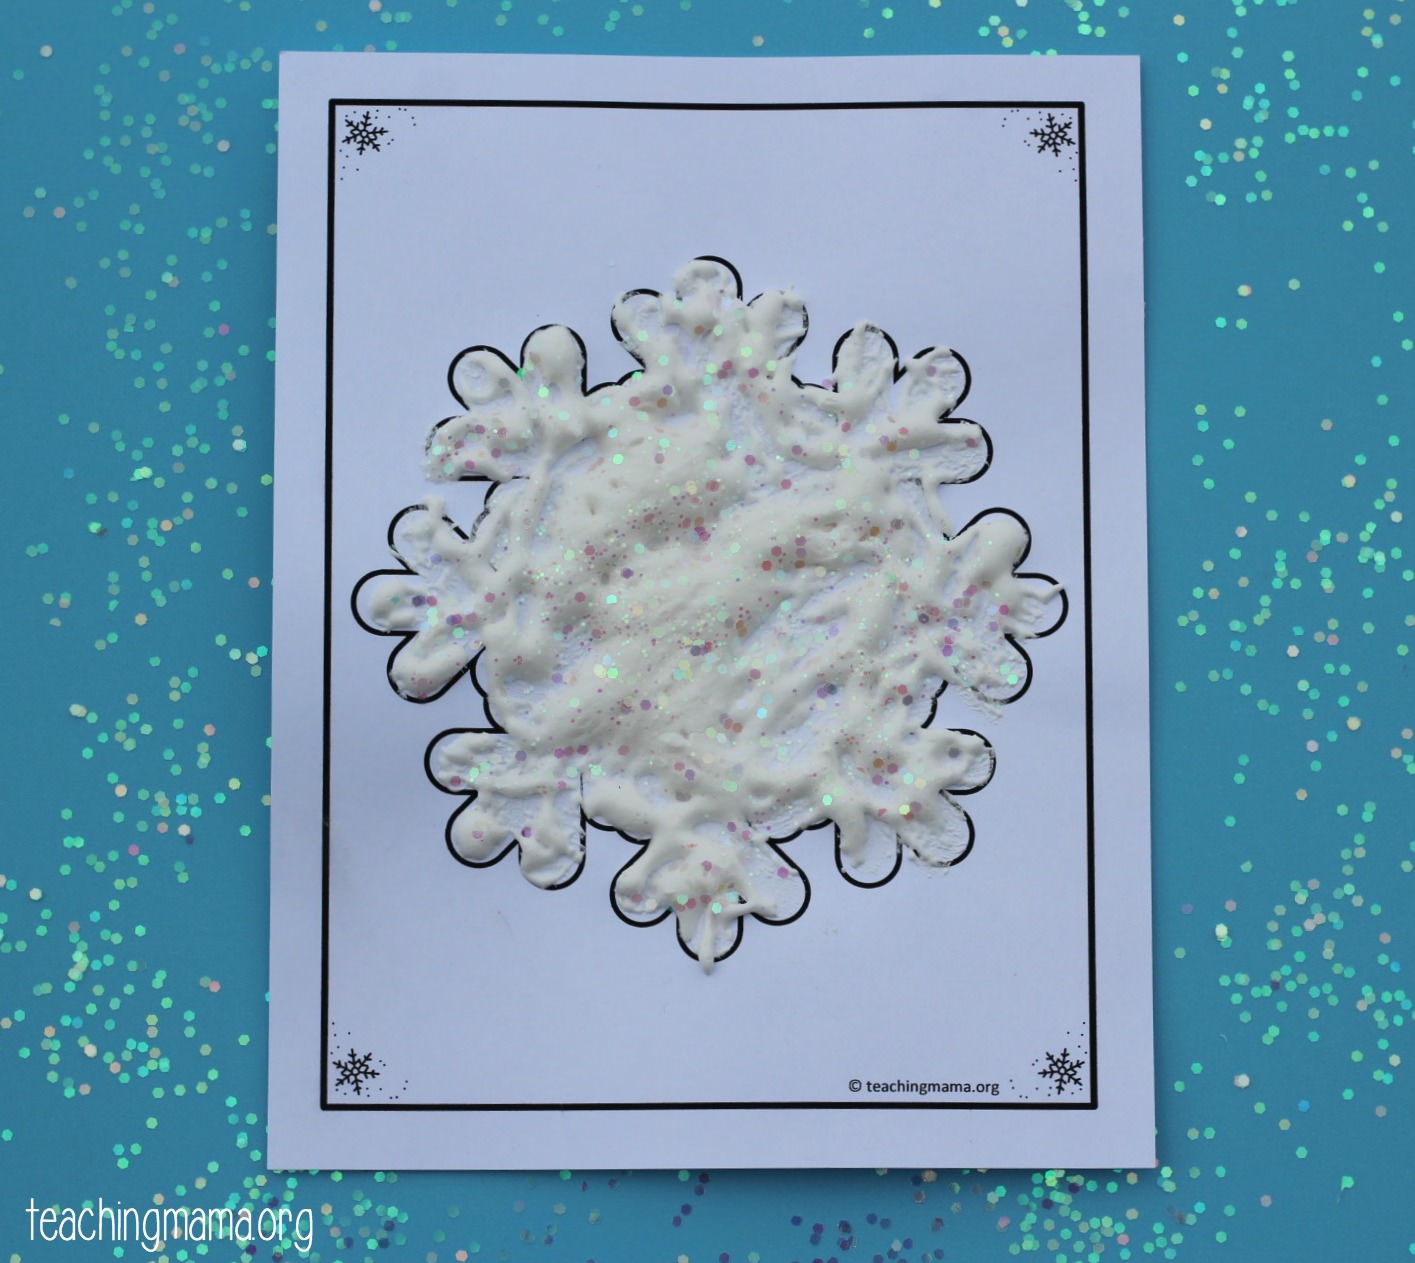
And last, is the sparkling snowflake. Like the star, I used the same glitter on top of the white puffy paint. It almost looks like real snow!
After you create your picture, let it sit to dry for 1-2 hours. You’ll be able to touch it and everything will stay in place. Plus it will still smell like mint! These would be lovely to decorate a classroom with or to hang on the fridge.
How-To Video
Check out how to make it in this video:
Free Printable
You can get this free printable by clicking the button below.
Printable Recipe
Christmas Puffy Paint Pictures
Ingredients
- 1.5 cups white foam shaving cream
- 1/4 cup flour
- 1/2 cup white Elmer’s glue
- 1-2 teaspoons peppermint oil or extract
- 2-3 drops food coloring
Instructions
- Begin by mixing the shaving cream, flour, and glue together in a bowl using a spatula.
- Add in 1-2 drops of Peppermint essential oil or peppermint extract. Mix in some food coloring.
- Then use a spoon to pour it into a squeeze bottle or plastic Ziploc bag.
- Repeat to make multiple colors.
- Squeeze the puffy paint onto the printable. Start by outlining the edges, then adding paint to the middle. Use a paintbrush to spread the paint around.
- Allow a few hours for the puffy paint to dry.
Frequently Asked Questions
This recipe makes enough for about three pictures. You can also divide the paint and make multiple colors.
Yes! You will want to add it before the puffy paint dries because it will stay in place.
I’d love to know…which picture is your favorite? I hope you’ll try this out!

Hi When you sign up to get the Free Christmas puffy paint pictures it gives a snowball counting game instead. How do I get the Puffy paint pintables.
I’m so sorry! It has been fixed. Thanks for letting me know!
Awesome you support us with creative ways of keeping our students supportive and engage, thanks
Ma Afua
Would gluten free flour work in this?
Yes it would!
would love the recipe in print form
I tried to print the free Christmas pics for the puffy paint but it would not let me ? It said it was free but it asked for a code and that was not listed on our email please send
I’m sorry! There isn’t a password, but when this happens, it means it’s time to update Adobe Reader. If that doesn’t work, you can uninstall Adobe and reinstall it. That should fix it!