Teaching Mama

playing, creating, and learning at home

Success! Now check your email to confirm your subscription.

There was an error submitting your subscription. Please try again.

facebook twitter pinterest instagram googleplus email bloglovin
  • Home
  • About
    • Disclosure
    • Privacy Policy
    • Meet the Team
  • Contact
  • Toddlers
    • Sensory Play
    • Fine Motor Skills
    • Gross Motor Skills
    • Toys
  • Preschoolers
    • Homeschooling
    • Alphabet
      • Printable Alphabet Packets
    • Fine Motor Skills
    • Gross Motor Skills
    • Math
    • Music
    • Reading
      • Book Activities
    • Science
    • Technology
  • Shop
    • Your Account
    • Cart
    • Checkout
  • Printables Club
  • Member Login

Bumble Bee Craft

by Angela Thayer 3 Comments

This week we are learning about bees. For a fun art project and to learn the parts of the bee, we made this bumble bee craft.

Bumble Bee Craft So let’s jump right into it! Here’s what you need:

  • 1 paper plate
  • yellow and black paint (and paint brushes)
  • 4 black pipe cleaners
  • 2 googly eyes
  • contact paper
  • glue

The first step is to paint the paper plate yellow. My son added some glitter to his, but I think it looks cleaner without glitter. 🙂

Painting After it dries, paint on 3 black stripes. Then wait for the paint to dry.

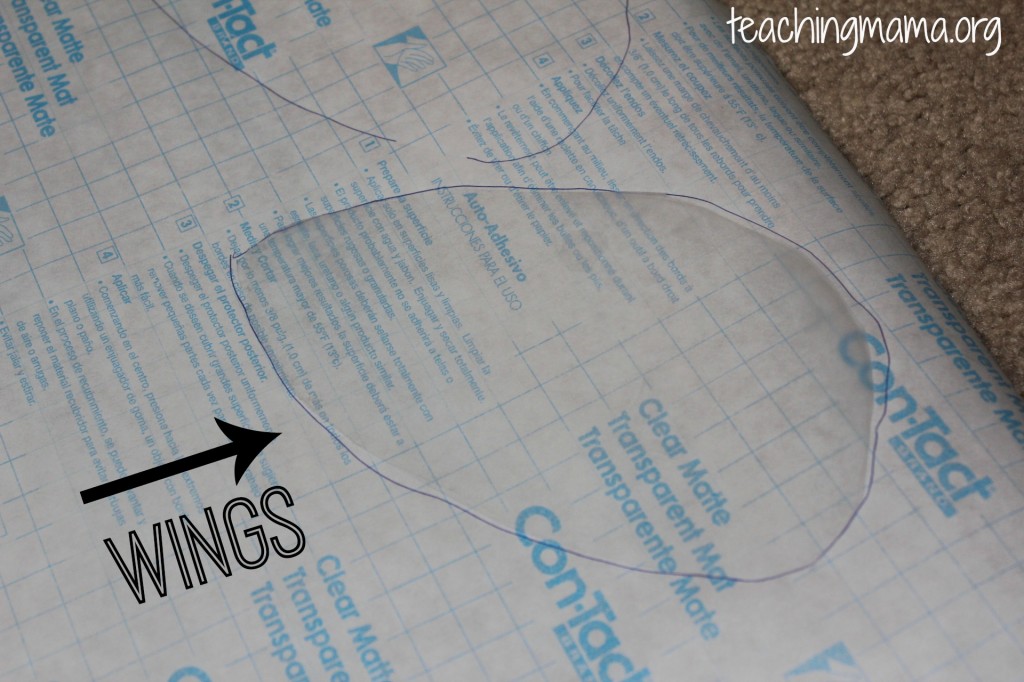
Next, you will need to make wings using contact paper. Draw a wing shape on the back of the contact paper and then made a duplicate. Peel off the paper and stick the two pieces together to make 1 wing. Repeat those steps to make the second wing.

Wings

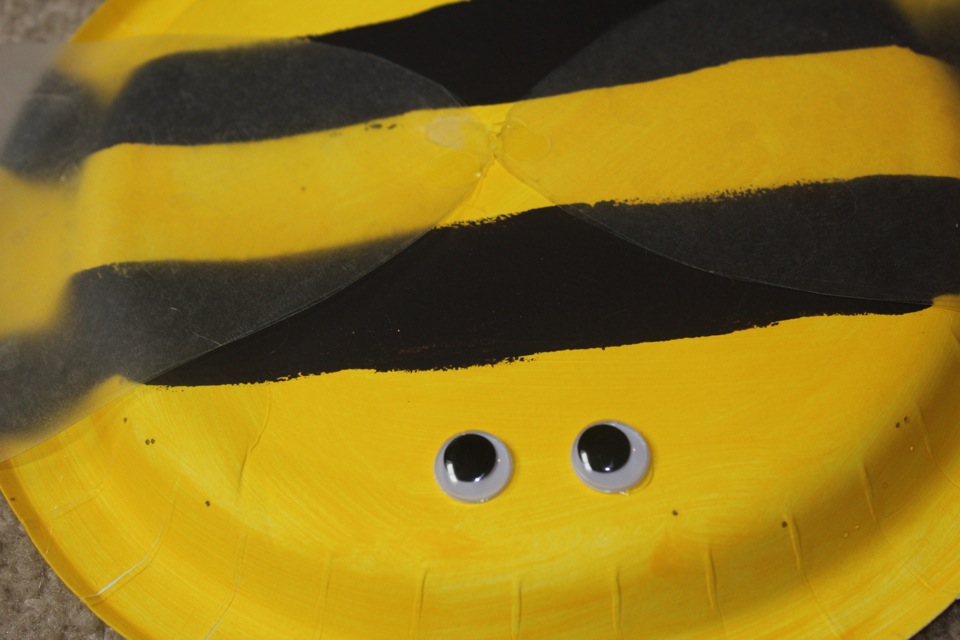
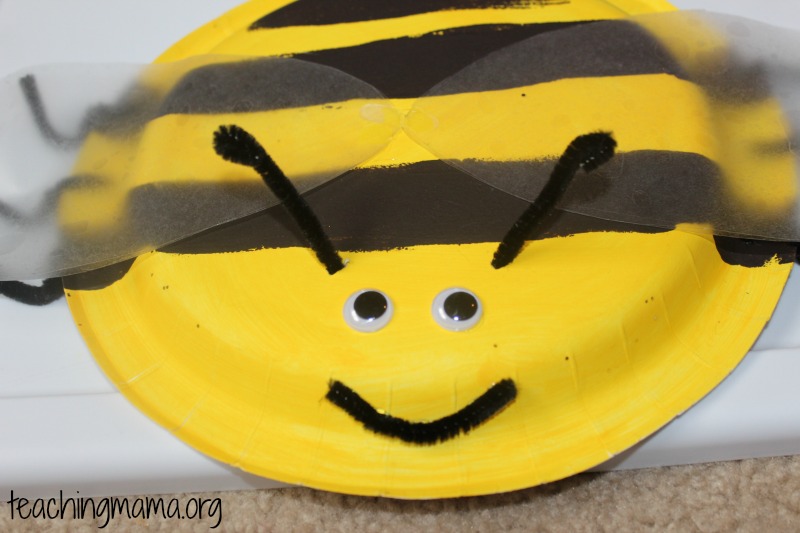
Then glue the wings onto the center of the bee. Next, glue on the googly eyes.

Bumble Bee Craft

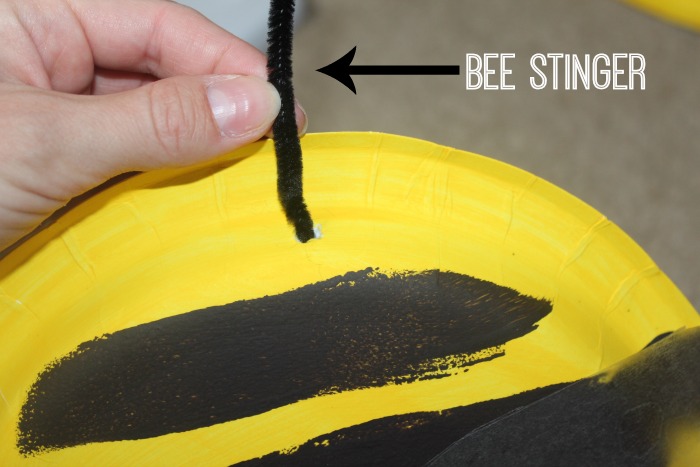
On the back of the paper plate, make a hole to stick a small piece of black pipe cleaner in. This will be the stinger. Either glue the stinger or bend the pipe cleaner so it won’t slip out of the hole.

Bee Stinger Next, add the antennae near the eyes. Poke holes and add a small piece of black pipe cleaner (just like you did with the stinger).

Bee 
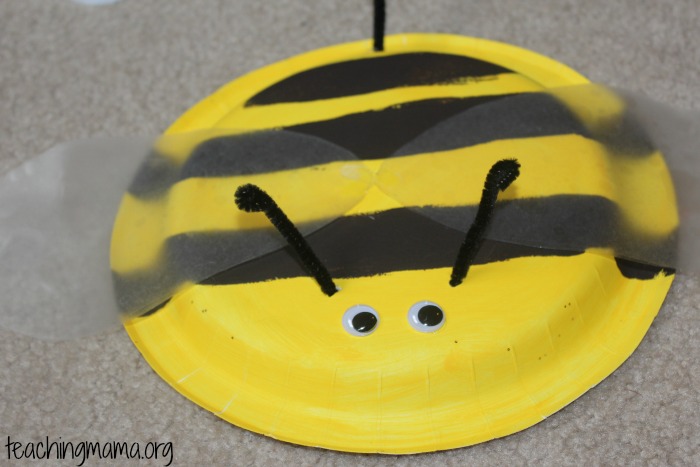
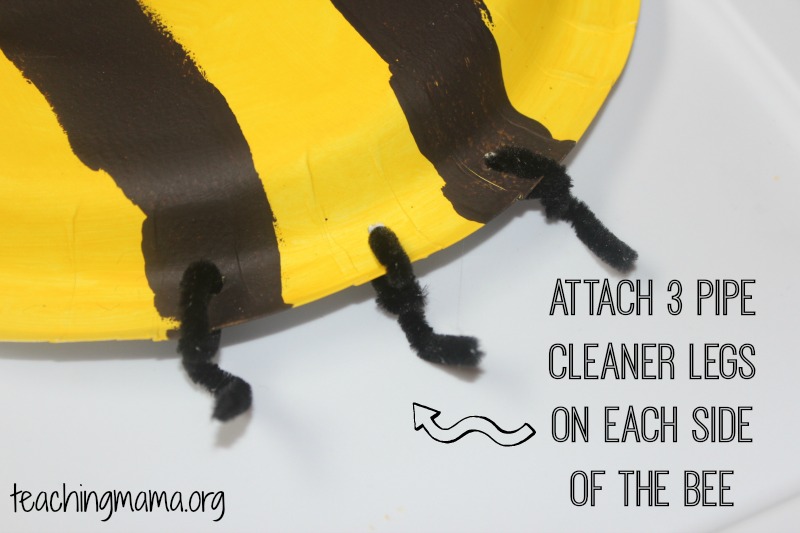
Since a bee is an insect, they have 6 legs. Poke three holes on each side of the bee for the legs. Then stick a small piece of black pipe cleaner in each hole and wrap one end of the pipe cleaner to the other to keep it in place.

bee legs Oh and don’t forget to glue the a smile onto your bee! 🙂

Bumble Bee Craft The bee craft was approved by my toddler 🙂

Bee Craft

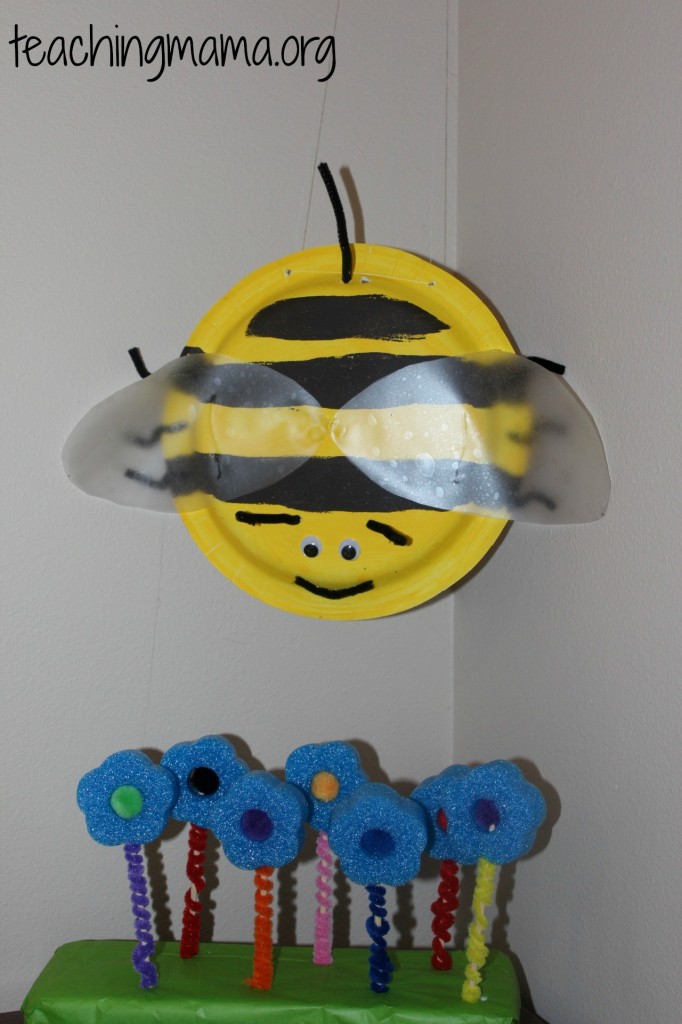
We added our craft to the corner of our preschool room…right next to our ladybugs and pool noodle flowers!

Bee and Ladybug Craft 
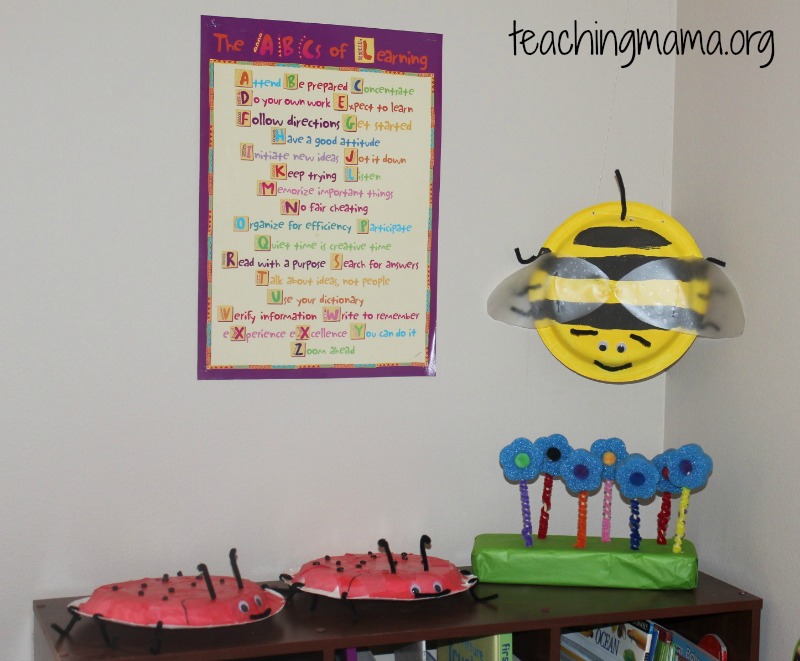
I used white thread to hang the bee from the ceiling. I think it looks adorable in our school room!

Flying Bee There are a lot of steps in this craft. I would recommend this craft for older prechoolers or young elementary kids. If you make these with several kids, I would recommend setting up parts of the craft for them (such as poking holes in the paper plate for the stinger, legs, and antennae). I also think this would be a great craft to make for teachers to hang up in their classrooms.

If you make this craft, I would love to hear how you used it!

Related Posts

  • Bugs Do-a-Dot Counting PrintablesBugs Do-a-Dot Counting Printables
  • 15 Activities About Bees15 Activities About Bees
  • 20 Insect Activities for Kids20 Insect Activities for Kids
  • 5 Beneficial Insects to be Happy You Have Around5 Beneficial Insects to be Happy You Have Around
  • Insect Sensory BinInsect Sensory Bin
  • Butterfly Life Cycle CupButterfly Life Cycle Cup

Sharing is caring!

708 shares
  • Facebook3
  • Twitter

Filed Under: Crafts, Summer Activities Tagged With: bugs and insect theme

Comments

    Leave a Reply Cancel reply

    Your email address will not be published. Required fields are marked *

    Recipe Rating


    CommentLuv badgeShow more posts

  1. Jasmine says

    June 29, 2017 at 11:49 pm

    Perfect project for a weekend afternoon. Will definitely try.

    Reply
  2. Brenda says

    August 5, 2014 at 11:19 pm

    At our library we have Busy Bee Storytime. We like to do a bee craft to begin the new sessions in September. This will be just right for our 3, 4 & 5 year olds! Thanks for the great illustrated directions.

    Reply
  3. Yuliya says

    June 12, 2014 at 4:29 am

    What a cute project! Pinned for when my son will be old enough to do this 😉
    Yuliya recently posted…Easy peasy citrus mint saladMy Profile

    Reply
about teaching mama
sensory play crafts printables fall winter spring summer

Search Teaching Mama

Archives


Copyright © 2023 Teaching Mama · Privacy Policy · Disclosure

Copyright © 2023 · Teaching Mama on Genesis Framework · WordPress · Log in

708 shares
  • 3

We are using cookies to give you the best experience on our website.

You can find out more about which cookies we are using or switch them off in settings.

Teaching Mama
Powered by  GDPR Cookie Compliance
Privacy Overview

This website uses cookies so that we can provide you with the best user experience possible. Cookie information is stored in your browser and performs functions such as recognising you when you return to our website and helping our team to understand which sections of the website you find most interesting and useful.

Strictly Necessary Cookies

Strictly Necessary Cookie should be enabled at all times so that we can save your preferences for cookie settings.

If you disable this cookie, we will not be able to save your preferences. This means that every time you visit this website you will need to enable or disable cookies again.

Cookie Policy

More information about our Cookie Policy