Sugar Cone Christmas Trees: Easy No-Bake Edible Craft for Kids
My rule for December activities is simple: if it takes longer to prep than it takes the kids to get bored with it, it doesn’t make the list. These sugar cone Christmas trees are the rare exception. They take about five minutes to set up, hold a preschooler’s attention for a solid 20 to 30 minutes, and end with everyone eating something they made themselves — which, as any parent knows, is the fastest way to get a picky eater to actually try something. If you’re looking for an easy, no-bake edible craft that your kids will still be talking about on Christmas morning, this is it.
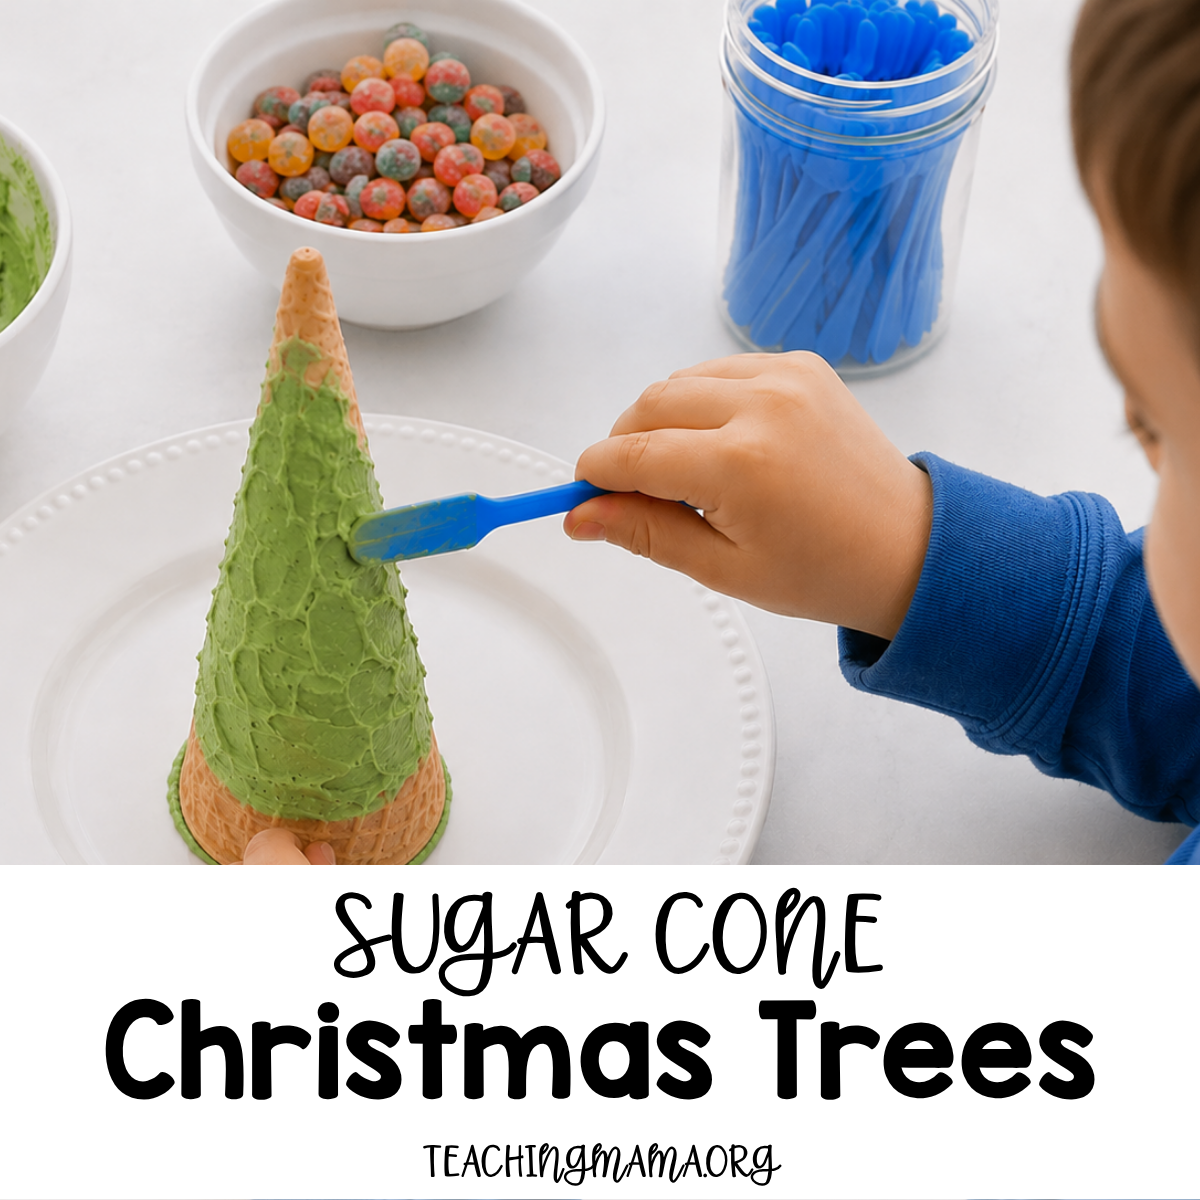
What You Need to Make Sugar Cone Christmas Trees
The beauty of this craft is that you probably already have most of it at home. No craft store run required — just a quick pantry check.
Supplies:
- Hand mixer
- Plastic kids’ spatulas
- Measuring cups and spoons
- Ceramic bowl
- Ceramic plate or paper plate (one per child!)
Icing:
- 2 cups icing sugar (also called powdered sugar)
- ¼ cup salted butter
- 1 tbsp milk
- ½ tsp vanilla extract
- Green food colouring — gel or liquid
Decorations (this is where the magic happens):
- Box of sugar cones
- Jelly Tots or any small round candy
- Rainbow Laces or candy string
- Edible glitter
A word on the decorations: don’t stress too much about having exactly this list. The whole point is creative freedom, so use what you have. Smarties (M&Ms), different shaped gummies, mini chocolate chips, festive sprinkles — it all works. In fact, some of the most creative trees I’ve seen came from kids who went completely off-script.
How to Make Sugar Cone Christmas Trees
Make the Icing
- Add icing sugar, butter, milk, and vanilla extract to a bowl and mix with a hand mixer until fluffy and smooth.
- Add green food colouring drop by drop, mixing as you go, until you hit that perfect Christmas tree green. (A little goes a long way with gel colouring!)
Frost the Cones
- Using a spatula, spread a small amount of icing under the rim of each cone and press it firmly onto the plate. This acts as “glue” to stop the cone from tipping over while you decorate — and trust me on this one, you don’t want to skip it. A falling tree mid-decorating sends a preschooler into full meltdown territory.
- Let it stand for about 10 minutes to harden. This is a great time to set out all the decoration options.
- Now cover the whole cone in icing! Smooth and neat is lovely, but rough and wild is just as beautiful — let the kids lead on this one.
Add the Decorations
- Starting at the bottom, wrap Rainbow Laces (or candy string) up and around the cone to the top.
- Press Jelly Tots into the icing along the Rainbow Laces, working your way up to the tip.
- Once all the trees are decorated, place them on a tray and sprinkle edible glitter over the whole batch in one go. LESS MESS! LESS STRESS!
Encourage your children to decorate however they like — there are no wrong Christmas trees here! Some kids go for perfectly symmetrical candy placement. Others want every Jelly Tot in a different colour. Both are absolutely correct.
Teacher Mama Tips for Success
This activity works for a surprisingly wide age range — I have seen toddlers as young as 3 and adults happily decorating side by side. Here are a few things I’ve learned from doing this with kids at different stages.
Set out more decoration options than you think you need. The moment a child runs out of their favourite topping is the moment the whole thing falls apart. Put out a small variety — Smarties (M&Ms), gummies, glitter, sprinkles — and let them pick freely. Having that sense of control and choice keeps kids invested and focused much longer than you’d expect.
Adjust your approach by age. Children around age 3 may need some help with the icing step — spreading with a spatula takes more hand strength and coordination than it looks. But pressing decorations into the icing? They can absolutely do that independently, and they love it. For older kids ages 7 and up, try letting them use a piping bag instead of a spatula. It takes a little more patience, but the look on their face when they see a perfectly piped tree is worth it.
The colour is up to them. Classic green is the obvious choice, but don’t be afraid to let kids pick their own icing colour. Red and white makes a candy-cane tree. Blue makes a Hanukkah bush. Gold or silver icing turns into something that looks genuinely fancy. My neighbour’s two sons went for red and refused to reconsider, and honestly their trees were the most festive ones on the tray.
Mess is part of the deal — own it. Icing-covered fingers, sprinkles on every surface, one cone that somehow rolled off the plate before it set. This is all normal, it is all fine, and it is all going to get cleaned up. Tell yourself that before you start, so you can be the calm, fun mom in the moment instead of the one stress-watching the counter. The mess cleans up in a jiffy, and the memory lasts a lot longer.
Related Holiday Activities
If your kids loved making their sugar cone Christmas trees, here are a few more holiday favourites that pair beautifully with it.
For a quiet follow-up activity after all the excitement, this beautiful Christmas trees booklet is perfect for settling back down — just crayons and a printer, no prep required.
For a hands-on holiday craft that sneak in some fine motor practice, these fingerprint Christmas tree ornaments make the sweetest keepsakes to hang on the real tree.
And if you need a calm wind-down option to end the afternoon, these Christmas-time puzzles are a great way to keep little hands busy without ramping the energy back up.
Frequently Asked Questions
It’s best to make these the same day you plan to enjoy them. The sugar cone will start to soften and get soggy once icing is on it for too long, so same-day is the sweet spot. That said, if you want to get ahead a little, you can mix and refrigerate the icing up to a day in advance in an airtight container — just frost and decorate the cones on the day for the best texture.
The key is using icing as “glue” on the base before you start decorating. Spread a small amount under the rim of each cone and press it firmly onto the plate, then let it sit for 10 minutes before piling on any more icing. If you want extra security, you can also stand the cone upright in a small dollop of stiff frosting on a cookie base — that gives it a wider, sturdier footing to work from.
A homemade buttercream like the one in this recipe is ideal because you can control how thick or fluffy you want it. If you’d rather skip the mixing, look for a stiff store-bought canned frosting that holds its shape when spread — the kind that stands up in a mound rather than spreading thin. Avoid whipped frostings or thin glazes; they run down the cone and won’t hold your decorations in place.
Place your finished trees upright on the inside of a Tupperware or plastic container lid, then press the base of the container down over the cones and snap it closed — so the container is essentially upside down, with the cones standing inside it. This keeps them from tipping and protects all the decorations. Plan to enjoy them within a day or two for the best results. Remember: NOT FOR TOO LONG!
Almost anything works! The classics are small round candies (Jelly Tots, Smarties/M&Ms, mini M&Ms), candy string or Rainbow Laces, edible glitter, mini chocolate chips, and festive sprinkles. Small gummy shapes are always a hit too. My best advice is to set out three or four options rather than everything you own — a little curated choice keeps kids engaged without becoming overwhelming. No two trees will look the same, which is half the fun.