How to Set up Slime Stations
Disclosure: This post contains affiliate links to Amazon.
Last week, I had the opportunity to help hundreds of kids make slime! It was awesome and I loved teaching them the simple steps to make slime. Making slime with a lot of children is not always easy, so today I want to share my tips and tricks for doing this with a large group and using slime stations to minimize the chaos.
Our school plans a STEAM night every year. We invite numerous clubs and organizations that are related to Science, Technology, Engineering, Art, or Math to come and set up a station for kids to learn from. This year, I was invited to help kids make slime. I wanted everything to run smoothly, because I am Type A and I knew that I wouldn’t have a lot of extra help! It took some planning, but I did figure it out and I’m excited to share my tips with you!
I first had to decide on a slime recipe. I wanted to use this slime recipe, but I decided against it because it can turn out very slimy/slippery (until you knead or play with it for a bit) and I didn’t want to create a giant mess. After making about 20 batches of slime, I ended up with this easy slime recipe.
Easy Slime Recipe
-
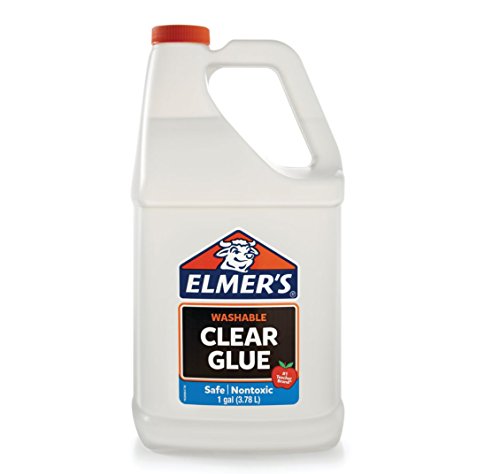
- 1/4 cup Elmer’s glue (clear or white)
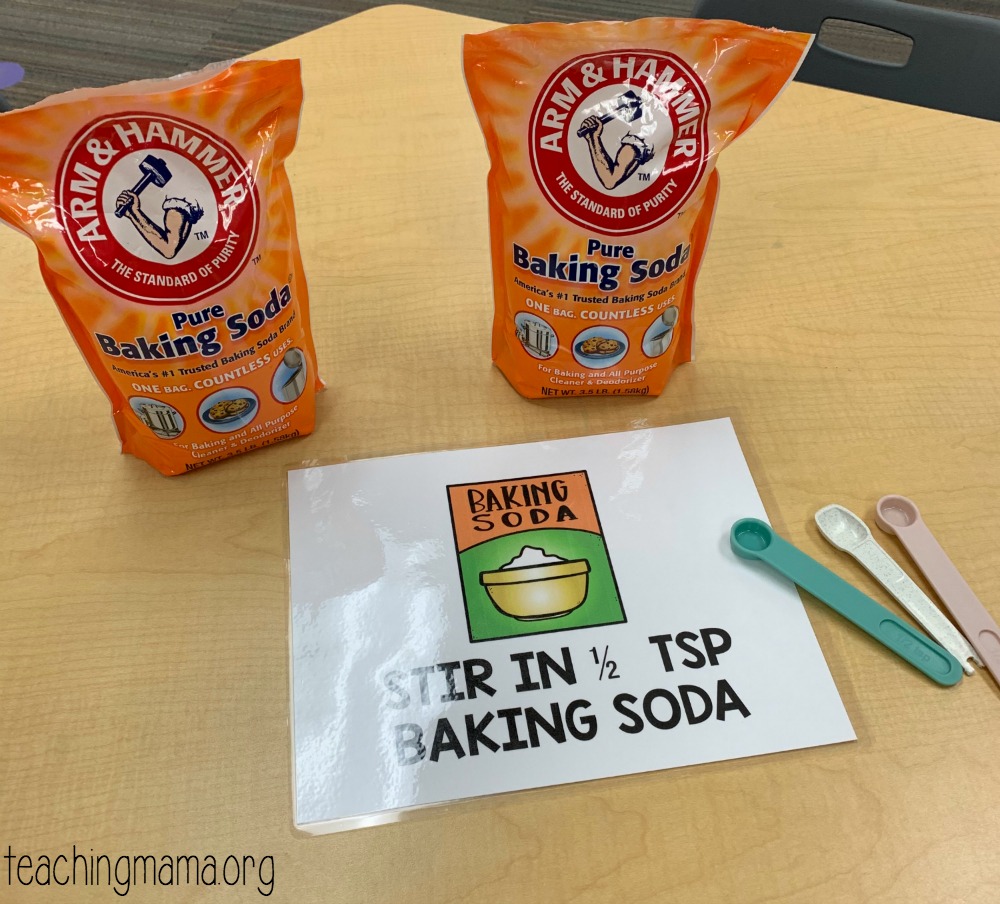
- 1/2 teaspoon baking soda
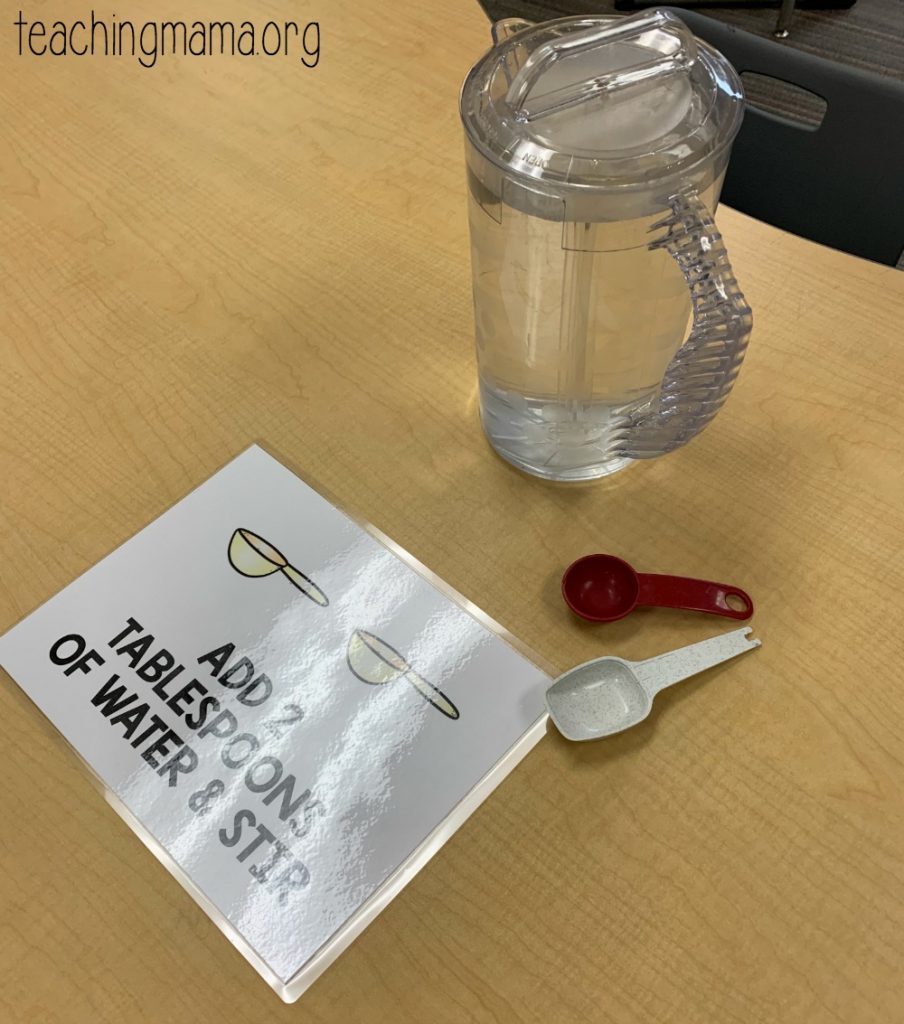
- 2 tablespoons water
- glitter or food coloring
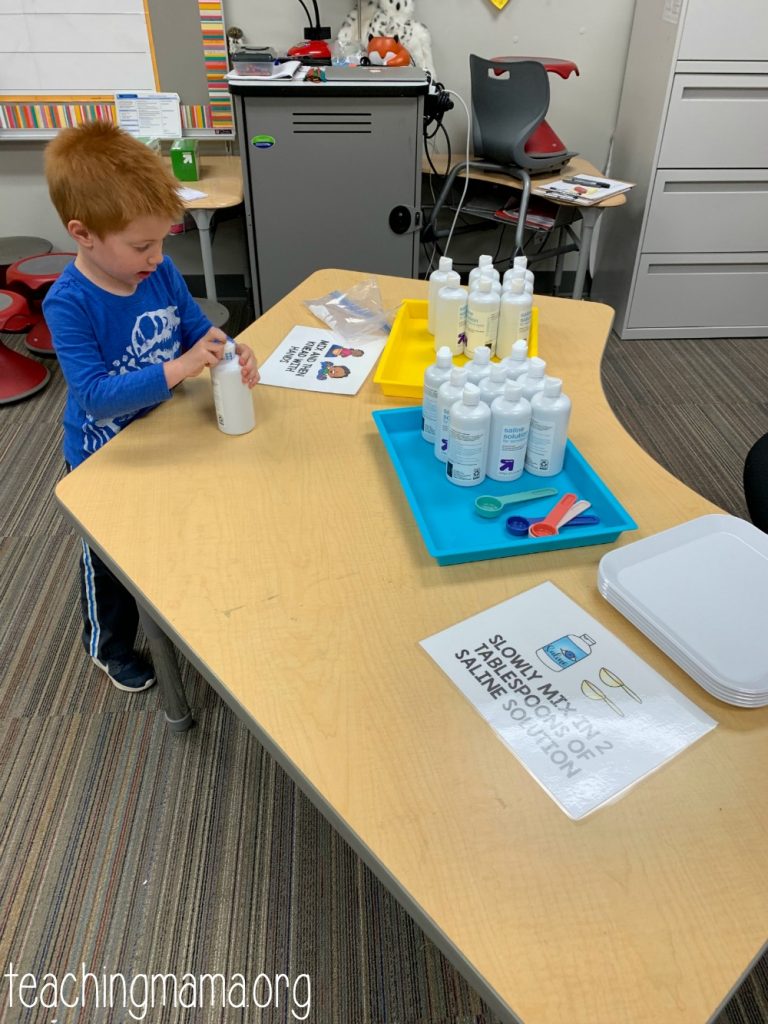
- 2 tablespoons saline solution (ingredients must include boric acid)
Elmer’s glue Elmer’s clear glue
 Saline solution
 Baking soda
 Glitter
 Wide sticks
 Plastic cups
 Mats
Mats
Begin by mixing the glue with the baking soda. Then stir in 2 tablespoons of water. Mix in some glitter and/or food coloring. Then slowly pour in 2 tablespoons of saline solution, while stirring. Place the slime on a mat and knead it with your hands. If it feels too sticky, add a little bit more of saline solution. You don’t want to add too much, or it will make the slime break apart easily. I always squirt a little on my hands before touching the slime.
Slime Stations
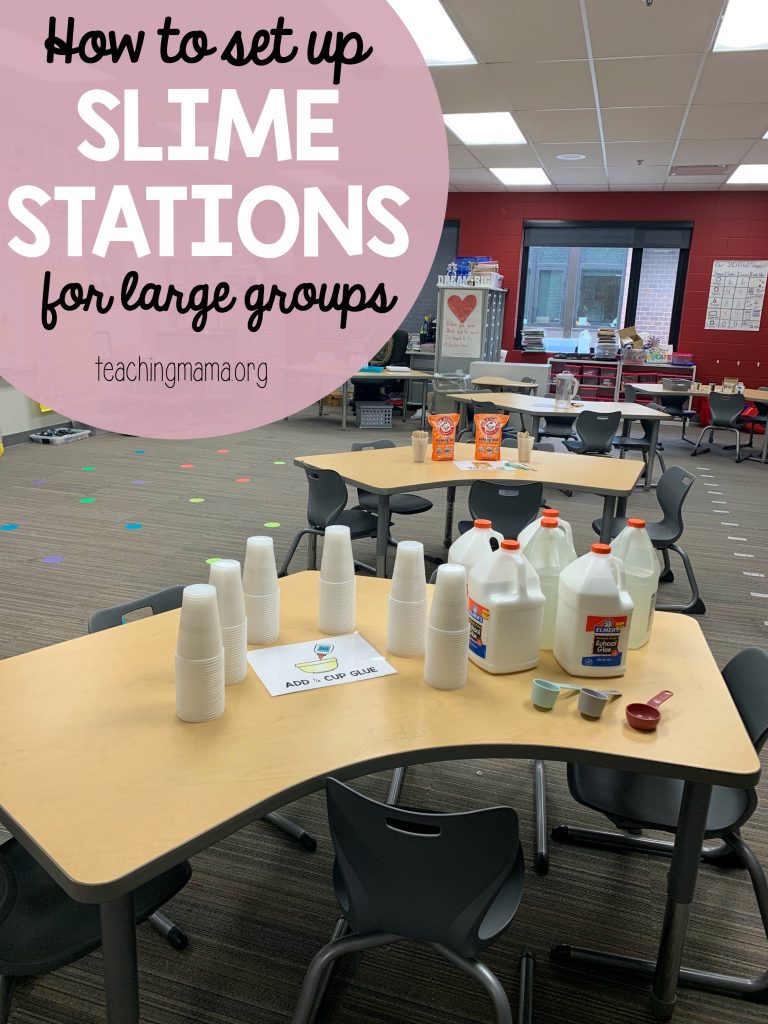
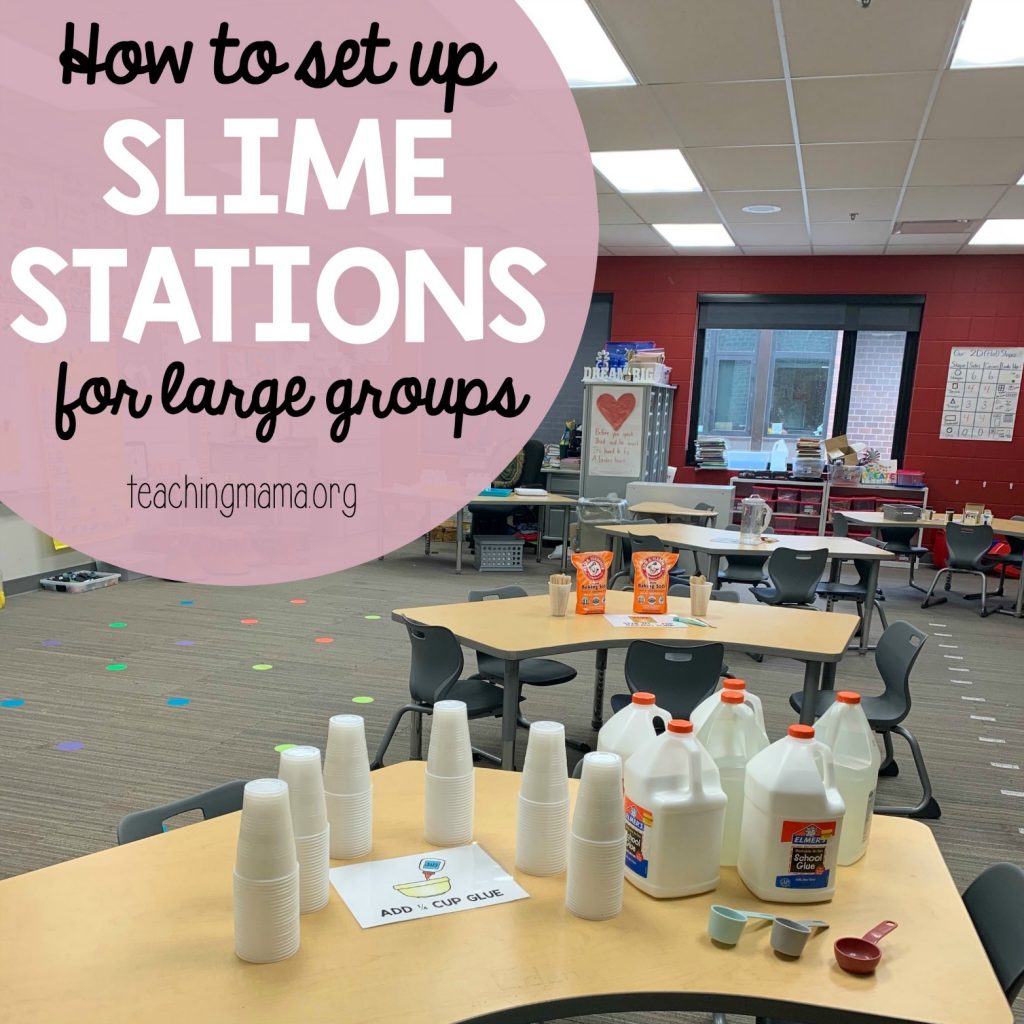
I set up 5 slime stations, using 5 tables in this classroom.
Glue Station
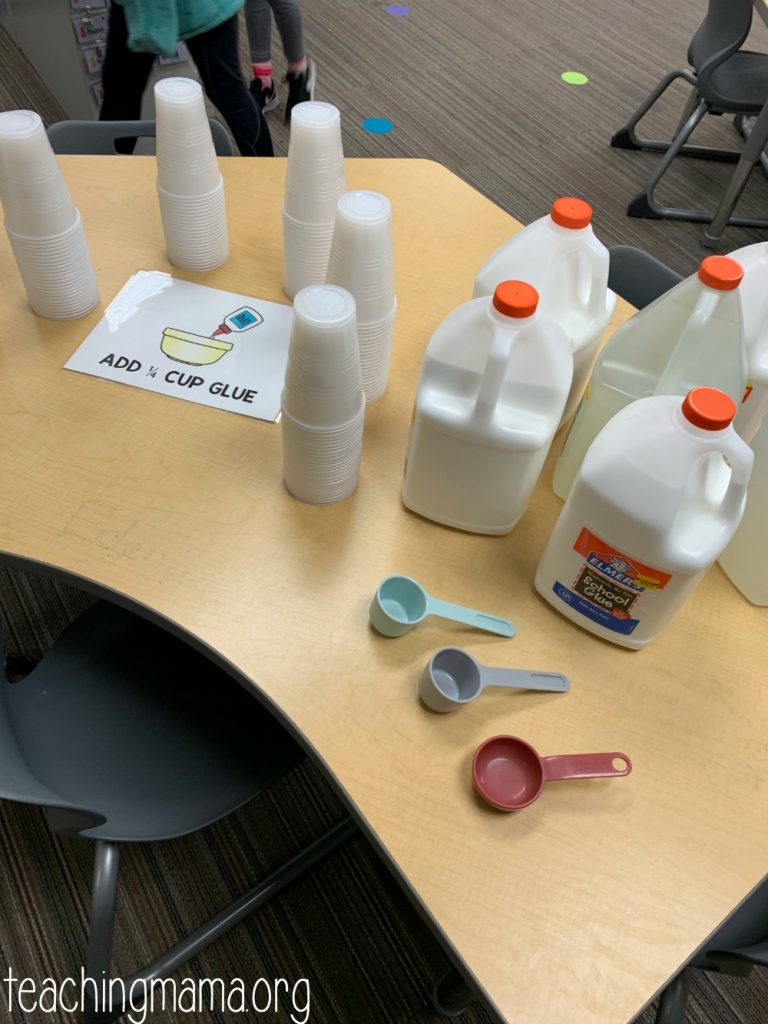
When the students arrived to the classroom, the first table they came to had plastic cups, glue, measuring cups and directions. I printed out direction cards for each person to take, but I also placed signs on the table. (The printable for this will be at the bottom of this post.)
They poured 1/4 cup of glue into their cup. I hate to use plastic cups, but since I couldn’t take the time to wash a bunch of bowls, I decided to use them. At the end, they threw their cups away, so it did make clean up easy.
I bought gallon-sized glue bottles, since that’s the cheapest way to buy glue. Each jug makes about 32 batches of slime. One thing I would recommend is to put down a tablecloth underneath the glue. This table got sticky, but it was able to be cleaned easily.
Baking Soda Station
Next, the students went to a table with baking soda. They only needed to stir in a 1/2 teaspoon. Instead of using plastic spoons, I gave them a wide craft stick for stirring.
Water Station
For the water station, I just had a jug of water and tablespoons. Pretty easy!
Decoration Station
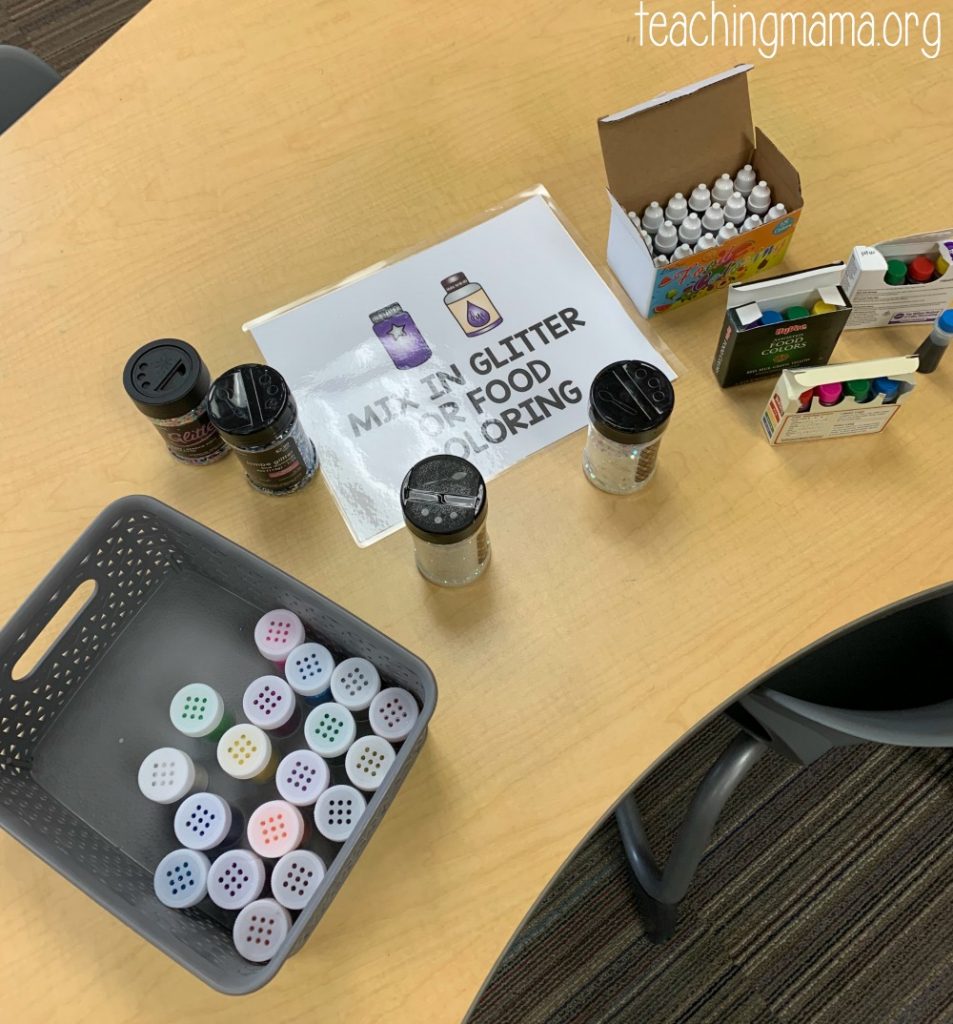
The messiest station was the decoration station! Big surprise, huh?! I had a variety of glitter and food coloring bottles for them to choose from. One thing I would recommend is to make sure children don’t put too much food coloring or glitter in their slime. I found that the slimes that didn’t turn out as well were ones with too much color or chunky glitter.
Saline Solution Station
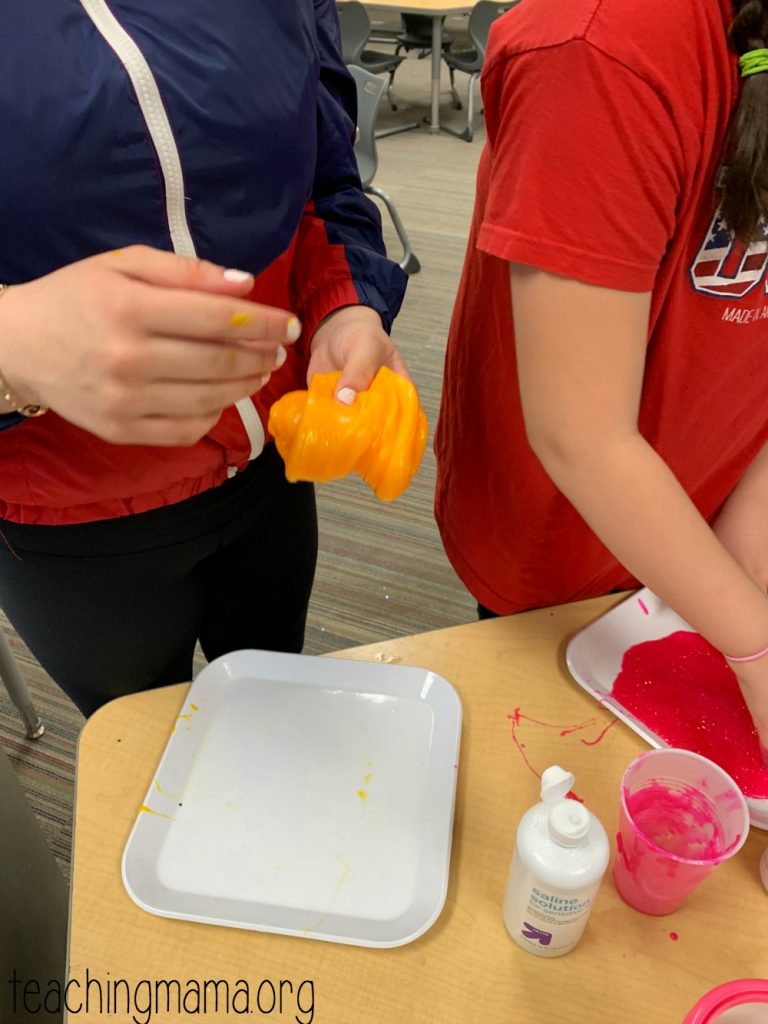
The last station is what makes it turn into a slime! I bought a TON of saline solution bottles and we just used about 2 tablespoons for each person. You add one tablespoon at a time to the cup, while stirring. Then set it on a tray or plate and play with it until it isn’t sticky.
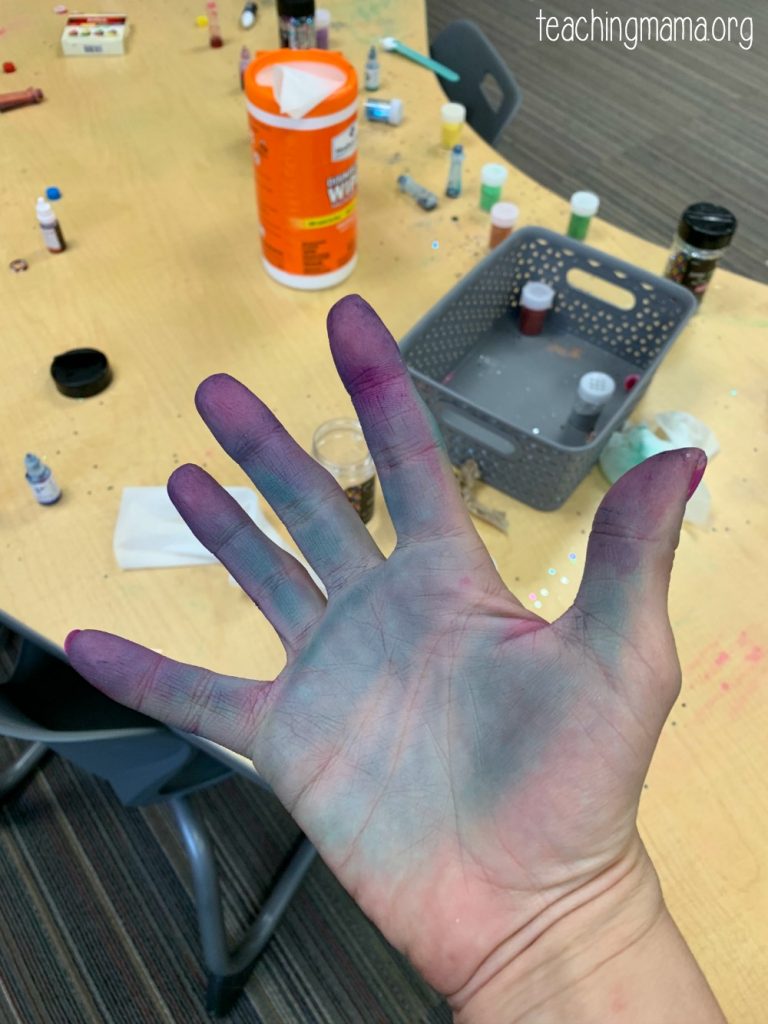
This was the station I was for most of the night. By the end of the night, my hands were pretty stained! Do you know the trick to getting food coloring off your hands? Spread toothpaste on them, let it sit for a minute, then wash it off!
After their slime was made, we put them in Ziploc baggies and threw away the plastic cups and wooden craft stick. All in all, it was super successful night and the kids had a lot of fun!
If you’d like to download the slime posters I made for our stations, just click here –> Slime Station Posters
Last Tips for Slime Stations
-
-
- make sure to bring wipes, for tables and hands
- bring a lot of measuring cups
- try to have a sink nearby
- don’t use gel food coloring – it makes hands stain very easily
- have more supplies than you think you need – it’s never fun to run out of supplies!
-
Have you done slime stations? I’d love to hear if you have any other tips!






Thank you for this! I made slime with a bunch of 3rd graders today and it went so great thanks to your helpful information!
Stations are a great idea! I’m definitely going to try it out this way! Thank you.
This is so organized!!! Thank you!
HI! I know that this article was written a little while ago. But im new to education and i had been dreading slime in the classroom, I tried your method today and it went SO well. The kiddos LOVED it!!
Thank you Thank you! 🙂
I’m so happy to hear this!
This is great! I’m doing monster slime for Halloween party in class and I am to totally using this… only question I have is, how much slime does each kid end up with? I see you used ziploc bags but I was going to get jars for them to put the slime in and I want to try to get the right size jar.
The recipe makes enough for just one person. Hope that helps!