Homemade Puffy Paint
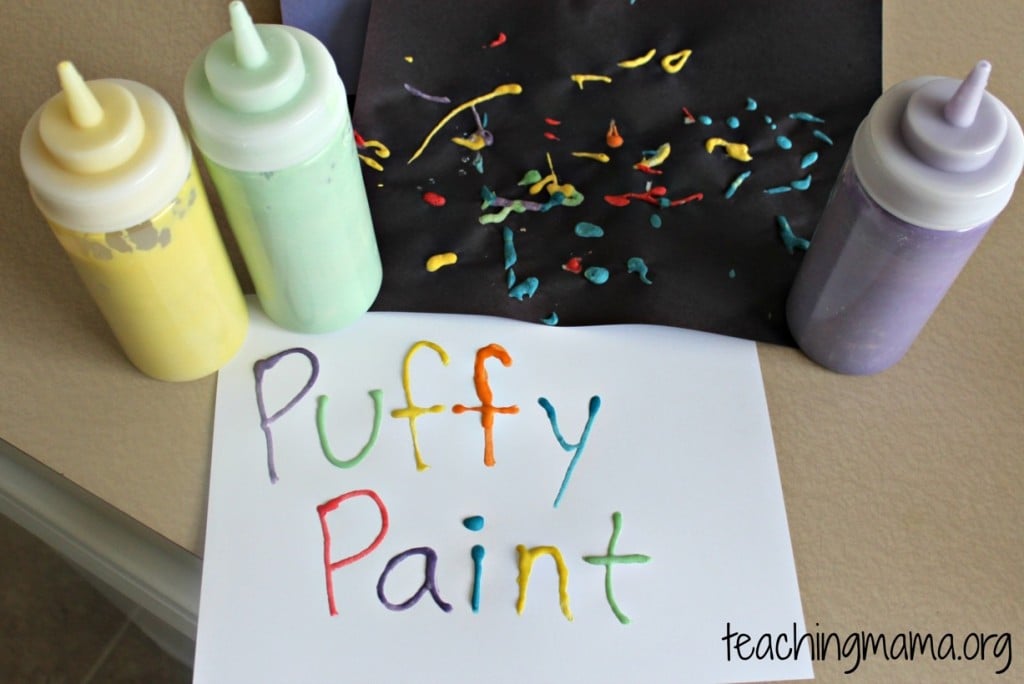
Lately, my son has been obsessed with wanting to make pictures with glue. That means he makes designs on a paper with a glue bottle. After asking for the hundredth time to do this, I thought of the idea of making puffy paint for him to use instead. That way he can use a variety of colors and make a pretty picture. This puffy paint turned out great and your kids are gonna love it!
Puffy Paint Recipe
- 1 cup of flour
- 3 teaspoons of baking soda
- 1 teaspoon of salt
- about 1-1/4 cup of water
- food coloring (I used gel food coloring, but you can use liquid food coloring, too)
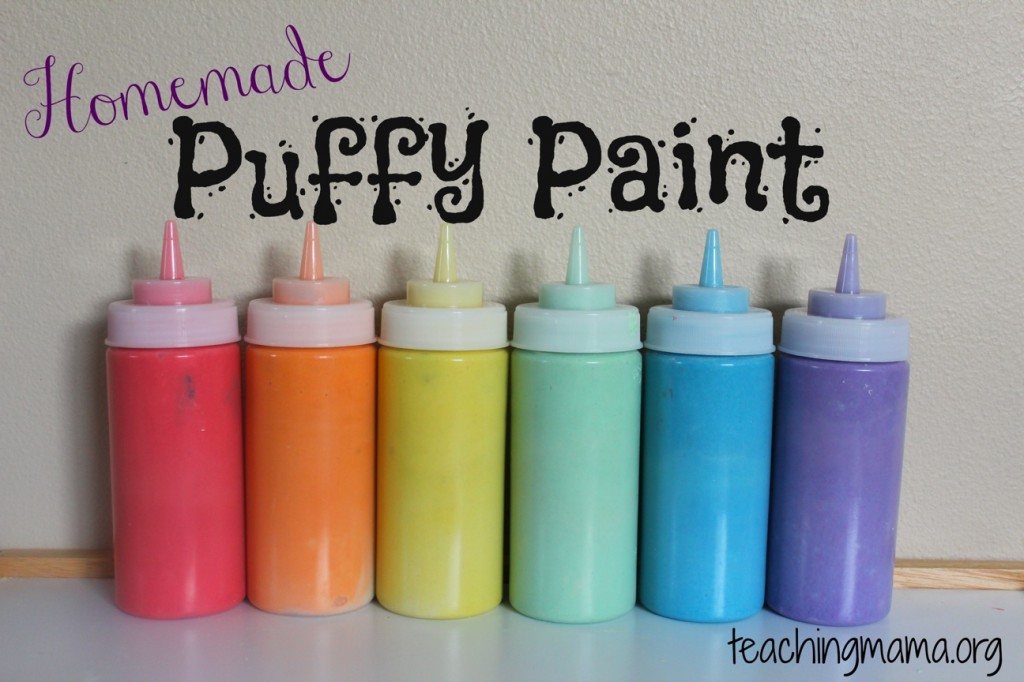
Start by mixing the flour, baking soda, and salt together. Then gradually add in the water. Pour enough water in until it starts to look like pancake batter. Then mix in your color. I made 6 batches of this recipe so I could have 6 different colors to fill my bottles. You could divide this mixture and then add food coloring so you can make multiple colors out of one batch.
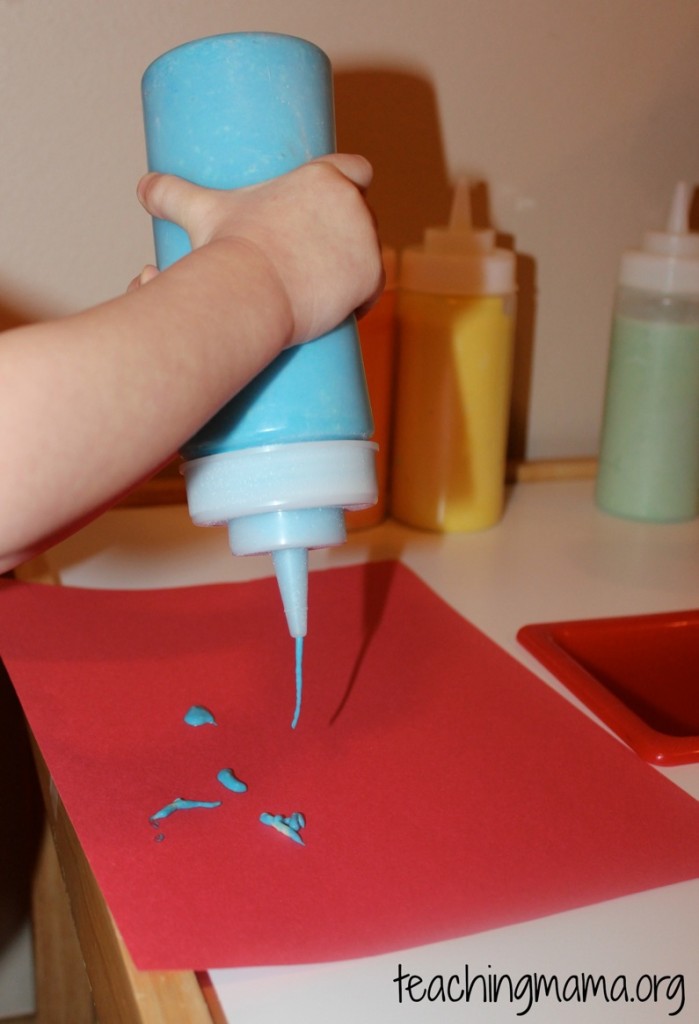
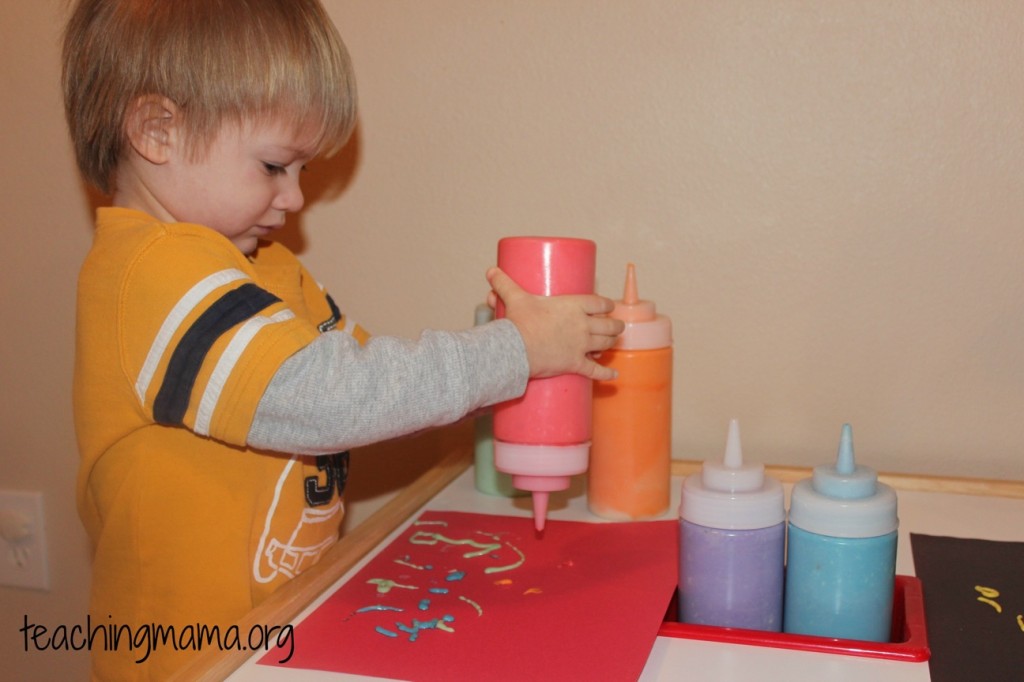
I poured the puffy paint into these plastic squeeze bottles. You could also put them into a plastic baggie and cut off one tip to squeeze the paint out.
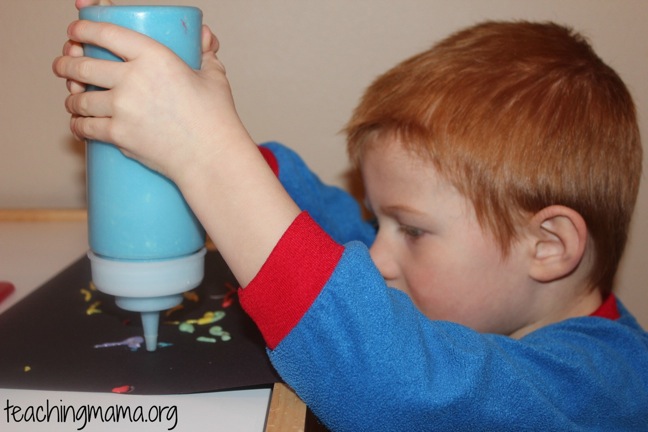
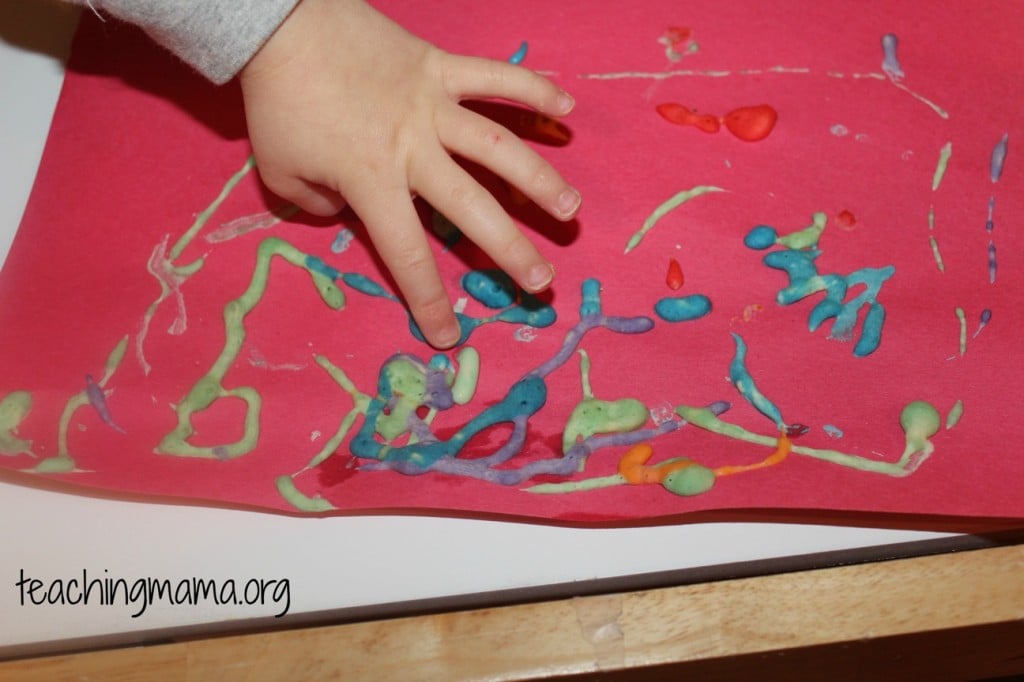
My boys were thrilled when I showed them the puffy paint bottles! They got right to work on creating their masterpieces.
This activity was good for building strength in their hand muscles, which is wonderful for preparing little ones for holding a pencil or using scissors.
When they were finished, we popped them into the microwave for 30 seconds. Then it was dry! You can also let it air-dry overnight.
Since I’ve made the puffy paint, the boys have used it numerous times. I’ve left it out on their art table and they keep creating little masterpieces. I am loving this puffy paint and I think you will, too!
This paint lasts for about 5 days. After that, it starts to smell! So when you make this paint, keep that in mind! 🙂
Favorite Puffy Paint Recipe
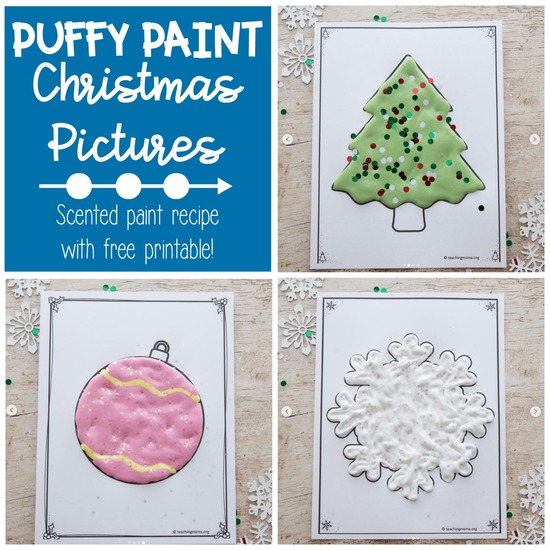
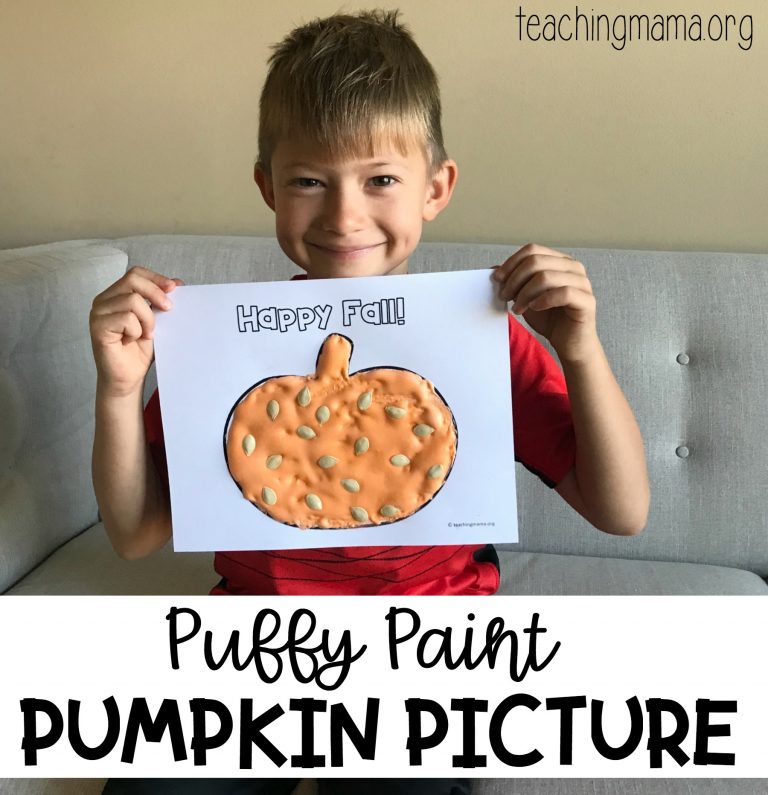
My other favorite recipe for puffy paint is incredibly easy to make and looks so awesome! I have a post with Christmas printables using this puffy paint, which you can find here.
Ingredients for Puffy Paint:
- 1.5 cups of foamy shaving cream (I like Barbasol)
- 1/2 cups white Elmer’s glue
- 1/4 cup flour
- food coloring
- a squeeze bottle or a plastic Ziploc bag
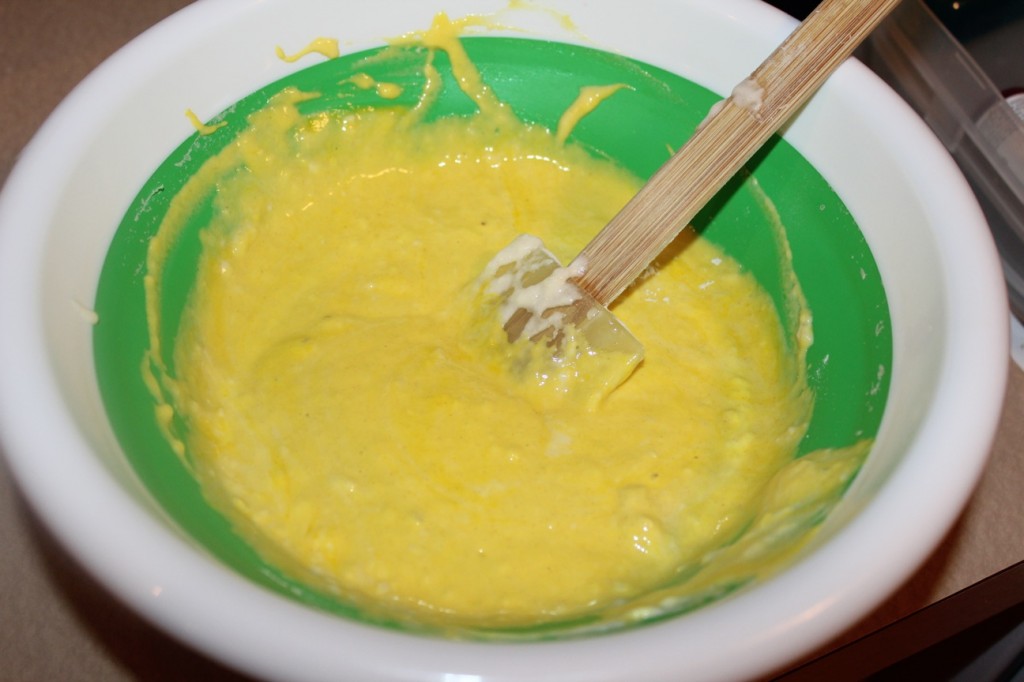
Begin by mixing the first three ingredients together. Use a spatula to mix it up. Add in some food coloring. Then use a spoon to pour it into a squeeze bottle or plastic Ziploc bag. You can also divide the paint before adding food coloring to make multiple colors.
I think a squeeze bottle is easier for a child to use. But if you don’t have one on hand, you can put it in a Ziploc bag, seal it shut, and snip a small corner for the paint to squeeze out.
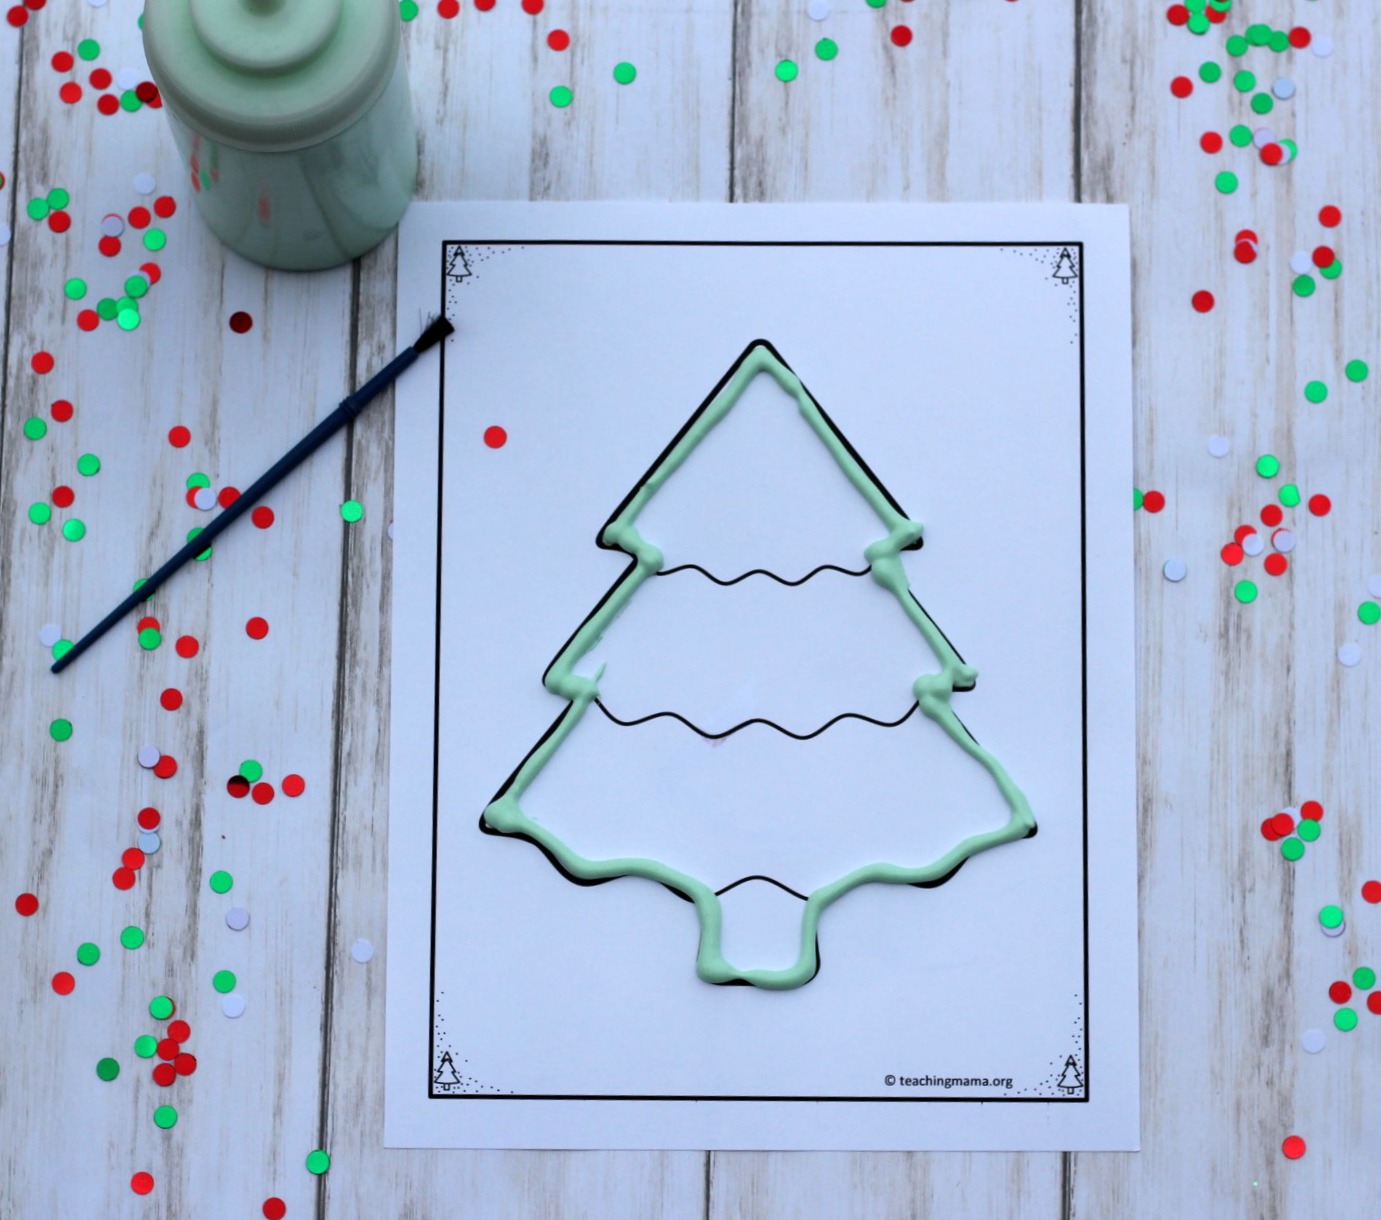
After your little one designs their picture, just let it air dry. It will last for months!
Check out how to make it with this video below.
Puffy paint is so much fun for kids. It’s easy and doesn’t cost a lot to make! Hope you’ll try out these recipes!

This did not work for the kids or me in a squirt bottle unfortunately. It clogged up and we couldnt get it out at all. Will try again with just paintbrush next art time.
I’m sorry! It has clogged for us before, too. I found that if I use a whisk to mix the ingredients, it decreases the amount of clumps. Good luck!
This looks so interesting and fun. Have never made puffy paint like this before, we often mix paint and shaving cream for ours 🙂 I am planning to use this recipe for preschool classes next week. I am wondering how well it holds up when made before-hand? I plan to make about 5 different colours in the bottles and then use it the next day to trace our names. Thanks, Michelle
That’s great! Yes, it will keep for about a week. You should be good! Have fun!
Why not use distilled water so it doesn’t spoil, and what would sticking them in the frig do…just pull them out and soak in warm water before use? I think I will try this!
That’s a great idea, Laura! Thank you for suggesting this.
Awesome Crafts
Can’t wait to try it. Looks fun.
Love it!!!! Awesome Crafts! Keep up the good work Angela!! ❤❤
Just tried making and using one squeezy bottle of puffy paint from your recipe, we both loved it! We also sprinkled glitter on before putting in the microwave which worked brilliantly. I’m definitely going to make the full set of colours next time, along with a set of puffy paint alphabet cards.
So happy to hear that!! Thank you for sharing.
Such a fun activity you can make right in your kitchen! I am delighted to be featuring you on Mom’s Library at Pounds4Pennies this week. I look forward to seeing you there this week.
Thank you so much!
Hi Angela, love love love your blog. AMAZING!
My question for you is…where and how do you store all of the activities/crafts your little ones end up making?!
Thanks
jLa
Thank you soooo sooo much for your sweet words!! I was thinking about doing a post on how I store everything. You can find a little bit on this post: https://teachingmama.org/preparing-to-teach-preschool-at-home/
Also, I do not keep art projects for very long. Maybe a week? If they are really important, I keep them in a special box for each child. Hope that helps!
After a week of having my kids artwork up I take a picture of it and then get rid of it. I plan on making them a book of all their art work when they graduate from elementary school.
I’m so glad you liked our recipe! We have done this activity quite a few times now, and it’s always a big hit with all three of my kids (age 3-8)! 🙂
I did this the other day with my son and he loved it. He painted with brushes but it worked just as well. And putting it in the microwave made it puff quickly for immediate results. We made a gift for his Aunt and she wants to shellac or varnish it to keep it intact.