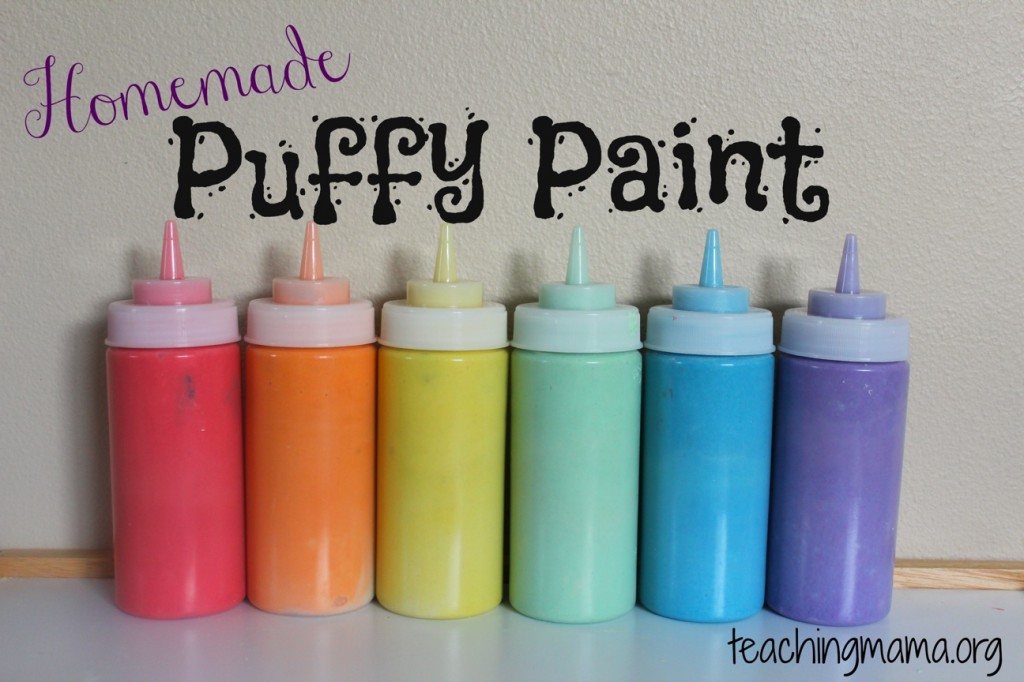
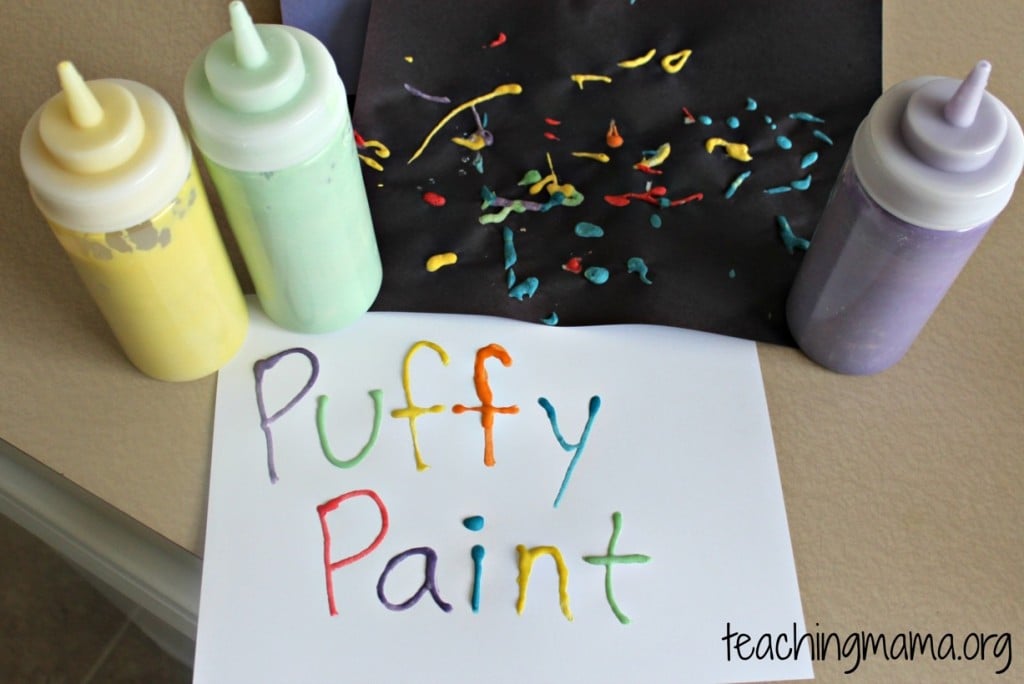
Homemade Puffy Paint
Lately, my son has been obsessed with wanting to make pictures with glue. That means he makes designs on a paper with a glue bottle. After asking for the hundredth time to do this, I thought of the idea of making puffy paint for him to use instead. That way he can use a variety of colors and make a pretty picture. This puffy paint turned out great and your kids are gonna love it!
Puffy Paint Recipe
- 1 cup of flour
- 3 teaspoons of baking soda
- 1 teaspoon of salt
- about 1-1/4 cup of water
- food coloring (I used gel food coloring, but you can use liquid food coloring, too)
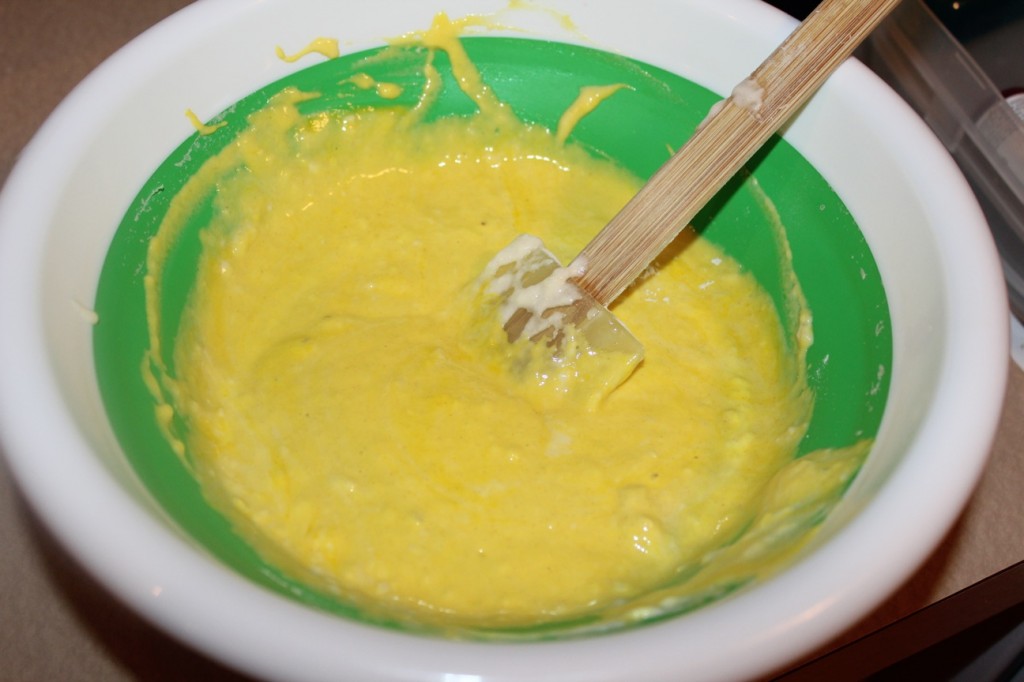
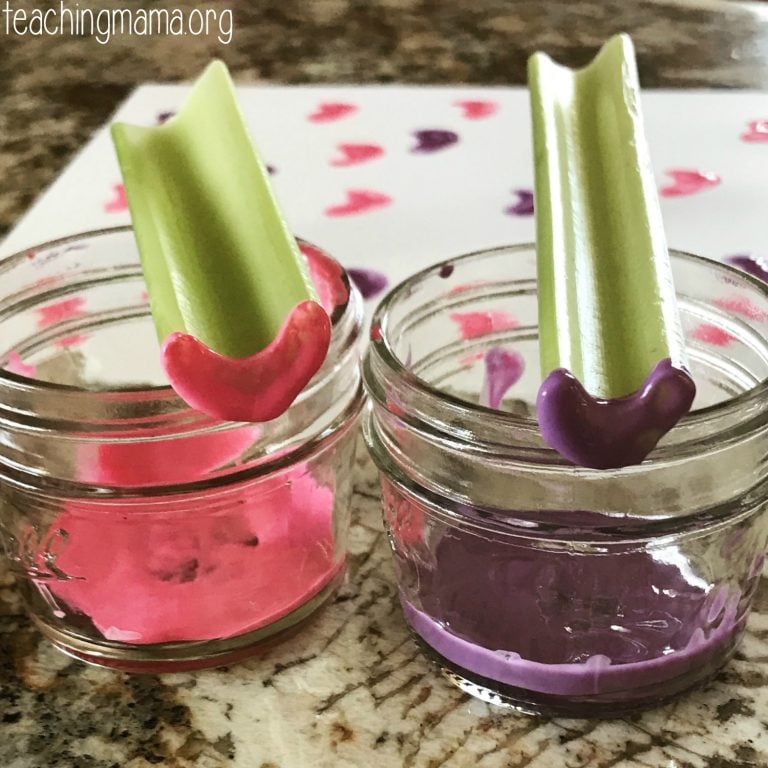
Start by mixing the flour, baking soda, and salt together. Then gradually add in the water. Pour enough water in until it starts to look like pancake batter. Then mix in your color. I made 6 batches of this recipe so I could have 6 different colors to fill my bottles. You could divide this mixture and then add food coloring so you can make multiple colors out of one batch.
I poured the puffy paint into these plastic squeeze bottles. You could also put them into a plastic baggie and cut off one tip to squeeze the paint out.
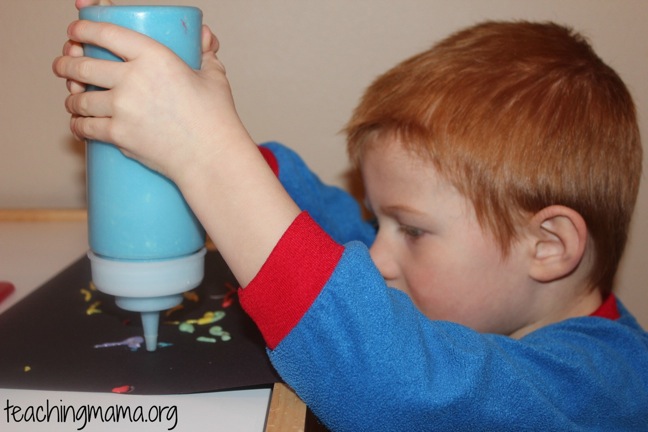
My boys were thrilled when I showed them the puffy paint bottles! They got right to work on creating their masterpieces.

This activity was good for building strength in their hand muscles, which is wonderful for preparing little ones for holding a pencil or using scissors.

When they were finished, we popped them into the microwave for 30 seconds. Then it was dry! You can also let it air-dry overnight.
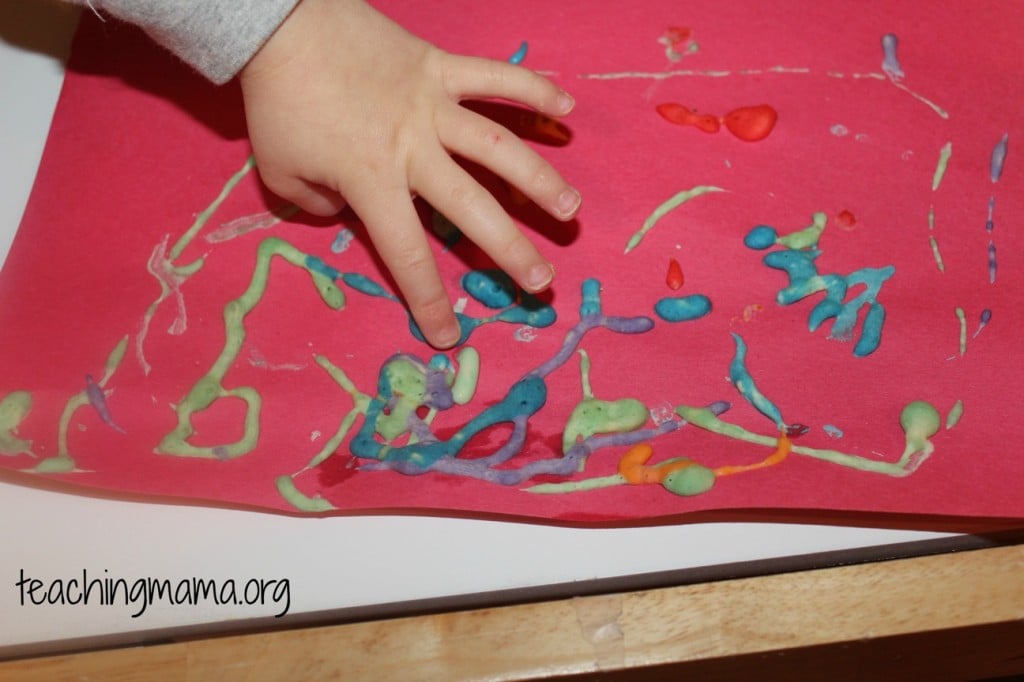
Since I’ve made the puffy paint, the boys have used it numerous times. I’ve left it out on their art table and they keep creating little masterpieces. I am loving this puffy paint and I think you will, too!
This paint lasts for about 5 days. After that, it starts to smell! So when you make this paint, keep that in mind! 🙂
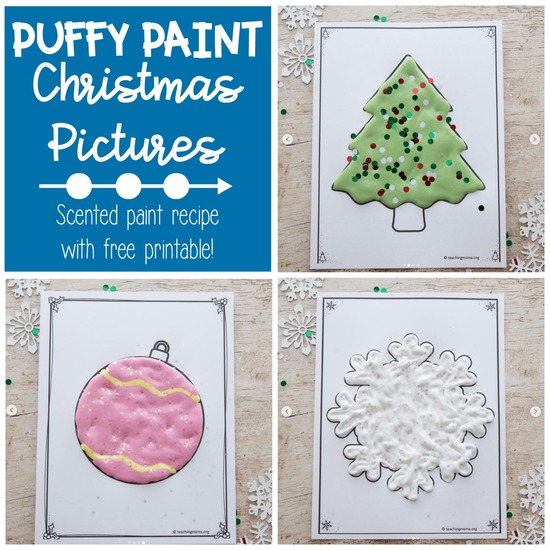
Favorite Puffy Paint Recipe
My other favorite recipe for puffy paint is incredibly easy to make and looks so awesome! I have a post with Christmas printables using this puffy paint, which you can find here.
Ingredients for Puffy Paint:
- 1.5 cups of foamy shaving cream (I like Barbasol)
- 1/2 cups white Elmer’s glue
- 1/4 cup flour
- food coloring
- a squeeze bottle or a plastic Ziploc bag
Begin by mixing the first three ingredients together. Use a spatula to mix it up. Add in some food coloring. Then use a spoon to pour it into a squeeze bottle or plastic Ziploc bag. You can also divide the paint before adding food coloring to make multiple colors.
I think a squeeze bottle is easier for a child to use. But if you don’t have one on hand, you can put it in a Ziploc bag, seal it shut, and snip a small corner for the paint to squeeze out.
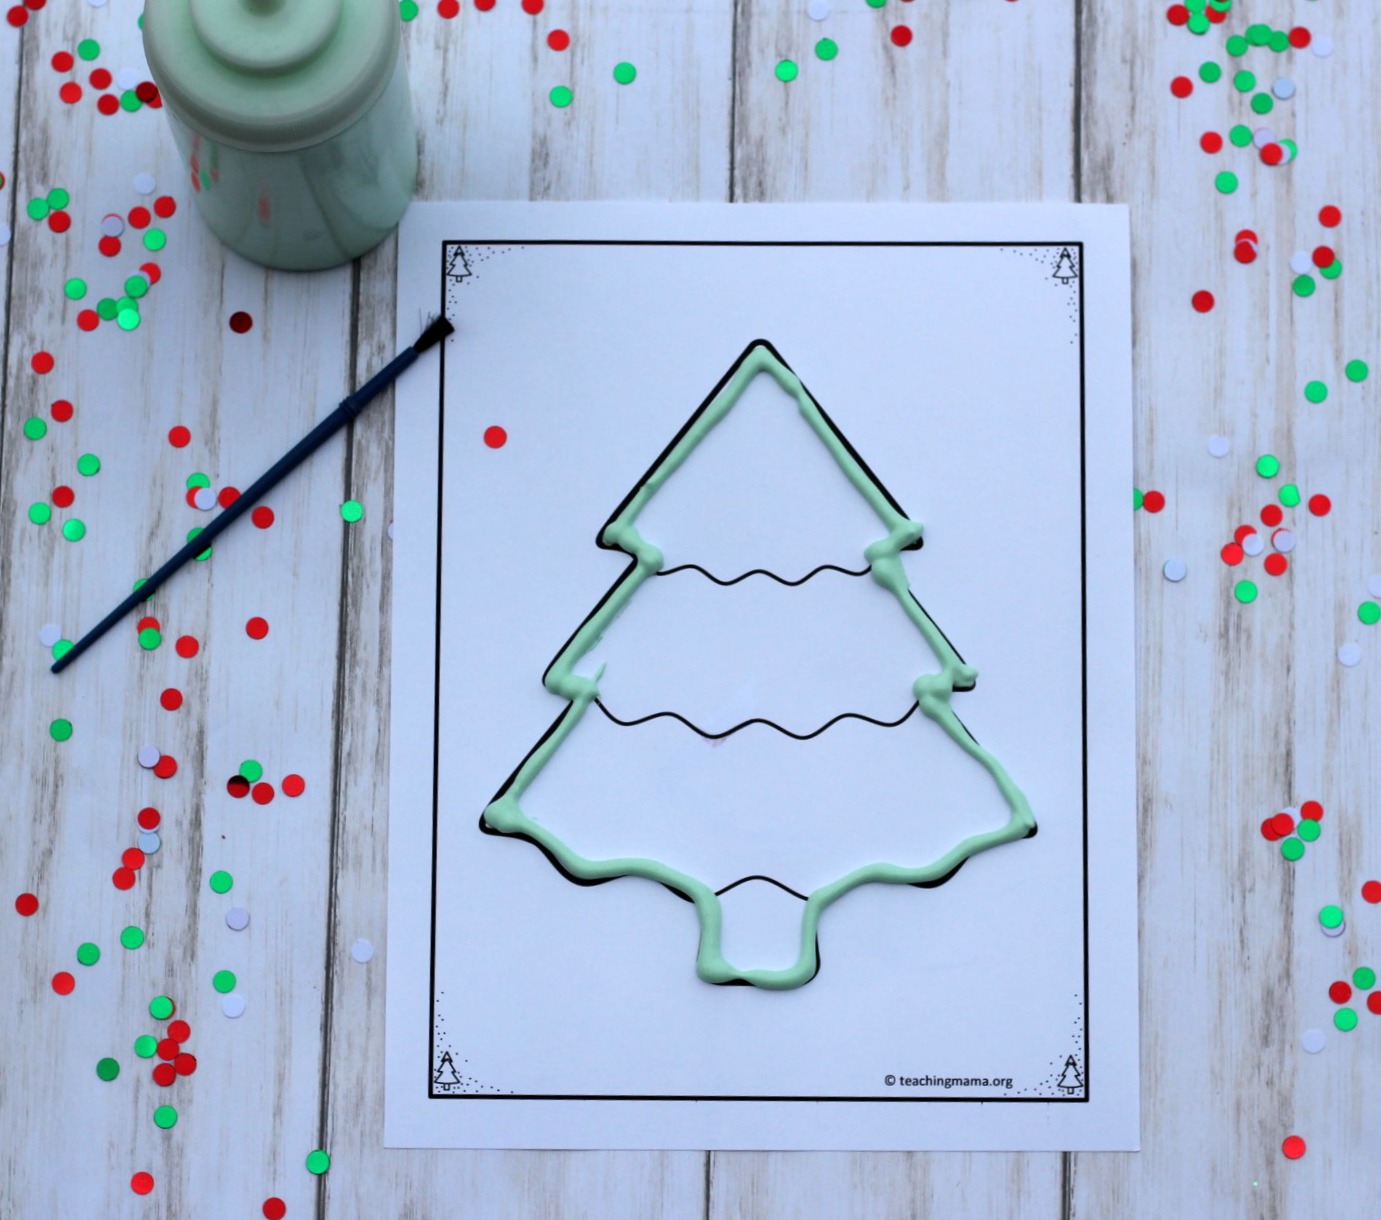
After your little one designs their picture, just let it air dry. It will last for months!
Check out how to make it with this video below.
Puffy paint is so much fun for kids. It’s easy and doesn’t cost a lot to make! Hope you’ll try out these recipes!
Wow. This was great. Rainy day today tired of making play dough. Lol. This was perfect we used empty dishwashing liquid bottles The girls loved it. Age 6 9 and 9. Easy and fun. I got in on it! Thank you so much!!
Can you use regular paint instead of food colouring? Wanting brown
Can you also tell us how long the painting last? Cos I’m thinking of making this puff paint with my little nephew and put it in his art and craft collage and make a frame out of it. I only want to know if it last longer years. Thank you
Great question! I have only tested it for months and it held up great. I’m sorry I don’t know how it lasts over the years.
Great recipe! My 5 year old son with a rather short attention span loved it.
Thanks for sharing.
Thank you after searching thru many sites only to get redirected deeper and deeper into peoples pages and never truly finding the recipe. It was nice to see a site that did not mess around and posting the recipe right on top. Who has the time…. Ty can’t wait to try
I agree that it’s frustrating not to find the recipe right away! Thank you!