DIY Window Clings
I am so excited to share this new craft with you today! We just created DIY window clings and they are SO easy to make! I can’t wait to share all the details with you. I saw the idea on this site and decided to try it out and put our own twist to the activity. These window clings would be great to make with your preschooler at home or it would be a fun classroom project!
(This post contains affiliate links. See my disclosure page for details.)
Here’s what you need to make your own window clings:
- 2 Tablespoons of white glue (I used Elmer’s
)
- 2 drops of dish soap
- food coloring (I used gel food coloring
, but you could use liquid food coloring.)
- plastic page protectors
- paintbrush
- cookie cutters
(optional)
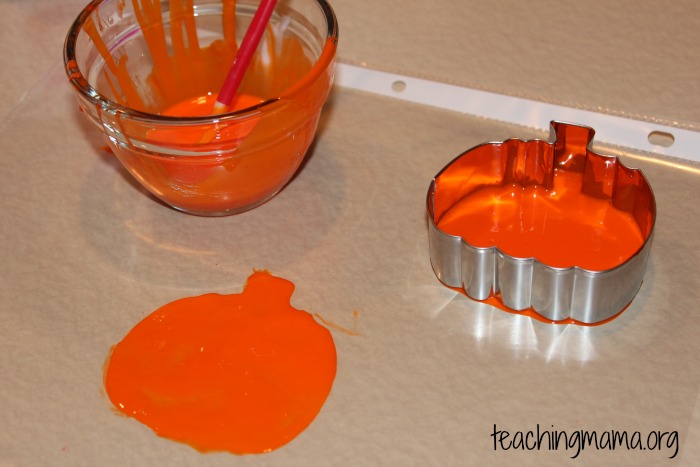
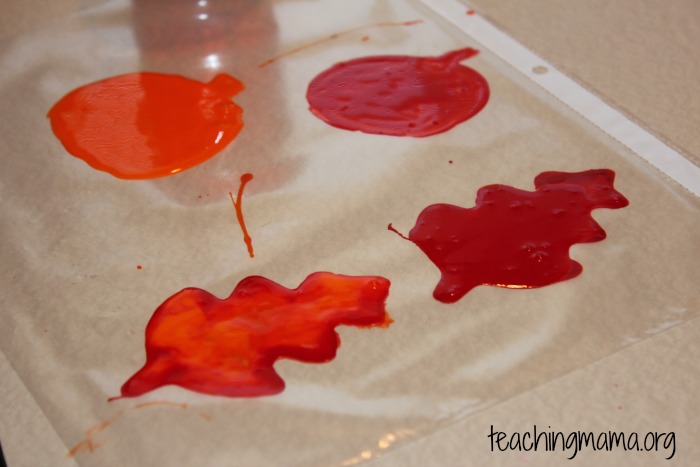
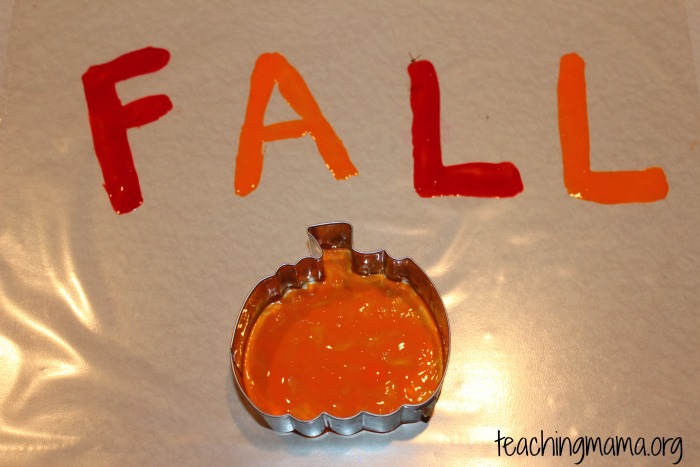
Start by mixing the glue, dish soap, and food coloring together into a bowl. Then use a paintbrush to paint a design on the plastic sheet protector. You can also fill in a cookie cutter with the colored mixture to make it easier. We used fall cookie cutters that I picked up from Hobby Lobby.
You want the design to have a semi-thick layer. If you use too much, the design will run together and won’t dry properly.
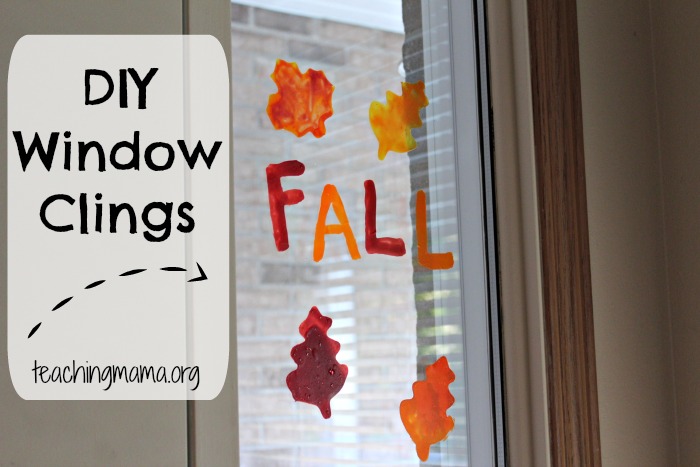
I also wrote out the word “FALL” because I thought it would look nice on our window with our fall leaves and pumpkins.
You may want to leave the cookie cutter on the design for a few minutes until the glue mixture settles. It helps the design stay in place.
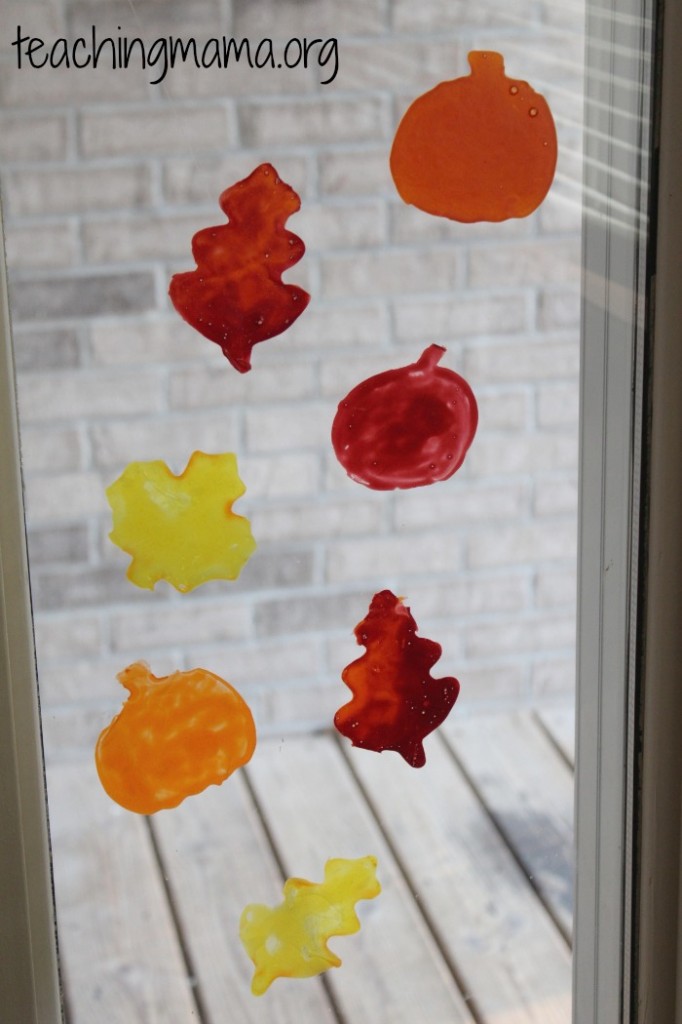
Allow the window clings to dry overnight. Once they feel dry, you can peel them off the plastic page protector and stick them to the window! So easy! They stick very well and can be used for a long time.
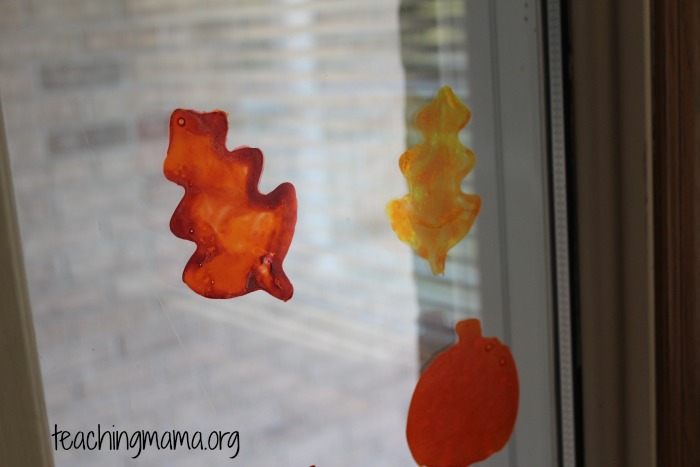
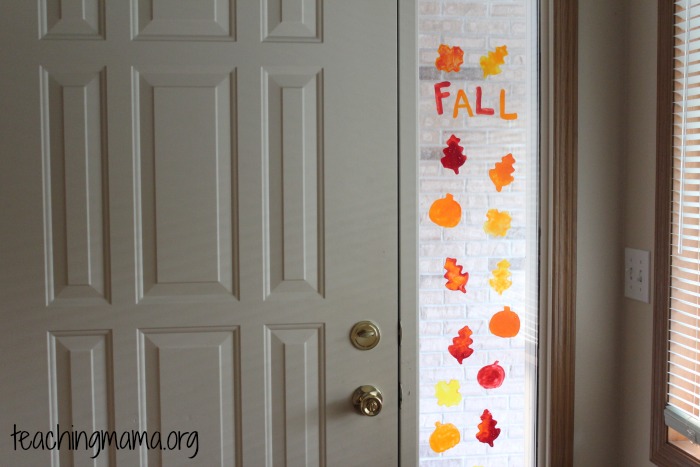 I LOVE how these turned out! They look so pretty on the window. I’m sure we’ll be making these for every season now!

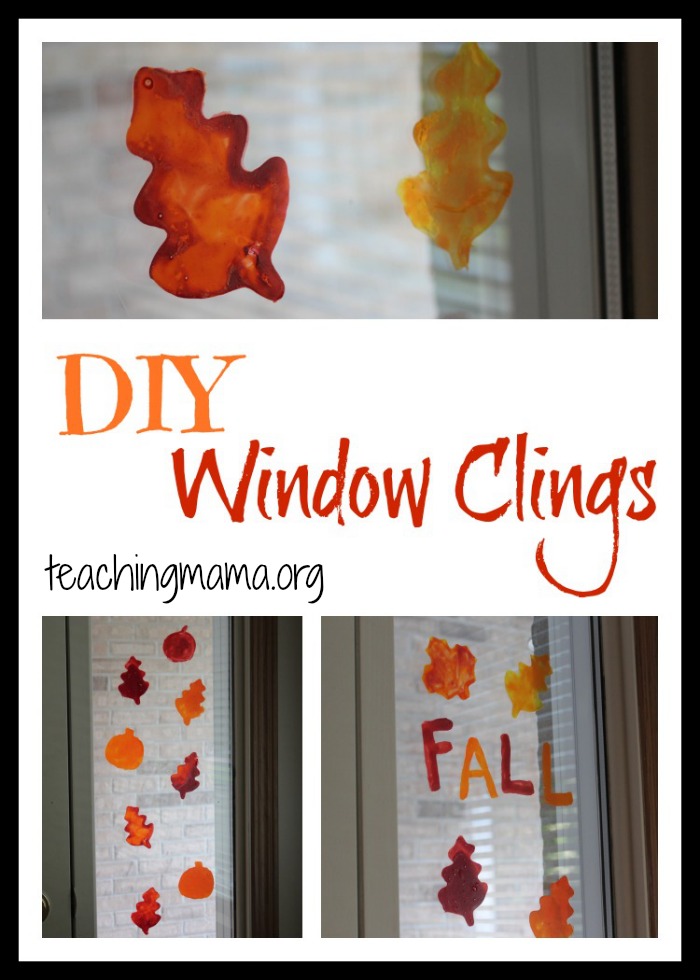
first of all i would tell you that these window clings are fabluous in their own term! simply loved this
I am wanting to make some cling paper dolls for my granddaughters. I have the clothes to cut out and I was wondering if I didn’t add the food coloring, and painted the clothes with the glue/dish soap mixture if it would work to attach the clothes repeatedly to the doll base. I was also thinking to cover the doll with clear contact paper to attach the clothes to. This probably doesn’t make a lot of sense but has anyone made cling paper dolls and how did you do it? Thanks!
I’m sorry I don’t have a good answer since I haven’t tried this. But, I do think that it would work.
Hi so that would work. Haven’t tried myself but I will soon! Thanks for the idea. The only thing is don’t add a lot of clothes to the dolls or they won’t stick because of the weight.
Sincerely,
Tina Mills 😎
Do you have any experience with how these hold up or affect windows on a hot day?
If it’s hot and humid, they can curl up. If it’s just a warm day, they stay on just fine. I find that very cold weather also makes them not stick well. Hope that helps!
Would laminating sheets or aluminum foil shiny side up work as well?
Laminating sheets would work, but I don’t think foil would.
Foil worked for me
Just a guess, but those who experienced a runny mixture: did you use Elmer’s glue, or school glue? The non-toxic “school Glue” is much thinner than Elmer’s glue, and could be the reason for the difference.
I’m getting ready to try this with my after school program–I can’t wait to see the results!
I did this for halloween. I dyed it red and did “bloody handprints”. I used liquid food coloring and page protectors, so I had no problem getting them off. They were also no problem to take off and restick.Thanks so much for the idea!
What a cool idea! Thanks for sharing what you did!
LOKE YOUR CLINGS JUST MADE SOME UP I USED EXACTLY WHAT YOU DID BUT USED 2 DROPS OF REGULAR FOOD COLORING ITS SO THIN AND YOU CAND DRAW WITH IT
AND I DID THE EXACT MEASUREMENTS I USED DAWN DISH SOAP BUT DONT THINK THAT WOULD MATTER JUST CURIOUS WHY ITS SO THIN AS I NOTICED SOMEONE ELSE COMMENTED ABOUT TAHT COULD YOU LET ME KNOW REALLY LIKE YOUR CLINGS
SO THEN I DID ONE IN A COOKIE CUTTER DO YOU HALF TO PUT ALOT IN THAT
COOKIE CUTTER WANTED TO PAINT A PICTURE SO BAD BUT ITS TO RUNNY PLEASE LET ME KNOW I RALLY LIKE YOUR CONCEPYT ETC
I am SO sorry for the disappointing turnout. 🙁 My guess is to add more glue to make it thicker. I would also coat the inside of the cookie cutter with a thick amount of the mixture. Hope that helps!
Great project that worked out well. Made a batch with kids and tested a small amount on various papers. As others noted, plastic bags or sheets and shiny side of freezer paper worked, parchment and wax paper did not.
We split up a batch into 6 colors and used 2 drops of gel food color in each. Colors were very dark and great to use. That would be 12 drops for a full recipe.
2 things to watch out for. Any bubbles in your work end up showing as white (empty) spots once the clings are done and out on a window. They don’t bother us much but are very noticeable.
2nd is that if you are layering or mixing colors, what you see while painting the clings is not what you get when they dry. The layers all blend together and the darkest one is all that you see. As an example, when wet, a yellow eye on a black cat stands out well and looks great. When dry, it is almost impossible to see that there was any yellow at all. So if you plan to add shadows or highlights or do similar mixing effects, be aware of this.
How cute would these be uncolored for a frosty snowflakes or faux icicles effect? The only issue with that might be that because those are more line based instead of solid shapes they might be more fragile.
Just tried the hot glue version (from pinterest) and they didn’t cling at all-might have to do it directly on the windows for that. Not all lost though, a little shimmer paint and glitter turned a fail into super cute (and cheap!) ornaments
How do u store these? And do they restick over and over?