Plastic Egg Water Wall
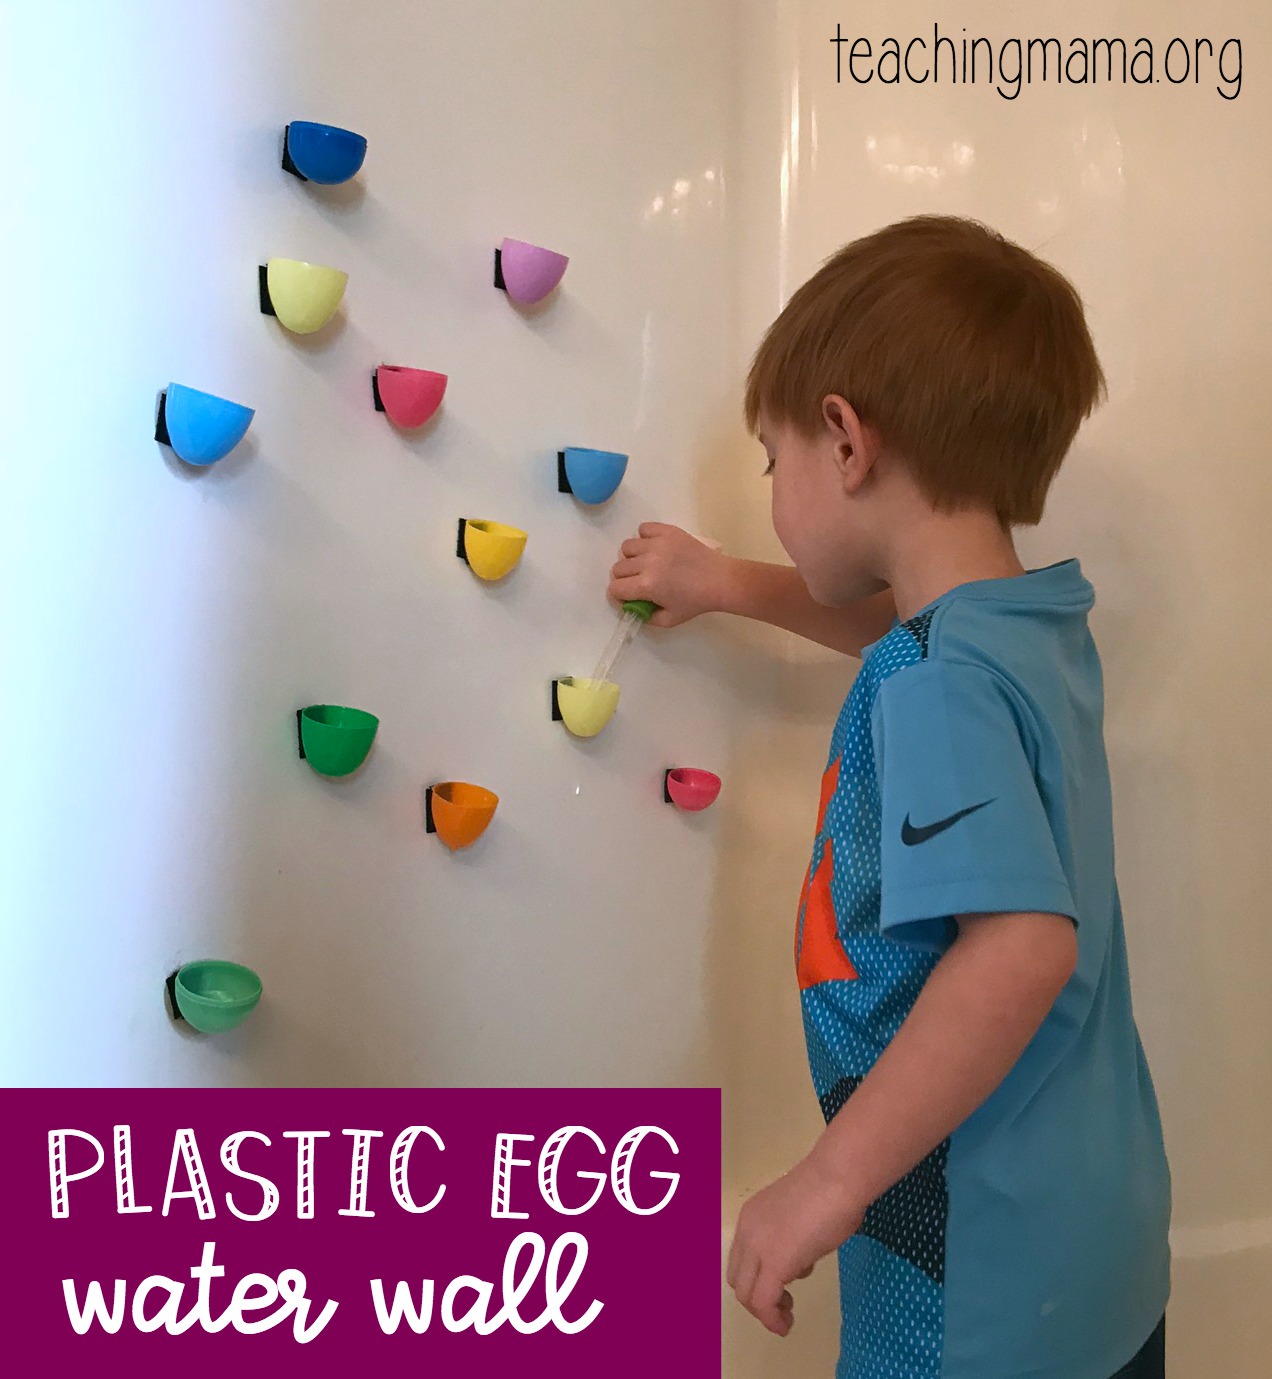
Have you ever just had an idea come to you? That’s how this activity came to be. I was looking at the plastic Easter eggs that we re-use every year and was noticing the small holes on the bottom. It made me think of how they could be made into a fun water wall for my child to play with. So that’s what I did! Lincoln helped me create this and he is super proud of it. In fact, he claims HE came up with the idea, so I let him take the credit! 🙂
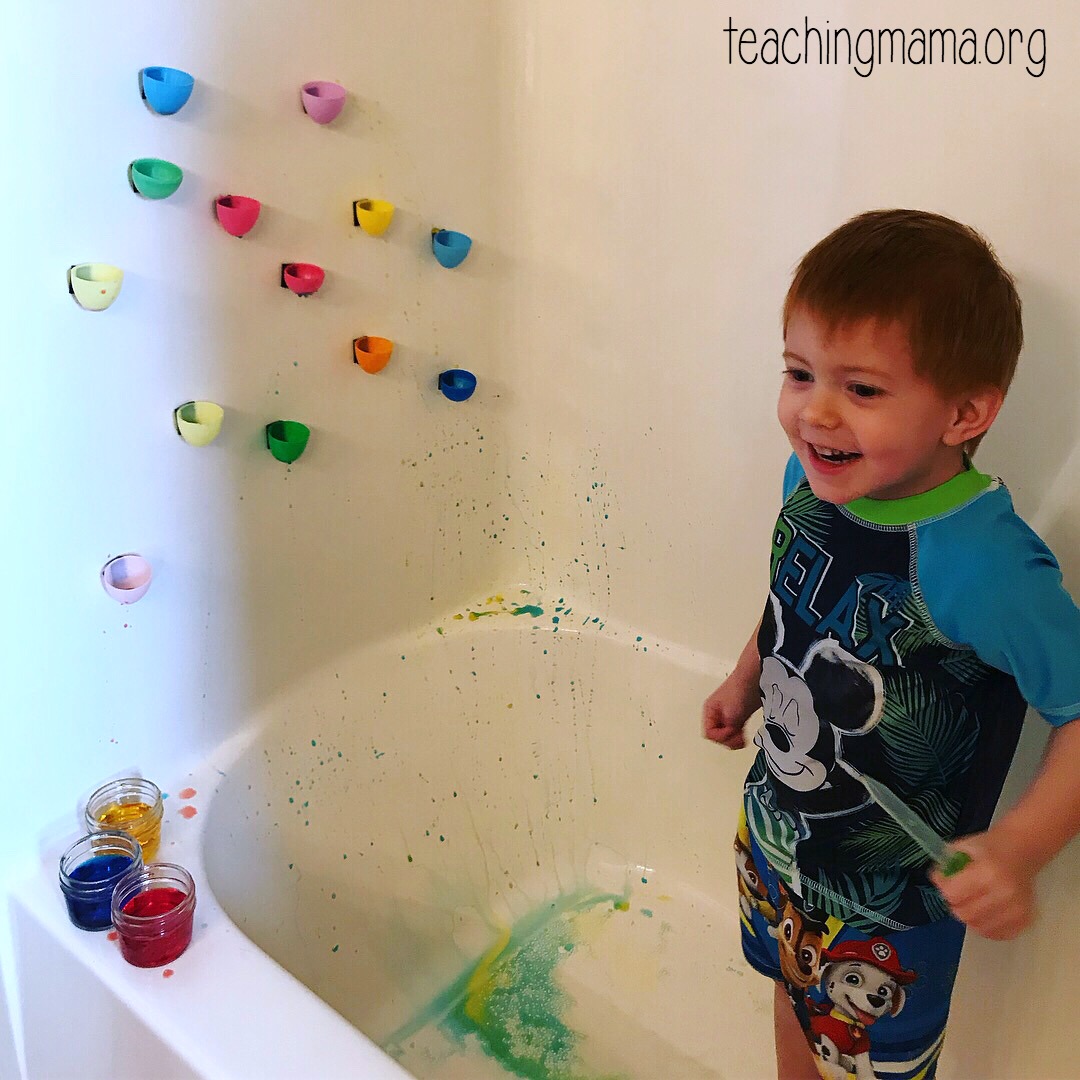
It was incredibly fun! We tried it with plain water and then water colored with food coloring. Lincoln liked the colored water, but it was a bit messy. This activity was fun, but also great for working on problem solving skills, fine motor skills, color recognition, and the senses.
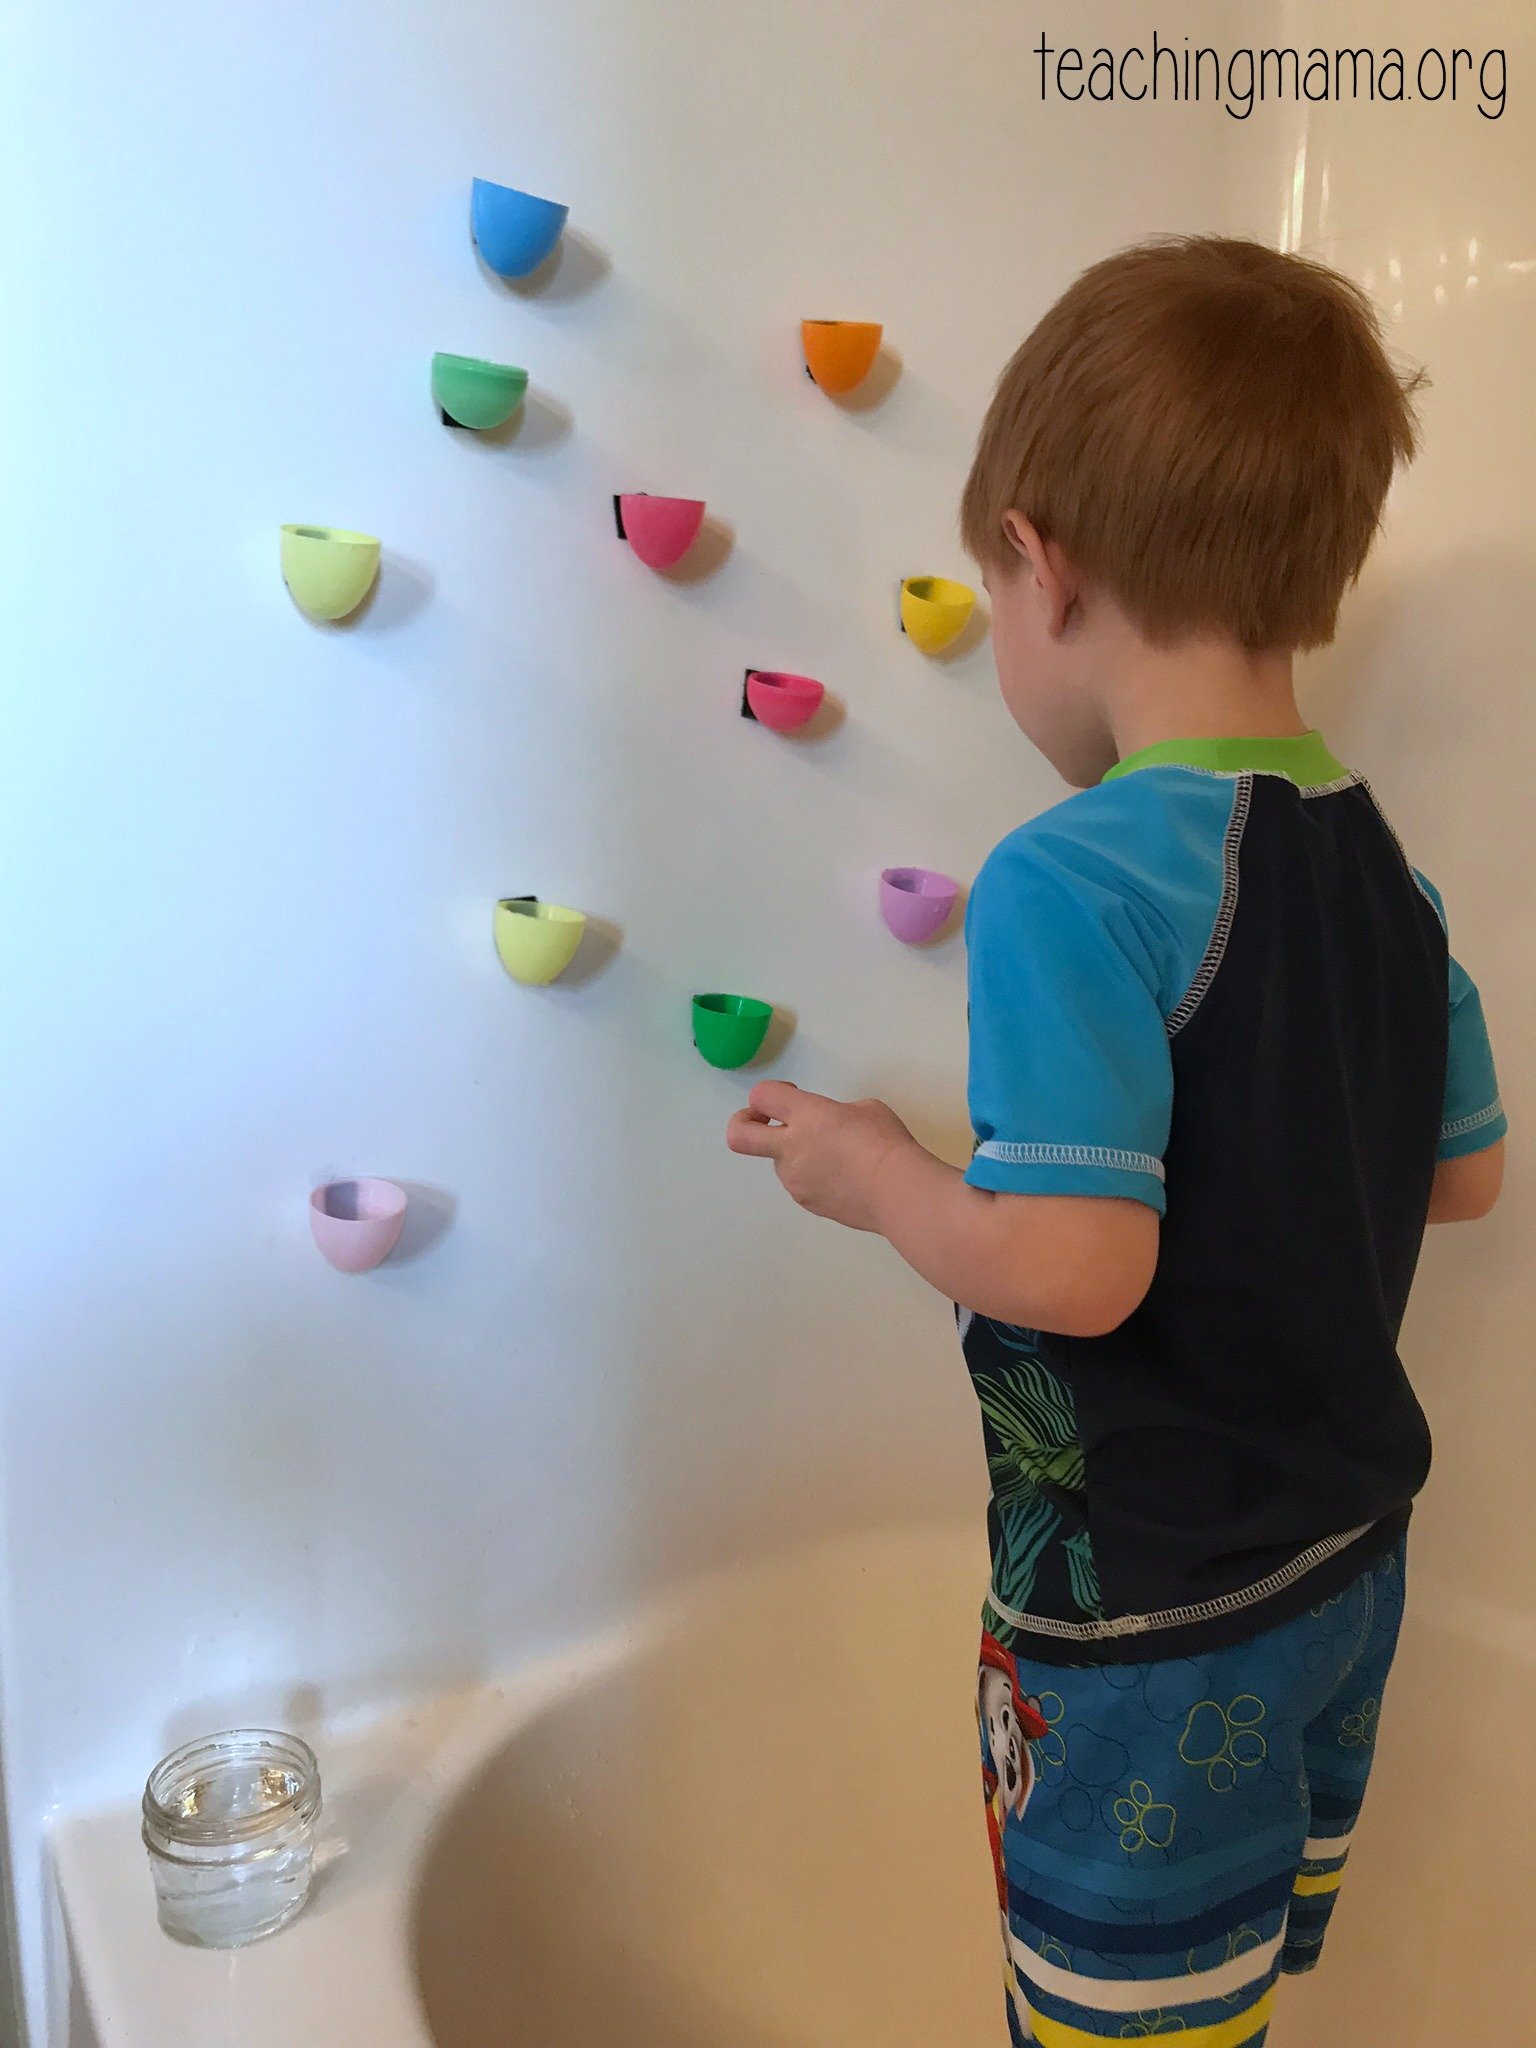
Here’s what you need for the plastic egg water wall:
- plastic egg halves
- Velcro tabs with sticky backs
- scissors
- bathtub
- cup of water (food coloring optional)
- dropper (optional)
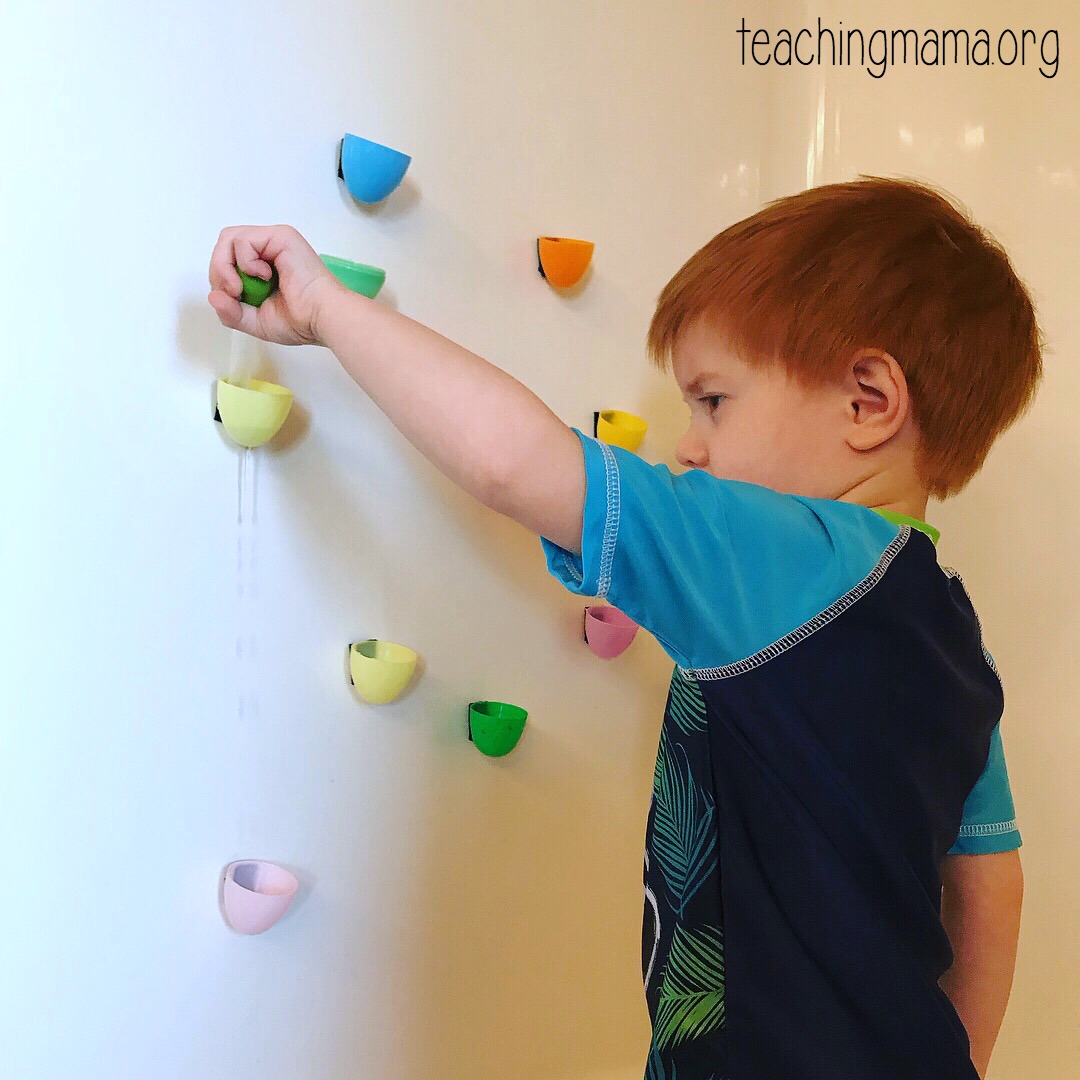
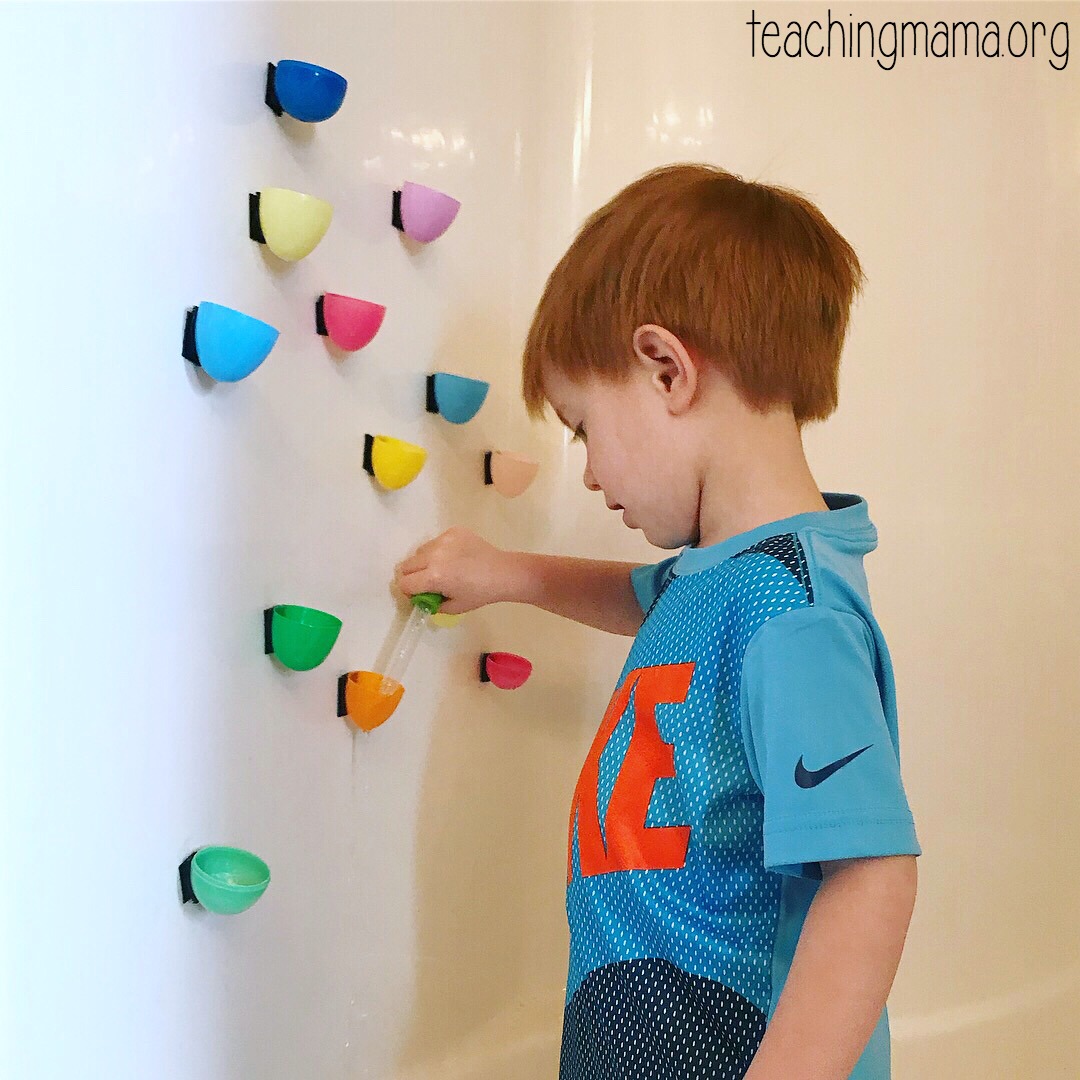
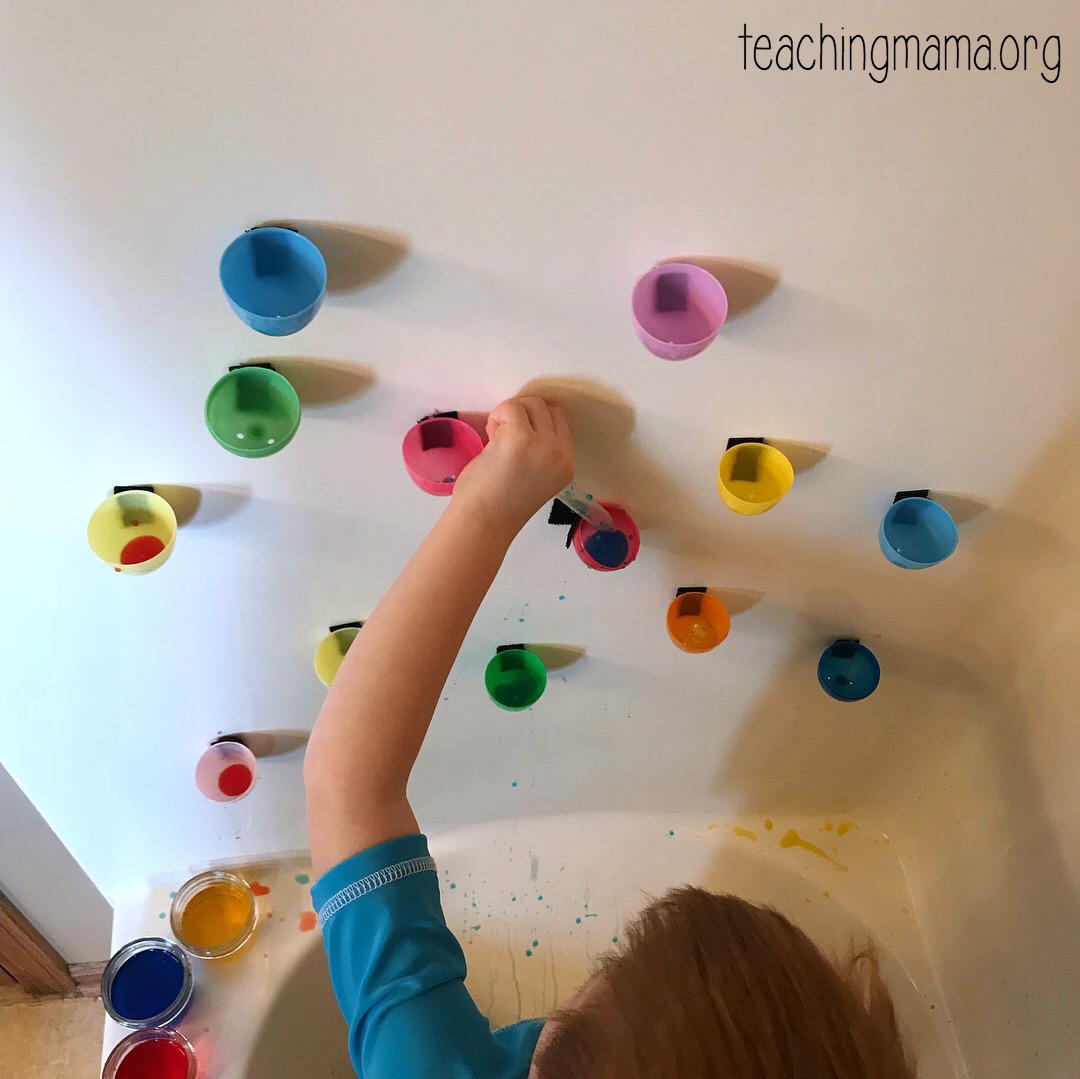
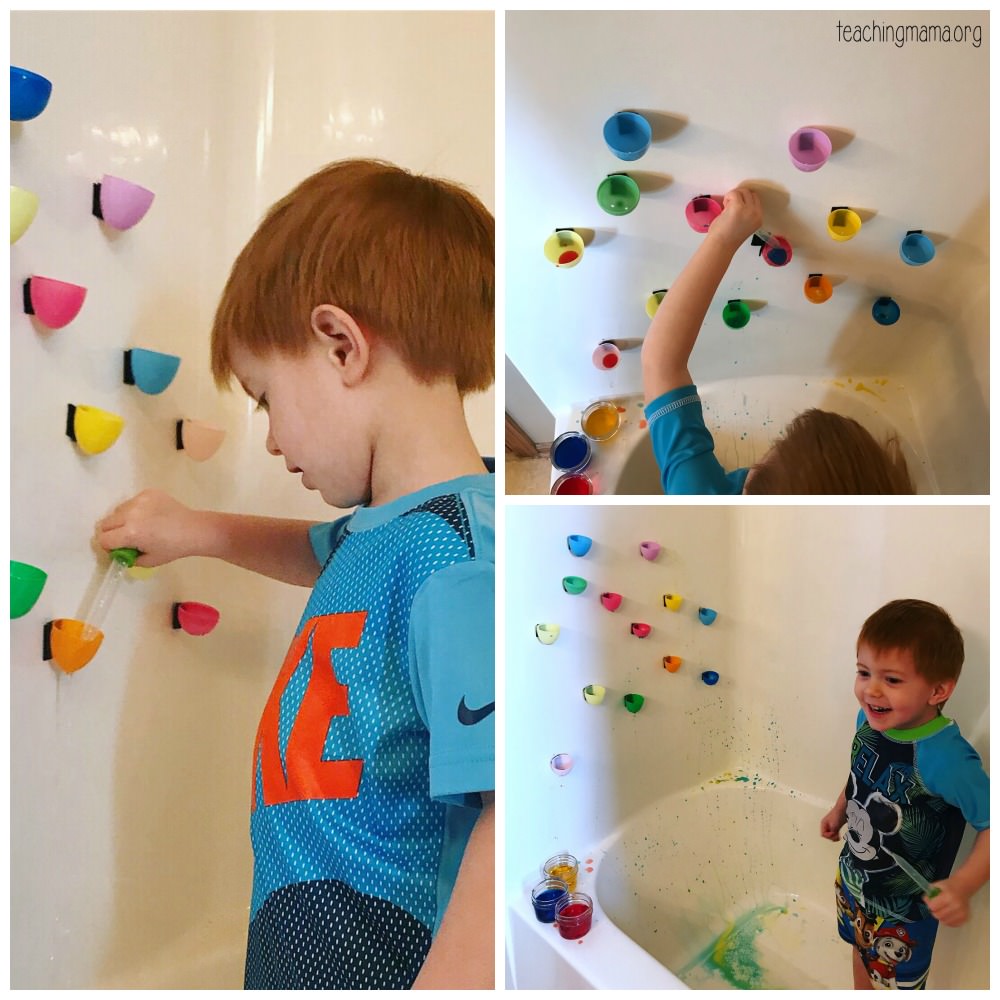
To set up, start by cutting the Velcro tabs to fit one side of the egg halves. Stick them to the eggs. Place the matching Velcro tab onto a bathtub wall. Attach the eggs to the wall. Let them sit for a few minutes. Then use a dropper to place water into the egg halves. Watch as water drips out! If the water is not coming out fast enough, carefully use one end of the scissors to make the hole wider.
It’s fun when you line up two eggs and see one drip water into the other!
You can also try this activity with colored water.
I know this may seem like a unique activity, but it is really, really fun! You could also try this on a wall outside if the weather is warm enough!
Let me know if you try it out!




This so great! I love, love your website, and all your ideas. Thank you so much! I used to watch my nephew and we did so many of your activities and projects, and now I’m pregnant with my first child and can’t wait to do those things with my baby! You are wonderful, thank you again.