Fingerprint Valentine’s Day Craft
Every holiday has decorations, because who doesn’t love them?! I finally got around to putting away the Christmas bins and realized that Valentine’s Day was coming soon and with last year’s purge we got rid of most our old decorations. That left me with candles and some kids craft packets for Valentine’s Day.
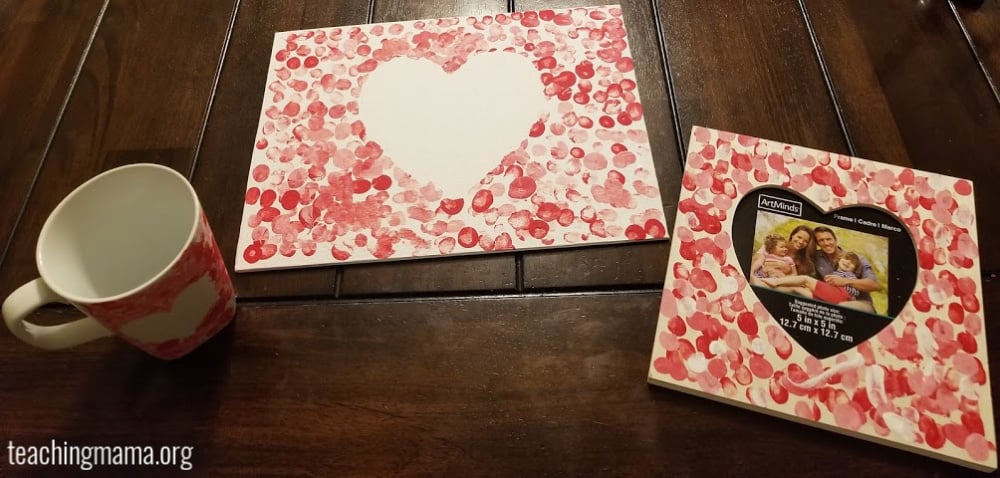
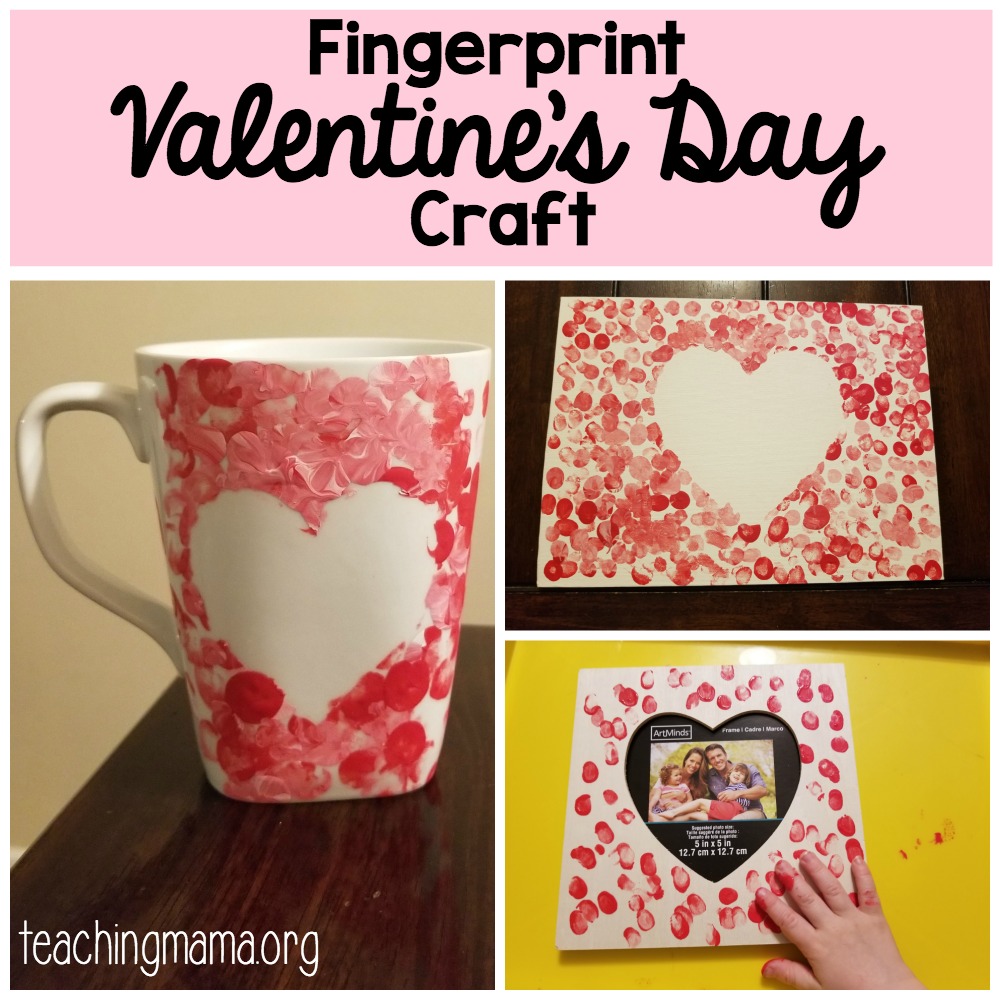
With the kids getting older I thought what a great way for the kids to get involved; we were going to do DIY Valentine’s Décor! Sure, paint or beads might have ended up on the floor, and glitter in hair, but the kids had a great time! Now, I love kids’ crafts as much as the next mom, but they aren’t reusable. That’s when I thought of the idea to use fingerprint art to make decorations, this way I could bring them out each year. These are the different projects we ended up making.
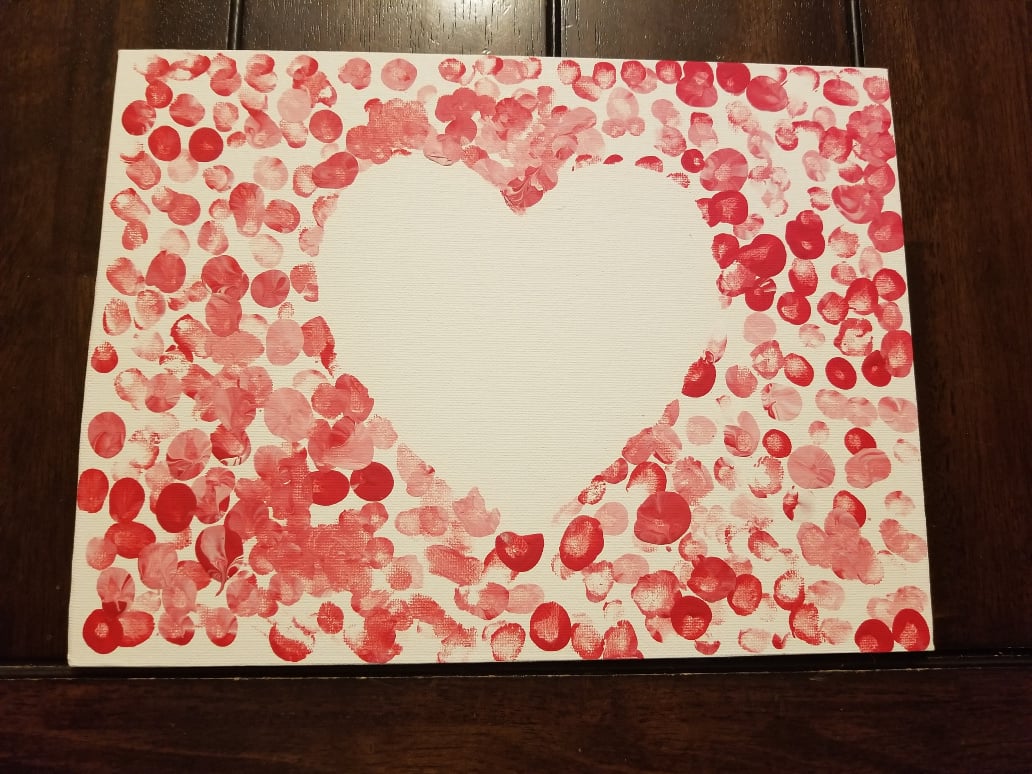
Heart Family Canvas
This was my original thought that inspired the other projects below! It turned out so well, we plan on making a non-Valentine color themed one to hang up all year!
Materials Needed:
- Canvas Board (I bought mine at Michaels)
- Acrylic Paint
- Heart Cut Out (mine was 6 inches across the widest part of the heart)
- Poster Putty
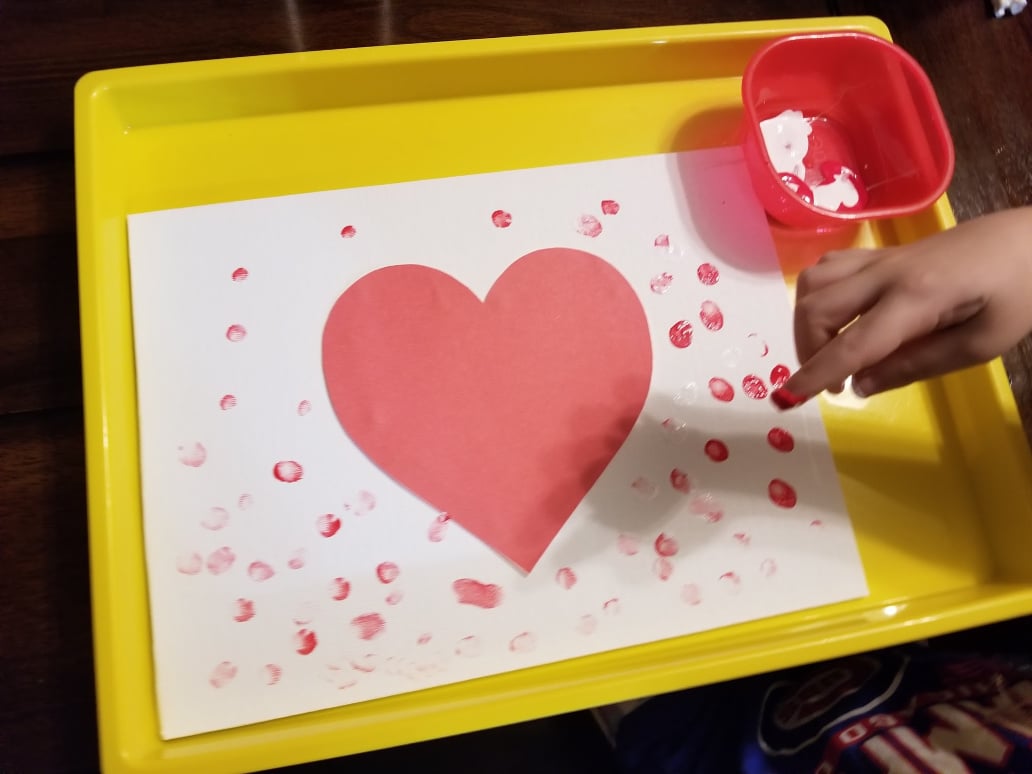
Using the poster putty, attach the heart cut-out onto the canvas board. Put a small amount of the desired colored paints into a small bowl. Have your kid use one finger at a time to dip into the paint and onto the canvas. You can choose to have the colors natural mix or keep them in separate bowls. Once the canvas is covered, allow to dry. If you have multiple kids, a great effect is if you allow them to use the same canvas just dry in between Remove heart cut-out and putty. You could use this same concept to make wooden blocks with the word “love” or your family name.
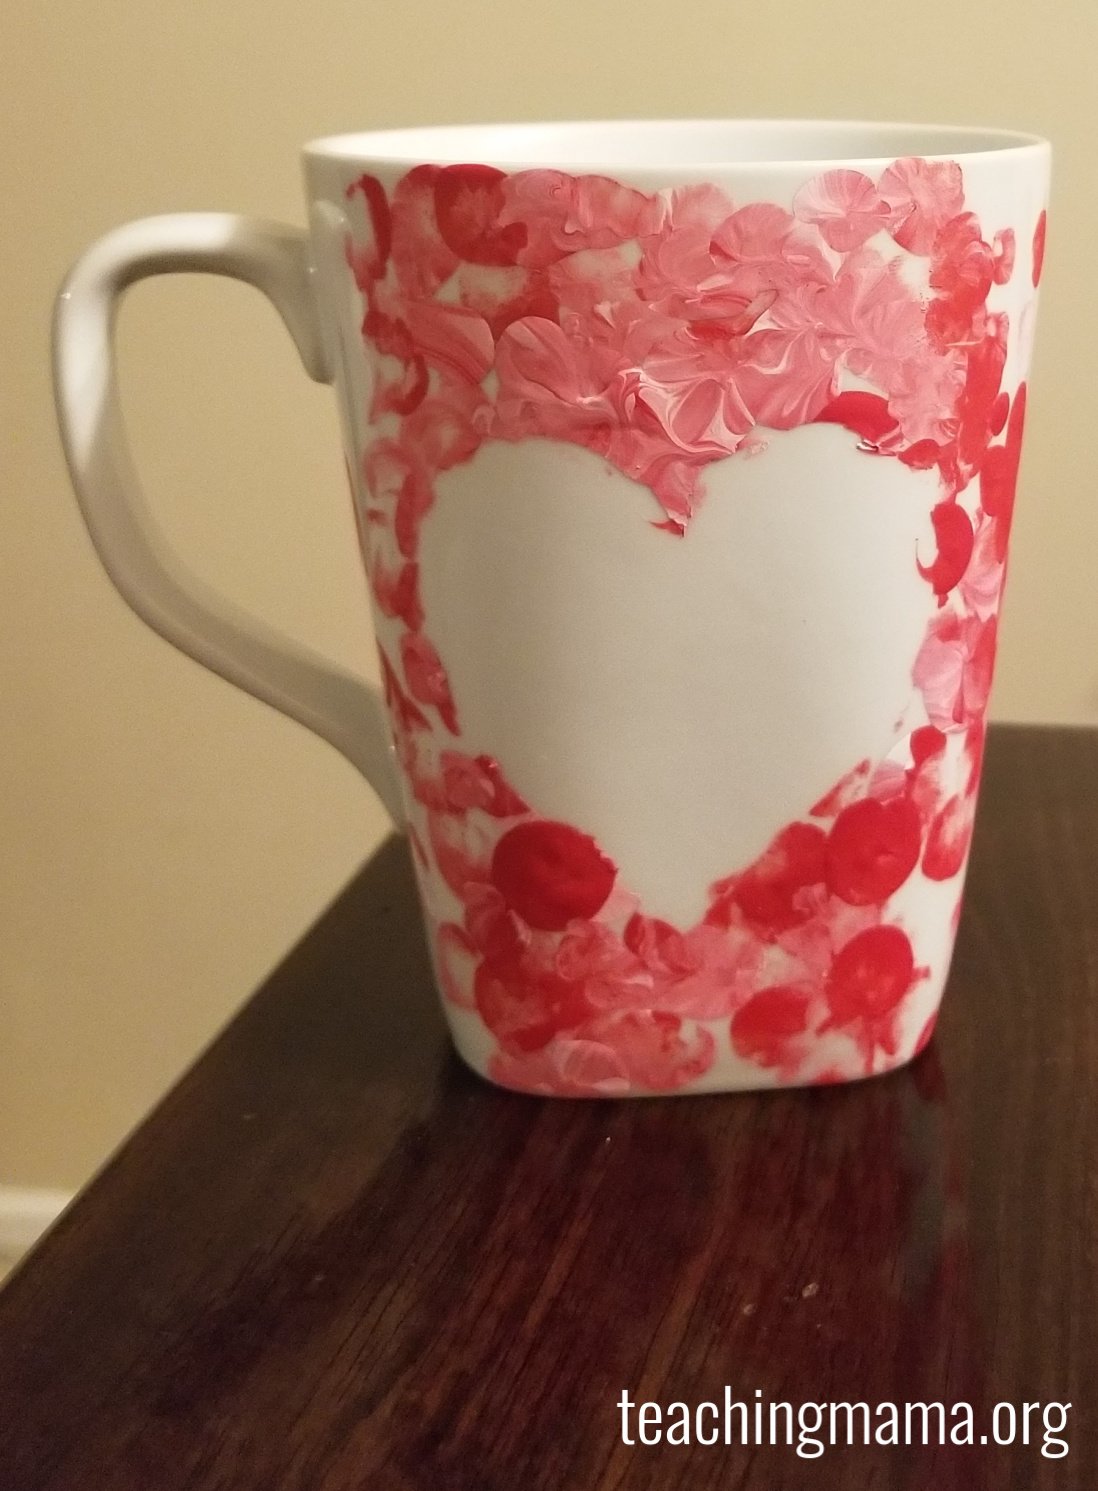
Fingerprint Mug
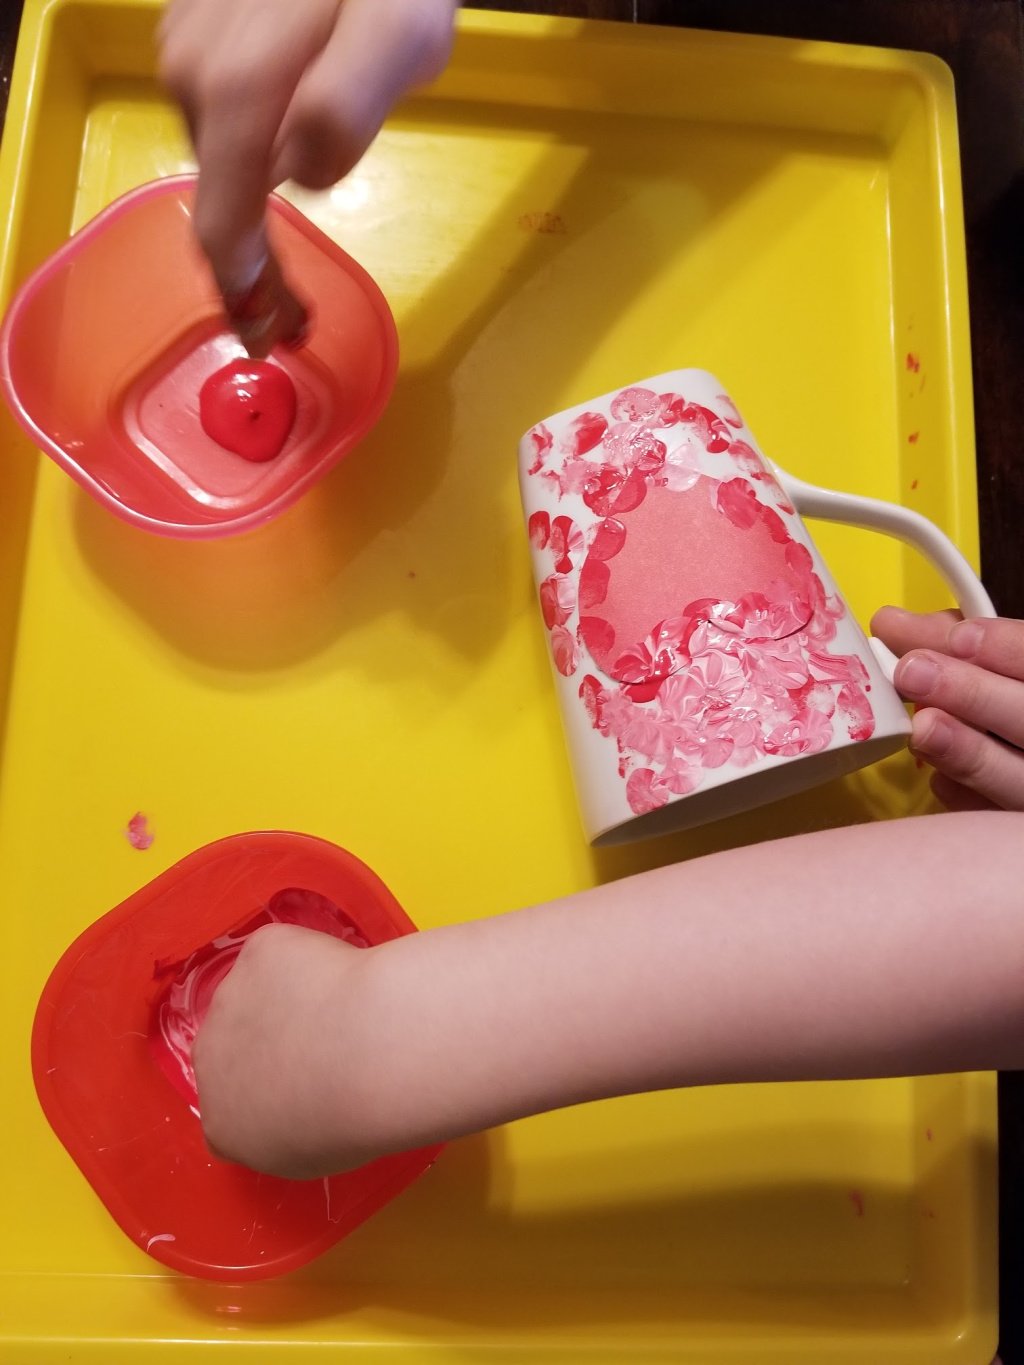
Like most moms out there, I live on caffeine! And you can’t have your liquid courage unless you have something to drink out of. I confess I have gathered quite a collection, thus, why not add another fingerprint project!
Materials Needed:
- White Mug (I bought mine at Target)
- Acrylic Paint
- Heart Cut Out (mine was 2 inches wide)
- Poster Putty
Using the poster putty, attach the heart cut-out and letter cut-outs onto the desired wood blocks. Put a small amount of the desired colored paints into a small bowl. Have your kid use one finger at a time to dip into the paint and onto the mug. Once the mug is all covered, allow to dry. Remove heart cut-out and putty.
Important Note: To make this a fully food safe item, my suggestion is to take your ceramic piece to a ceramics shop to get a food-grade glaze added and then fired. You can add acrylic sealers but these will only make it waterproof.
Print Frame
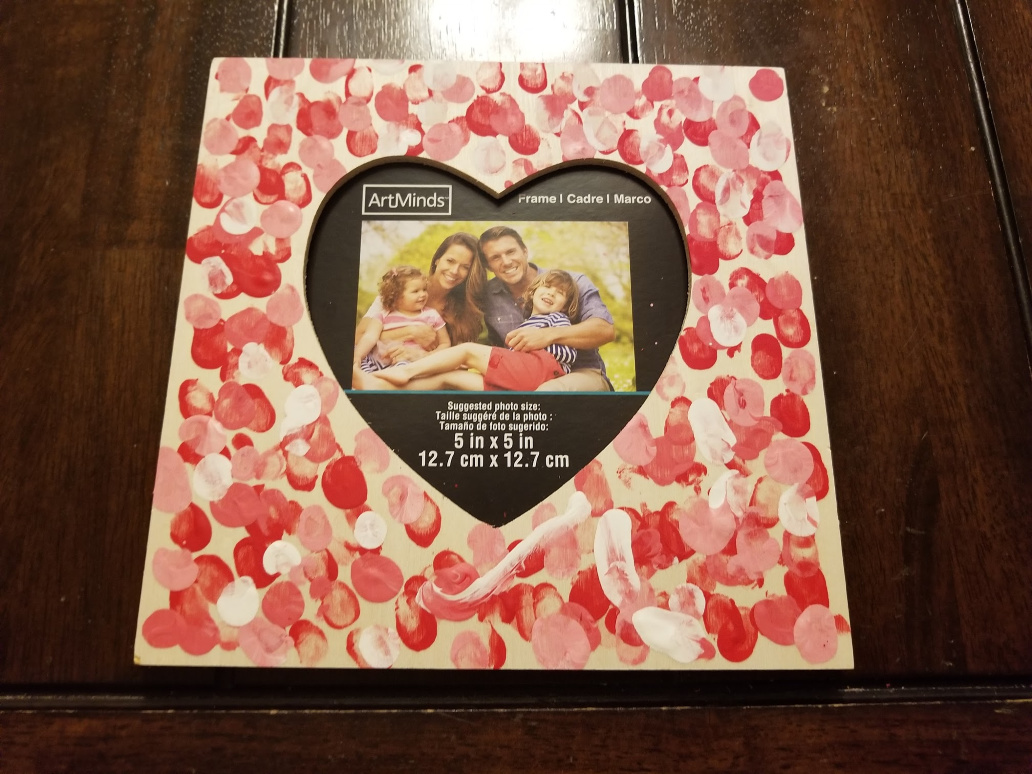
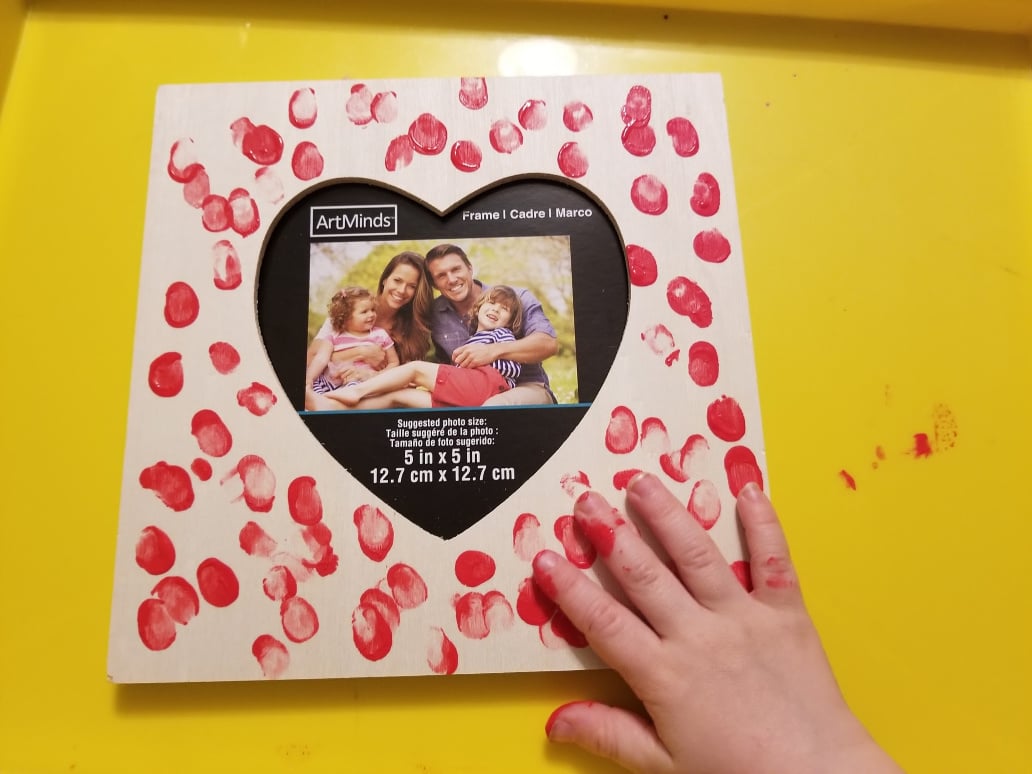
I found a craft kit from a few years back that had a foam picture frame with stickers for decoration. I wanted to upgrade this idea a bit, so using our fingerprint theme, each kid made their own frame.
Materials Needed:
- Wooden Frame (We used a heart one found at Michaels)
- Acrylic Paint
- Photo
Put acrylic paint in a small bowl. Let your kid use one finger to dip into the paint and onto the frame. Once the frame is covered, allow to dry. Add picture and display.
I hope you love doing these projects as much as we did!
BIO: Rachael Alley is a mother of 3 and wife to a loving husband. Rachael is a former chemist turned stay-at-home mom currently residing in Chicago, Illinois. Her favorite things to do with her kids are random science experiments and dance parties. On the weekends she enjoys time doing outdoor activities like hiking, kayaking, and canoeing.

