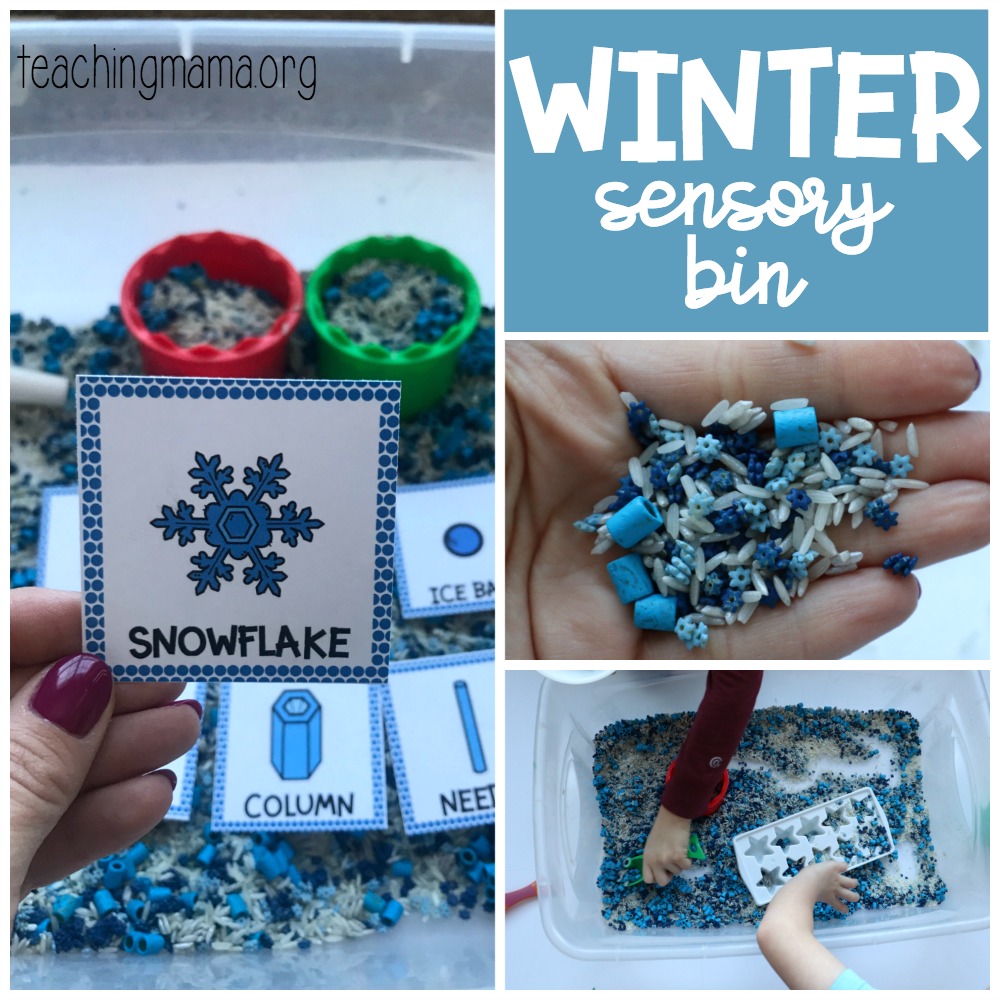
Winter Sensory Bin
Winter is in full swing! Brrr! The temperatures here are absolutely freezing this week. I realized we’ve never made a winter sensory bin, so I decided it was time! I love how it turned out. We used a few different items from the kitchen and the colors are beautiful and icy blue.
Winter Sensory Bin Supplies:
- large plastic bin (this one works well!)
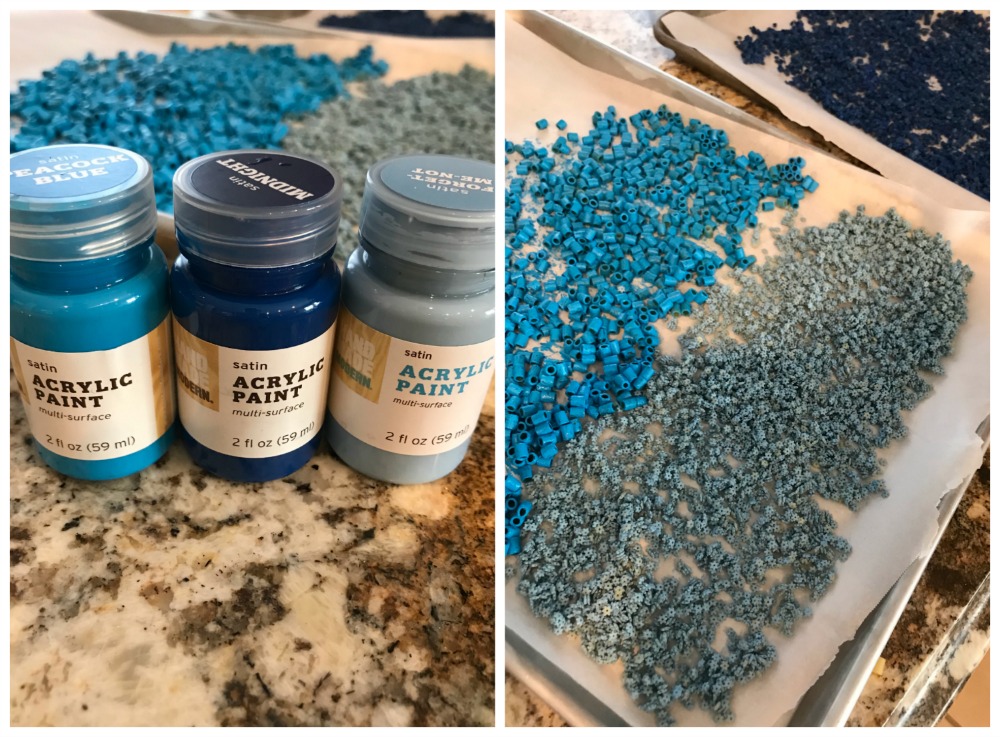
- blue and silver paint (we used acrylic and washable paint)
- rice
- star-shaped pasta (found at Target)
- short cylinder pasta (found at Target)
- gallon-sized Ziplock bags
- tray lined with parchment or wax paper
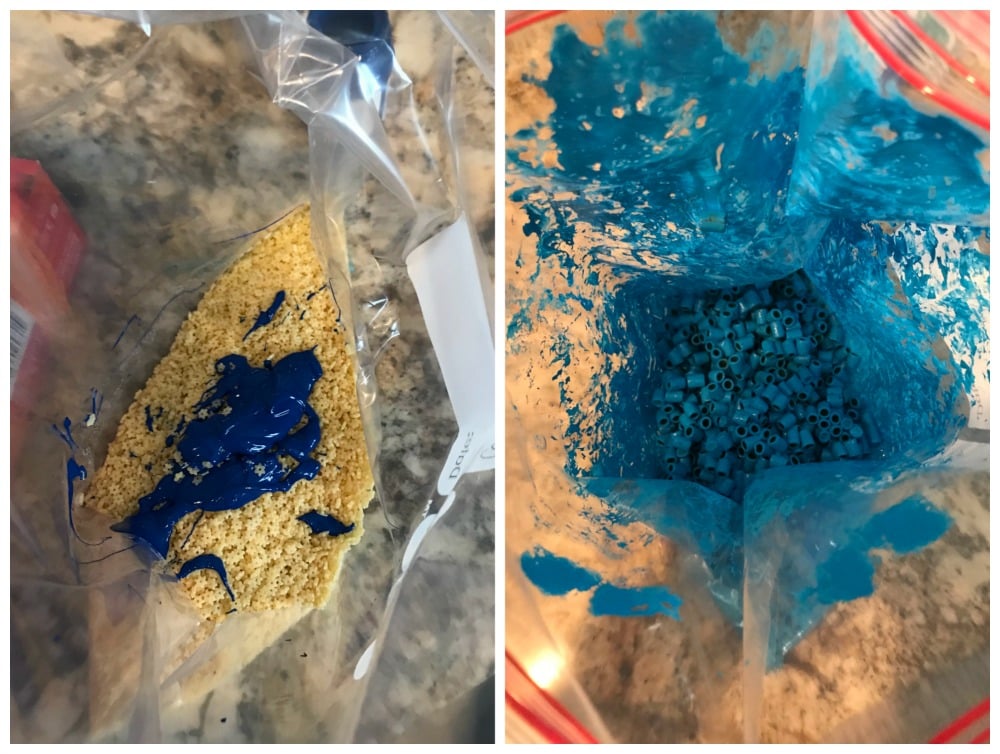
To color the pasta and/or rice, just follow these simple steps!
- Pour the dry pasta or rice into a gallon-sized Ziplock bag.
- Squirt in some paint.
- Close the bag and shake.
- Lay the paint on a tray lined with parchment or wax paper. You can use a spoon to spread the pasta or rice around.
- Allow about one hour to dry.
- Every so often, stir with a spoon to try to prevent pasta or rice sticking together.
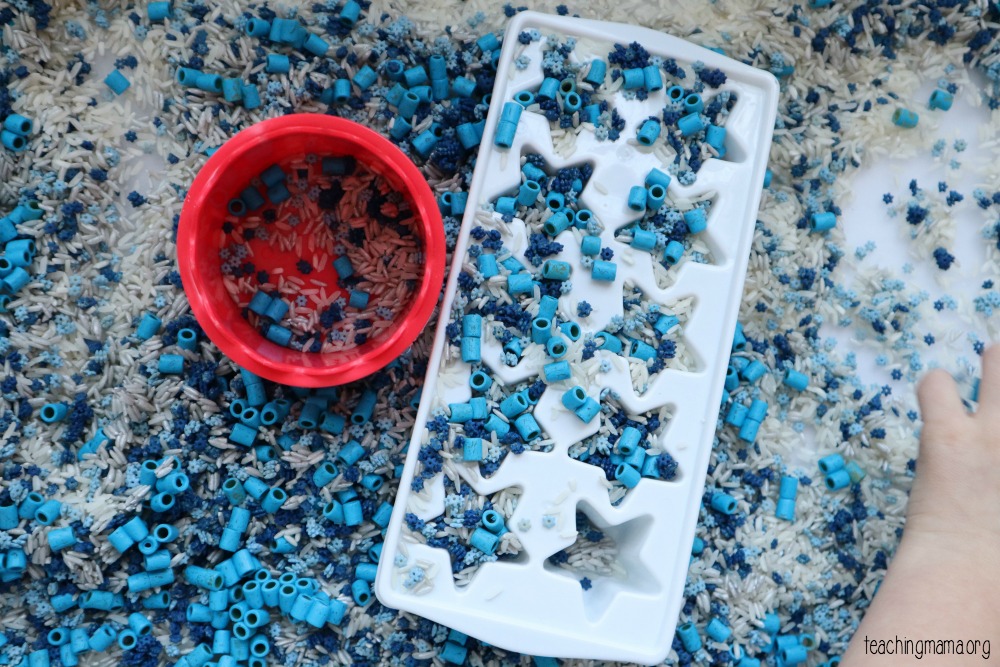
What I used in our bin:
- white rice
- silver rice
- light blue star pasta
- dark blue star pasta
- royal blue cylinder pasta
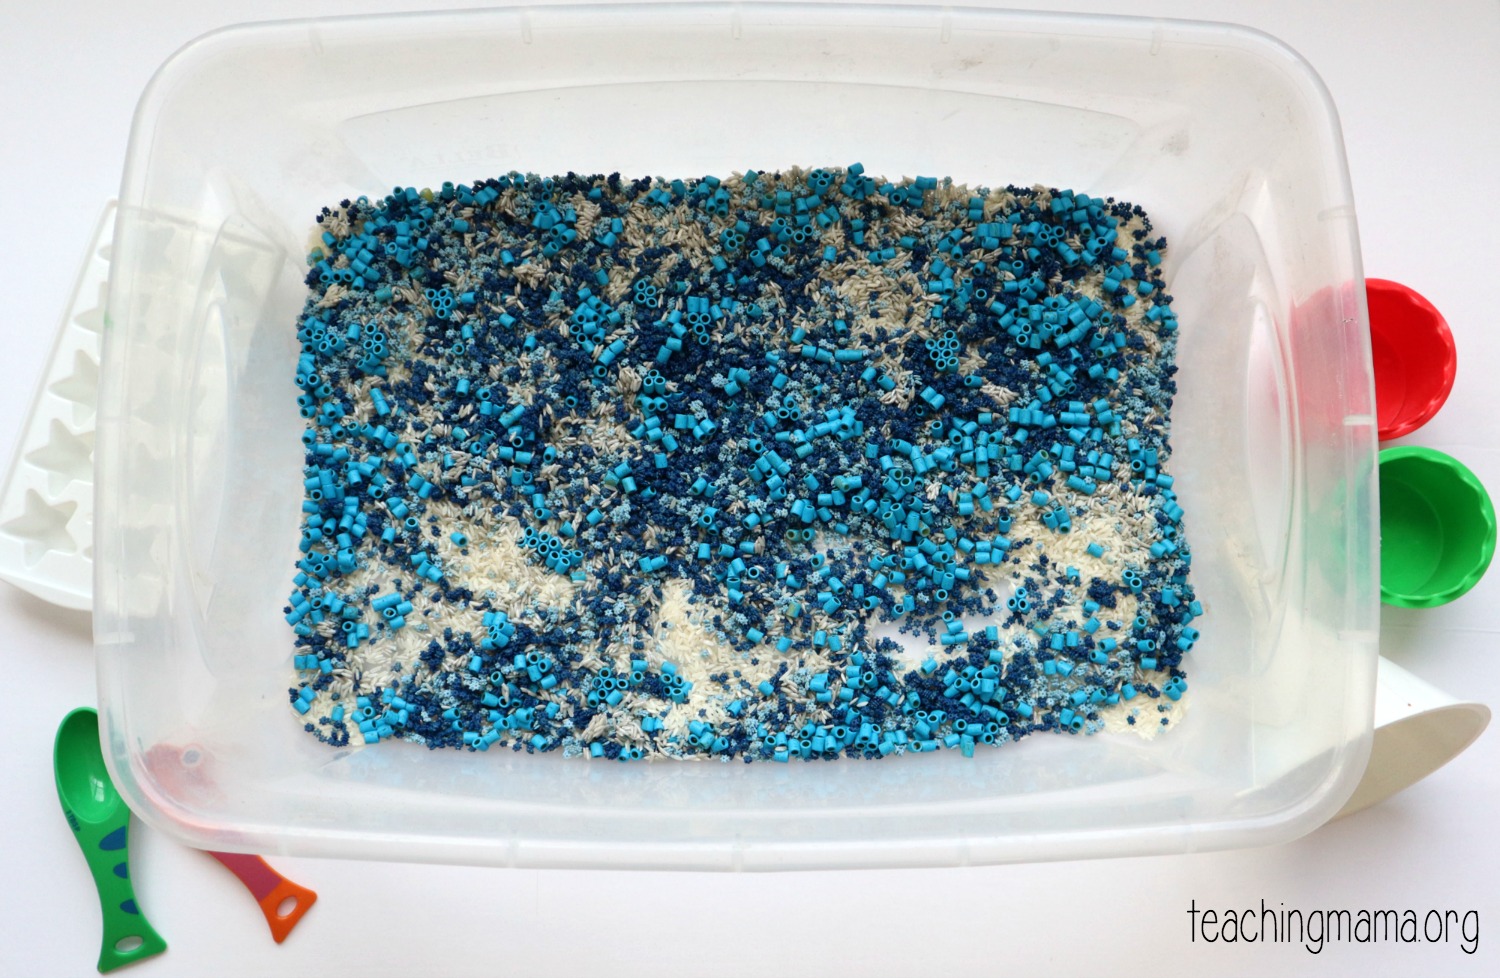
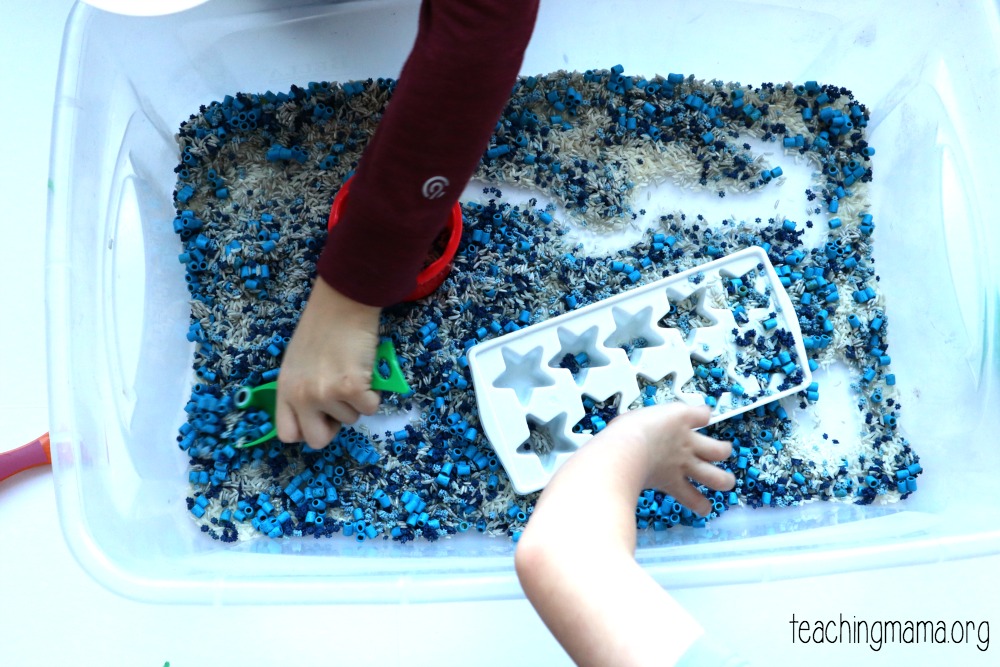
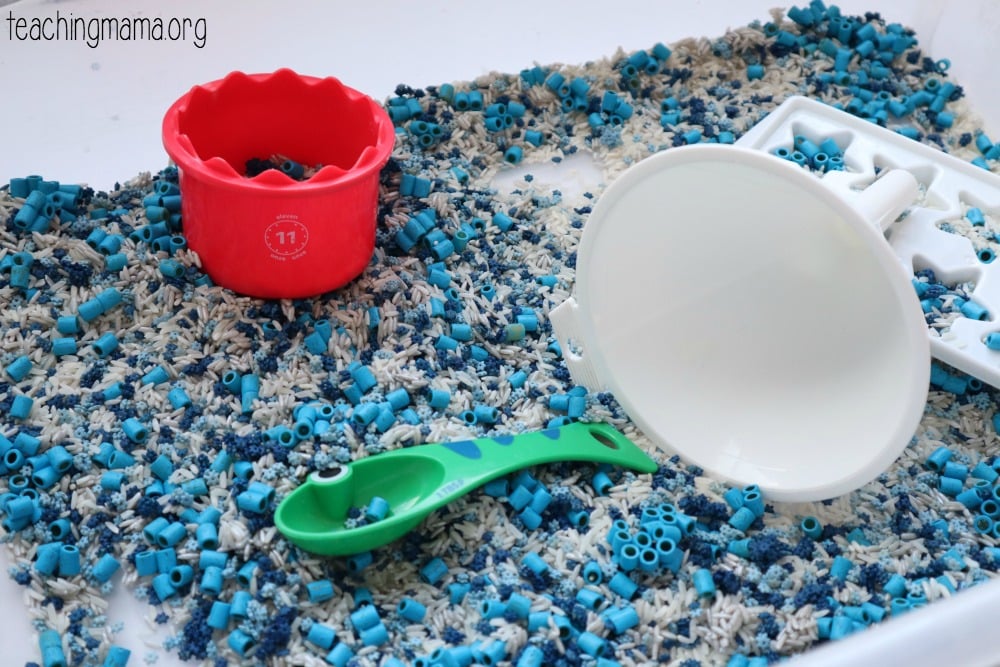
I poured all the contents into a bin and then I just set out some tools to play with the bin. I had a funnel, cups, spoons, and a star ice cube tray.
This would be great to use in a plastic bin at home or in a sensory table at a school.
I also added in some cards with pictures of the life cycle of a snowflake. Last week, I shared the printable for a booklet on the life cycle of snowflakes, so this would be a great follow up activity to do to practice learning the cycle.
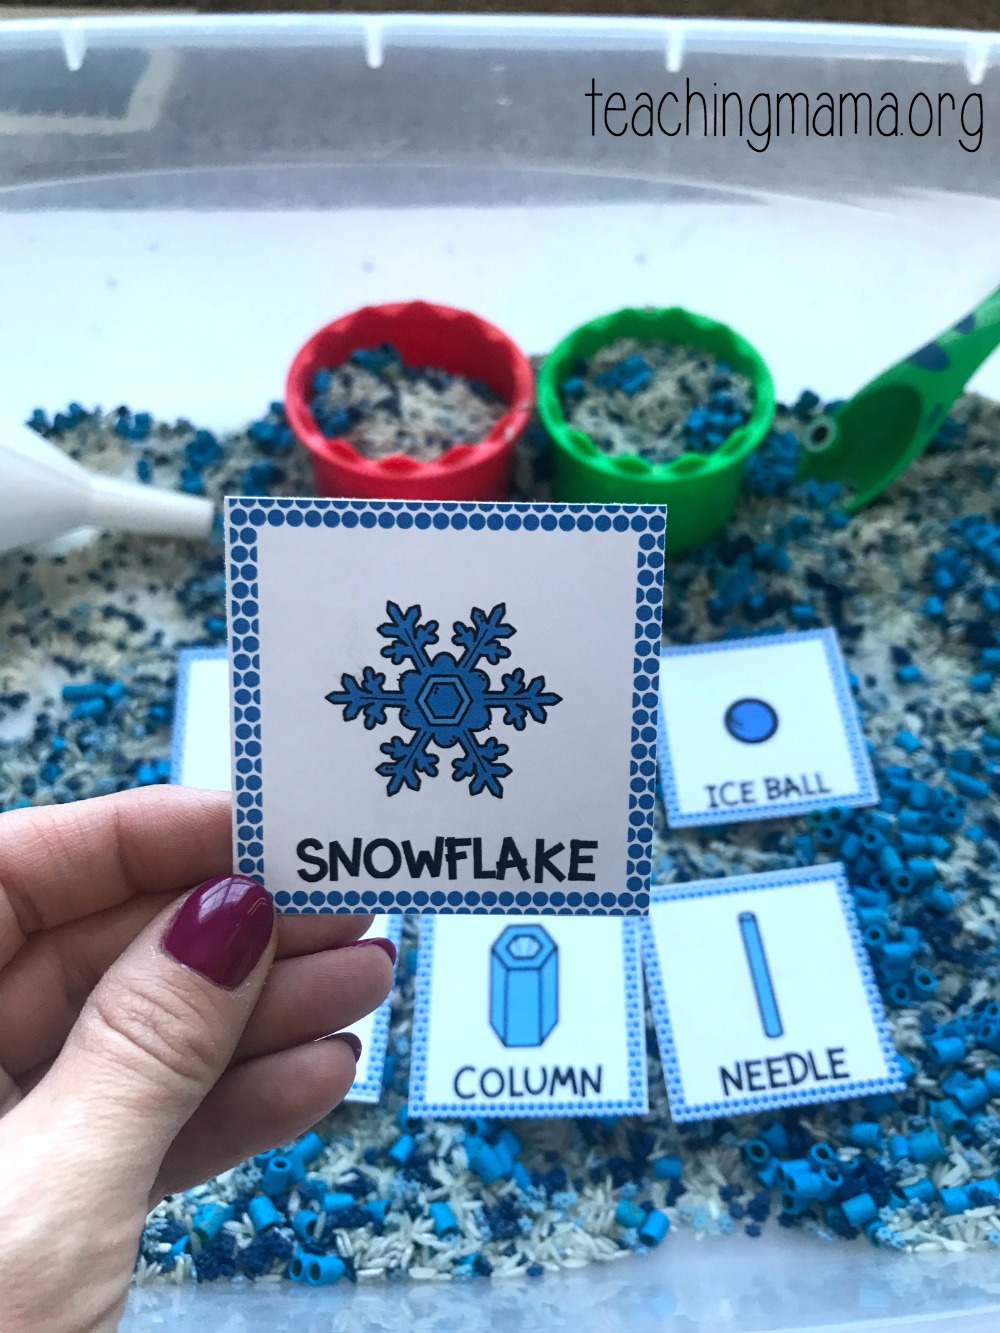
Here are some of the cards.
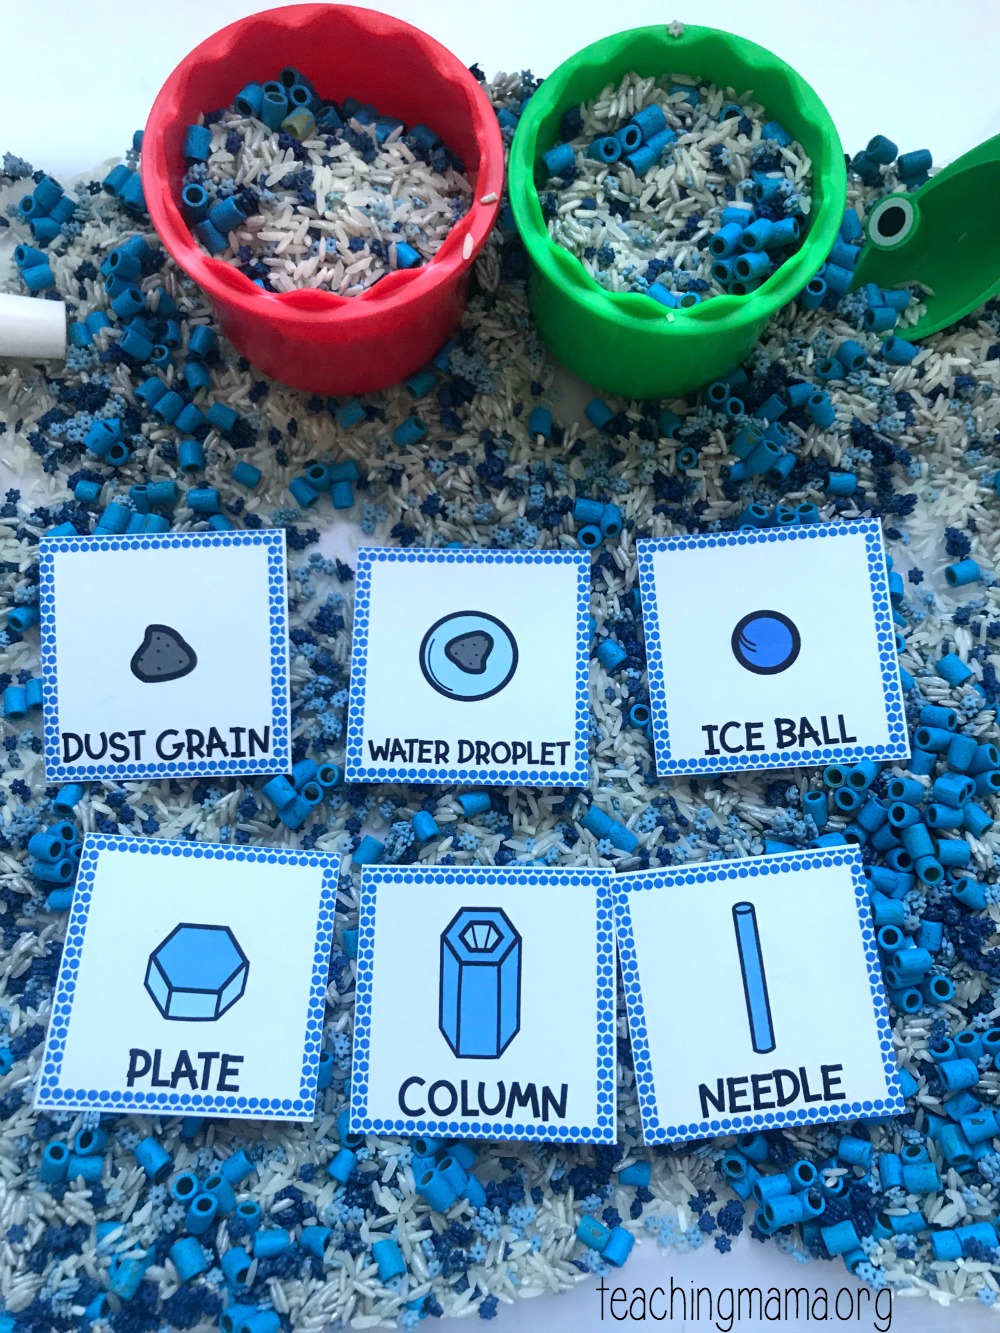 With the cards, you can spread them around and then have the kids put them in order for the life cycle. Or you could just use them for vocabulary cards. We hid the cards around the room and then found them and put them in order.
If you’d like to download the life cycle cards, just click here —> Snow Life Cycle Cards
I hope you’ll try making your own winter sensory bin!