Snow Globe Craft
Winter is coming, and what better way to celebrate the season than with a fun, personalized snow globe craft? This activity is perfect for classrooms or at home, allowing children to create a memorable keepsake. Plus, it’s a great way to keep little hands busy on a chilly day! Here’s how to make your own custom snow globes.
Disclosure: This post contains affiliate links to Amazon.
Supplies Needed
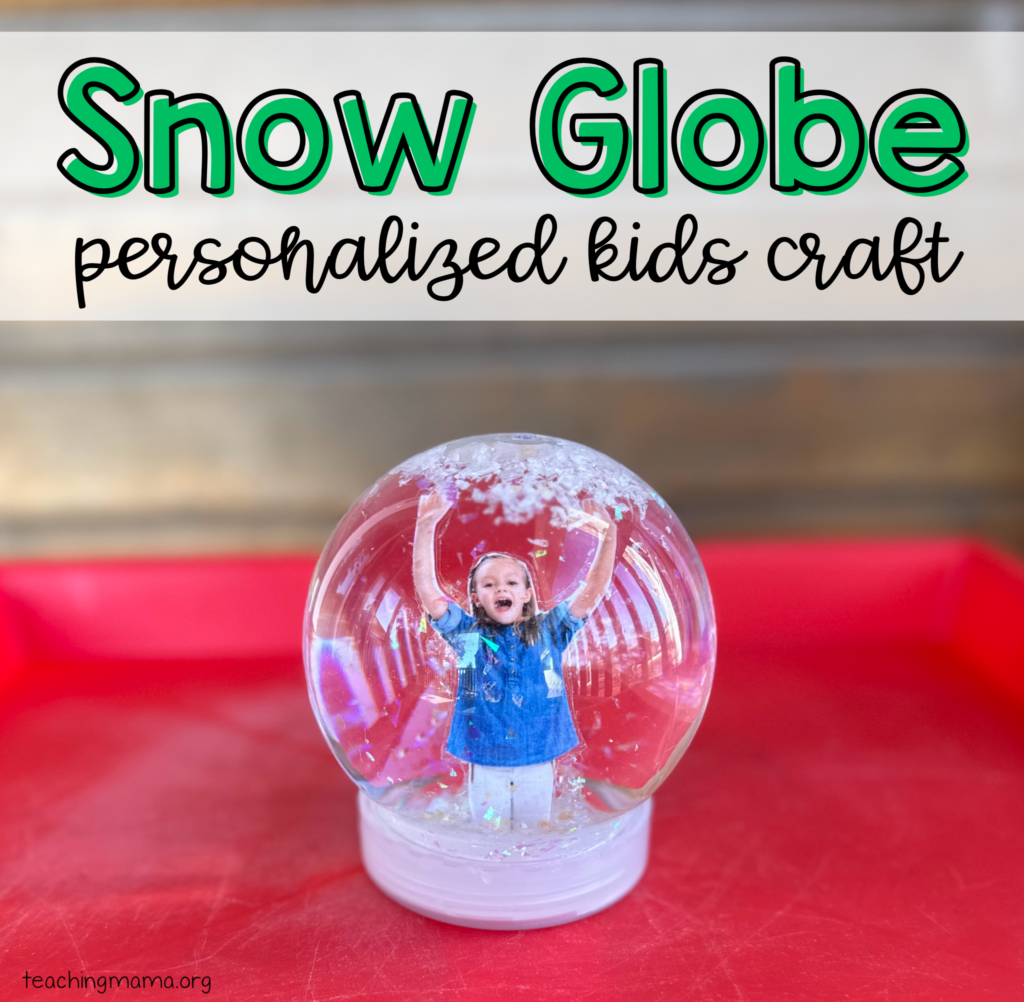
When I saw this plastic snow globe at Hobby Lobby, I knew I wanted to use it for a craft! Here’s what you need to make this craft.
- Clear plastic snow globes (available at most craft stores)
- Small printed photos of each child (laminated or clear packing tape)
- Water
- Glitter or artificial snow
- Glycerin (optional, to make the “snow” fall more slowly)
- Scissors
- Clear drying glue, hot glue, or clear tape
Photo Tips
Having a child photo with their hands raised makes it look like they are enjoying the snow in the snow globe! If you want to remove the background of the photo, follow these steps:
- Visit PicMonkey.com and upload your photo
- Select “Remove background” option
- It should erase the background. If it doesn’t erase it all, you can choose the “erase” option and manually erase the background.
- You can also do the same thing using Canva.
How to Make the Snow Globe
Prepare the Photos: Start by printing a small, cut-out photo of the child to fit inside the snow globe. I recommend the picture being 3.5-4 inches tall. To make it waterproof, you can laminate the photo or you can place the picture between clear packing tape.
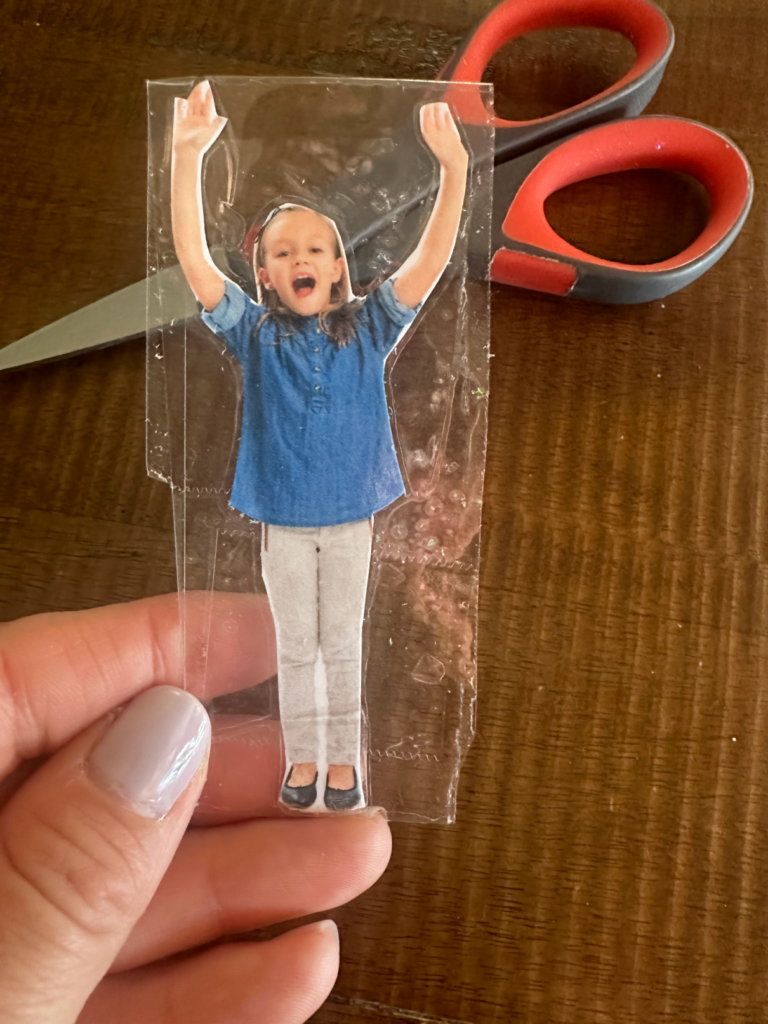
Attach the Photo: Glue or tape the photo to the inside base of the snow globe lid. Bend the photo and attach it to the bottom part of the lid.
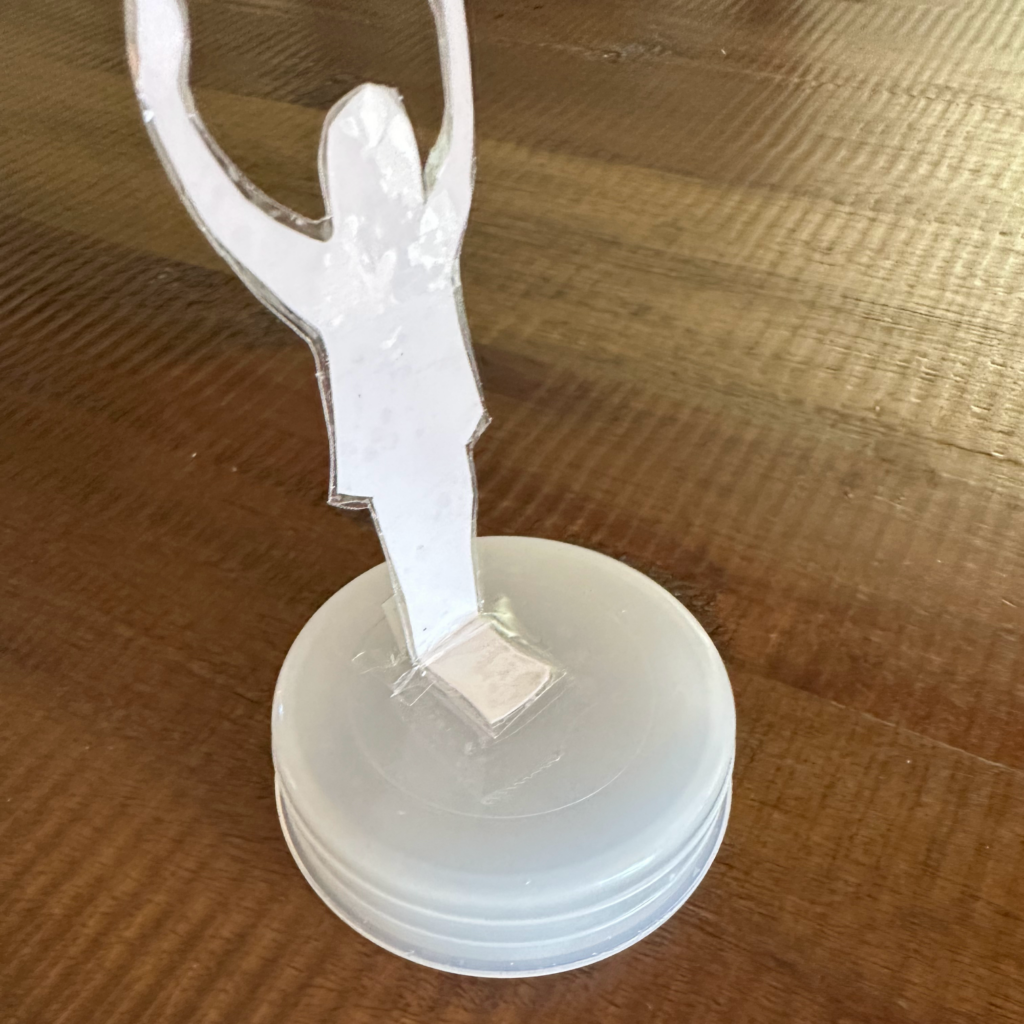
Add the Snow: Pour a small amount of chunky glitter or artificial snow into the globe. This should be about a tablespoon or two. If there’s too much, it’s hard to see the photo. This will create the magical “snowfall” effect when shaken.
Fill with Water and Glycerin: Fill the globe almost to the top with water. Add a few drops of glycerin if you have it, as this will slow down the falling “snow” and make it look even more magical.
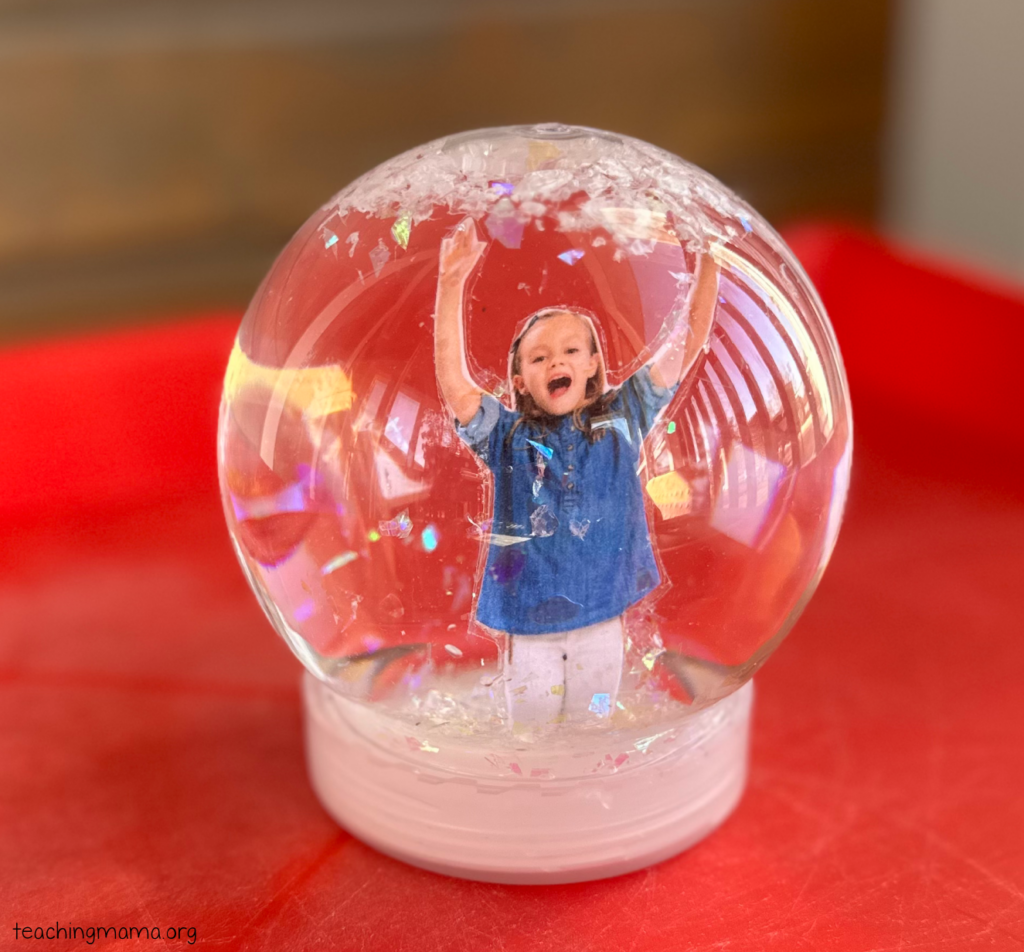
Seal the Globe: Securely screw the base back onto the globe. You may want to add a bit of glue to ensure it’s sealed tightly, preventing any leaks.
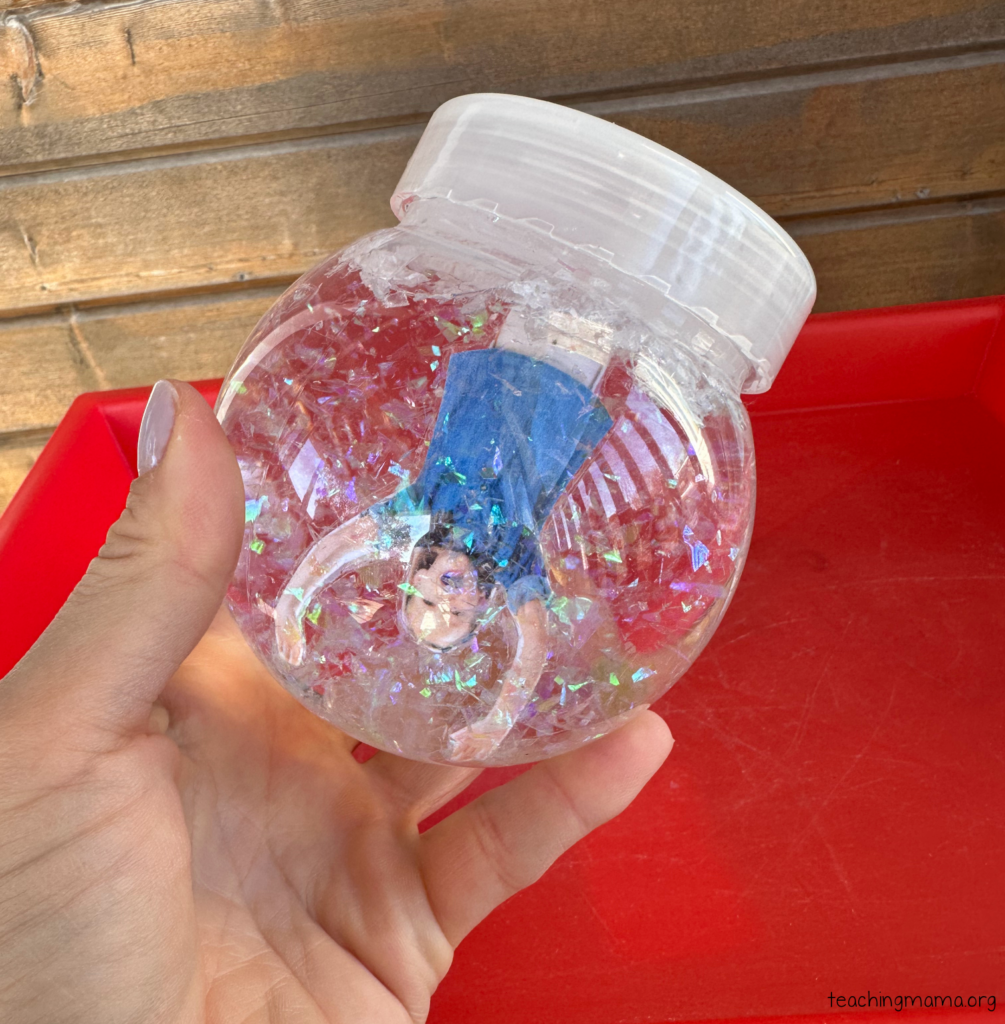
Shake and Enjoy: Give the globe a shake, and watch the snow fall around the child’s image!
Tips for Teachers:
- Group Activity: Have each student create their own snow globe, and let them help each other with steps like cutting out photos or adding glitter. Young students would need 1-on-1 help, but older students could do most of the steps on their own.
- Learning Opportunity: Incorporate a lesson on states of matter or winter weather, explaining how snow forms or why the glycerin changes the way glitter moves.
- Holiday Gifts: These personalized snow globes make wonderful holiday gifts for parents and family members.
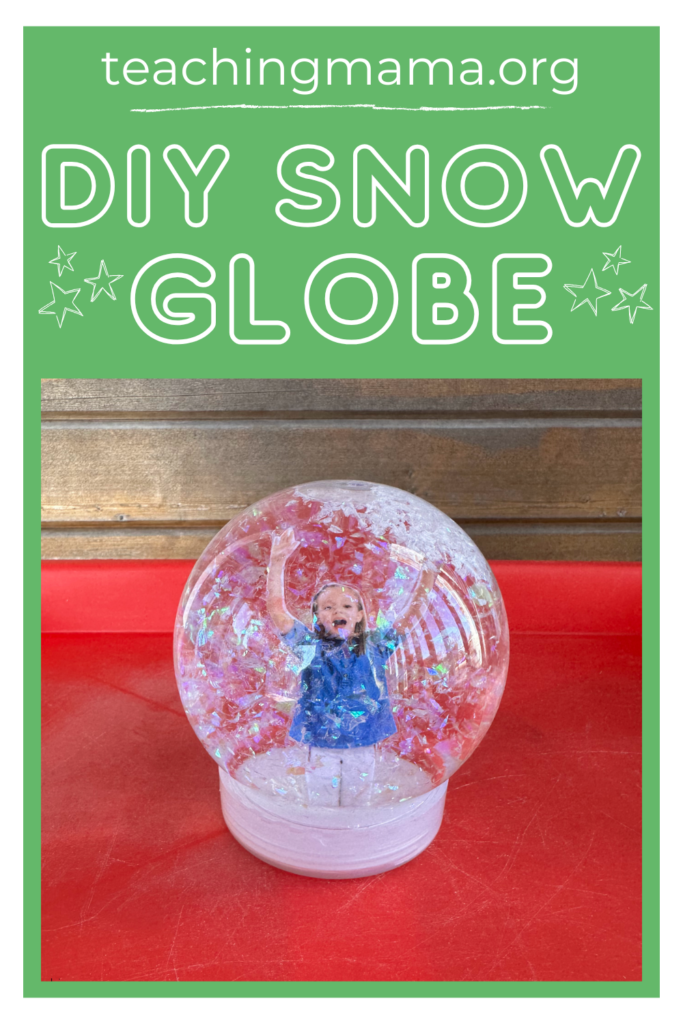
This craft is simple, affordable, and will surely be a highlight of your classroom or home activities this winter. Let the snow globe magic begin!

