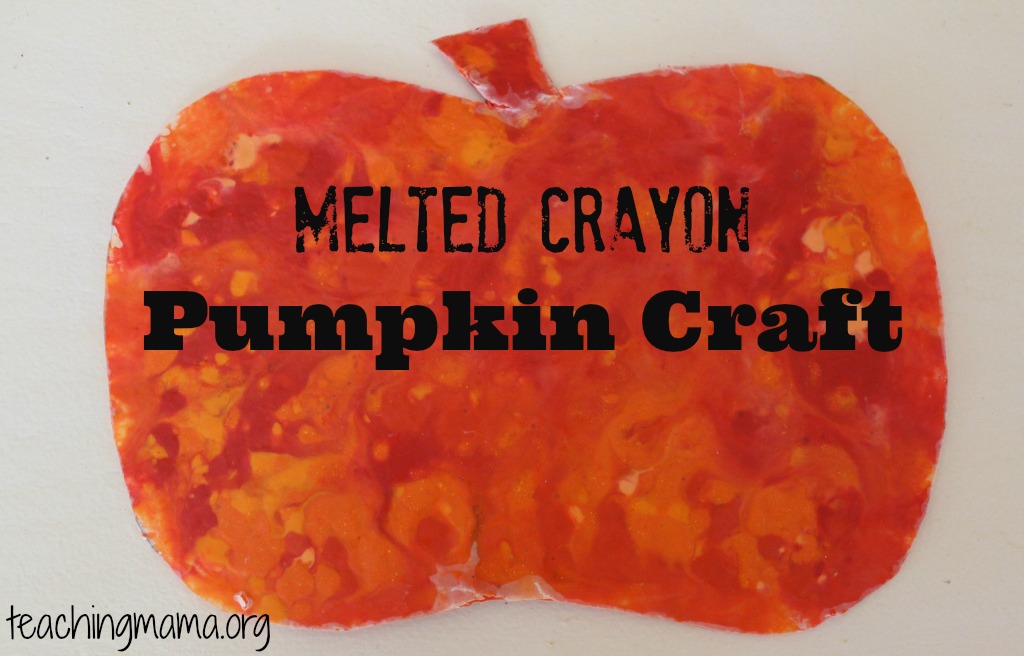
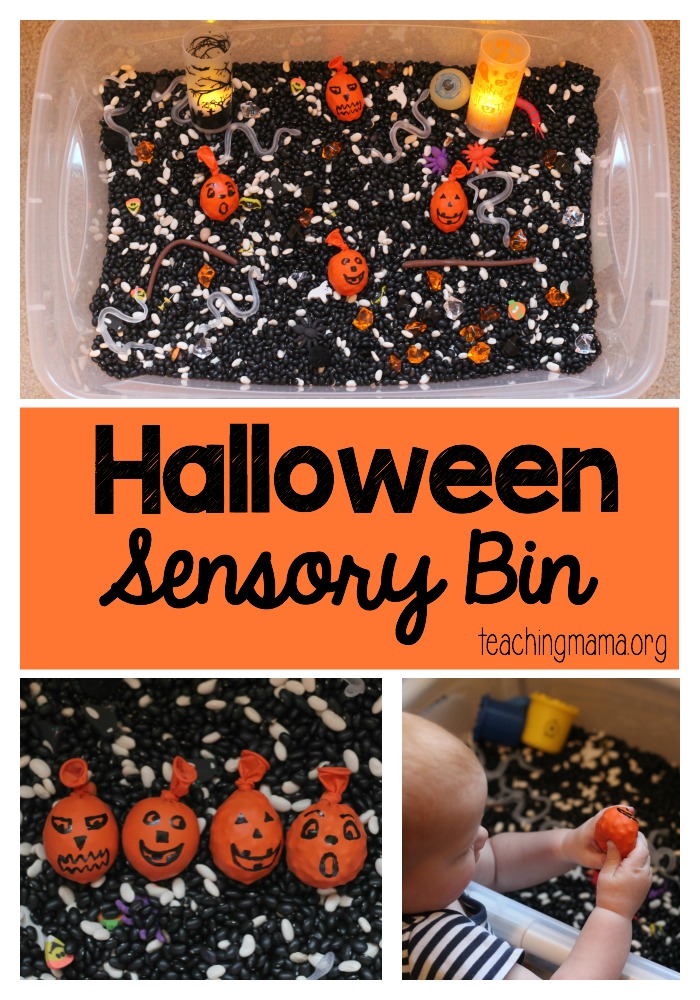
Melted Crayon Pumpkin Craft
This is a fun activity to do any time of the year. I will admit that I couldn’t find a good tutorial online, and it took me 3 times to get it right.
So, I’ll be explaining the RIGHT way to make shapes with melted crayon. Here it goes!
First, find old crayons, peel off the label, and either shave them with a vegetable peeler or use a chopper to chop them into fine pieces. I started shaving the crayons, but it took way to long and I was impatient and started using the food chopper. I would use 5-6 crayons, depending on how large your shape is to fill.

Okay, now you need a shape to put the crayon shavings into.
I found a pumpkin shape online, printed it and traced it onto wax paper.
 Then I had Troy help me put the pieces onto the shape. He used a spoon, but eventually just poured it on with his hands!
 Your pumpkin will look something like this. The colors are beautiful!! 🙂
 Now the next step is to place another piece of wax paper on top of the pumpkin.
Put a piece of paper on top of the wax paper. With your iron on LOW, put it on top of the paper and let the crayons melt.
It doesn’t take too long. You can always lift up the paper to see how well it’s melting. This is what it should look like.

It took me 3 times to get it right. The first time, I didn’t use a paper on top of the wax paper and it smeared everywhere!
The second time, I used black for the stem and it ran all over the beautiful colors, and the third time it worked 🙂
Once it’s cooled, you can cut around the traced pumpkin and viola…you have a beautiful fall pumpkin!
When your oldest is a little older or when you trust him to listen to you and stay safe (maybe next fall), try this project with large orange crayons and only one shhet of waxed paper. Place the waxed paper on an electric kitchen warming plate. Set the warming plate on the lowest setting. Keep next to him to keep him safe. Make sure he knows that he must be very careful only to touch the crayon. The plate won’t be harmfully hot, but he should learn to avoid ever touching it for safety’s sake. Have him color inside the pumkin shape and watch how the colors melt onto the paper. While this is still a craft, it requires more of him to create it. This incorporates more art into the project. However, by next year he might be able to cut out the pumkin, too. Maybe. 🙂
OK, I confess this works better with copy paper than wax paper unless you put a thin sheet of regular paper under the wax paper to avoid it sticking to the tray.
Sharon- That is an awesome idea! I will try it next year when he’s older. Can’t wait to see how it turns out. Thanks for your comment!! 🙂
i love this! you are going to do great at this website! Thanks!
Thanks, Julie! You are too sweet! Hope you are doing well!!