Germination Activity – Grow Seeds in a Jar!
I am so excited to share with you a super simple activity that is awesome for teaching kids about seeds! I did this germination activity with my preschoolers and they loved it.
Here’s what you need:
- jars
- wet paper towels
- seeds
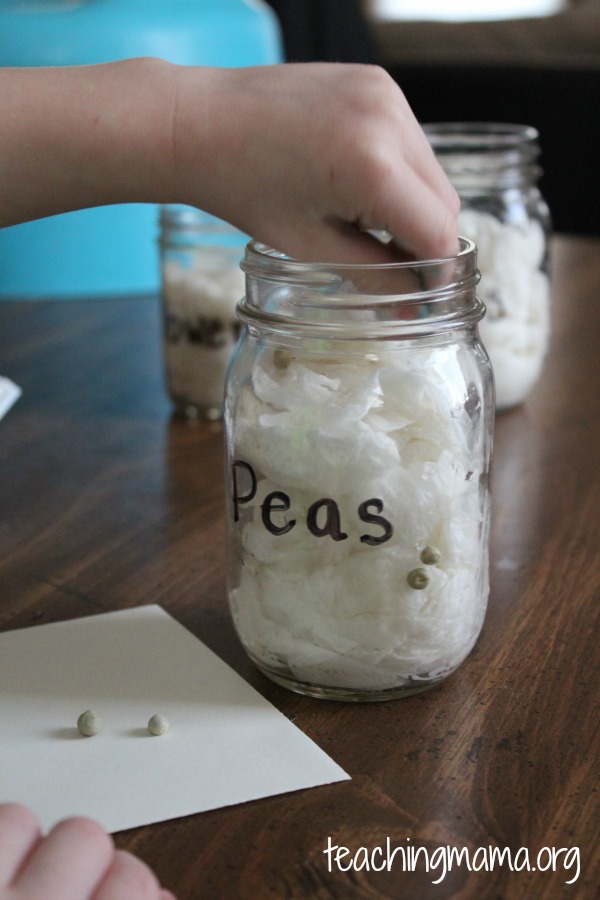
Set several wet paper towels in a jar. Make sure to wring out the paper towels so there’s no excess water in the jar. Then place seeds in the jar, near the bottom half of the jar.
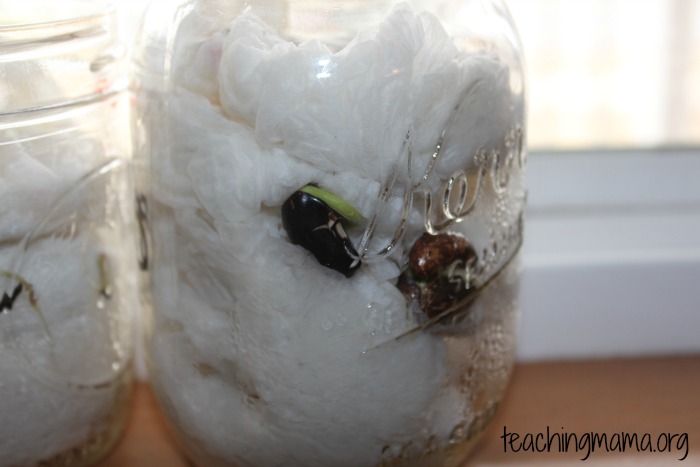
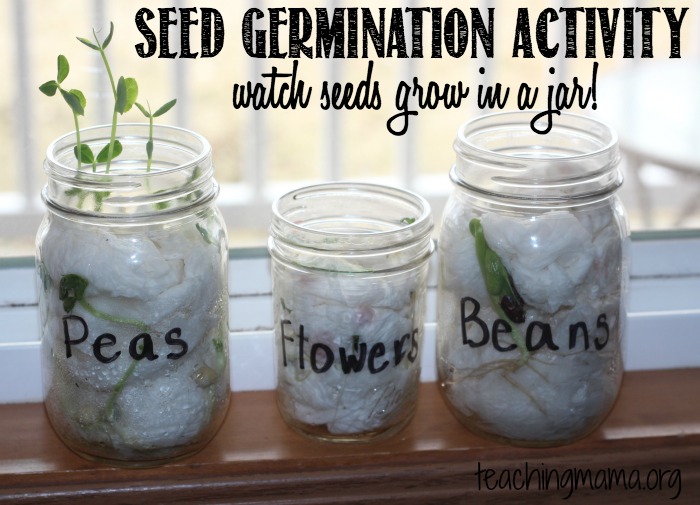
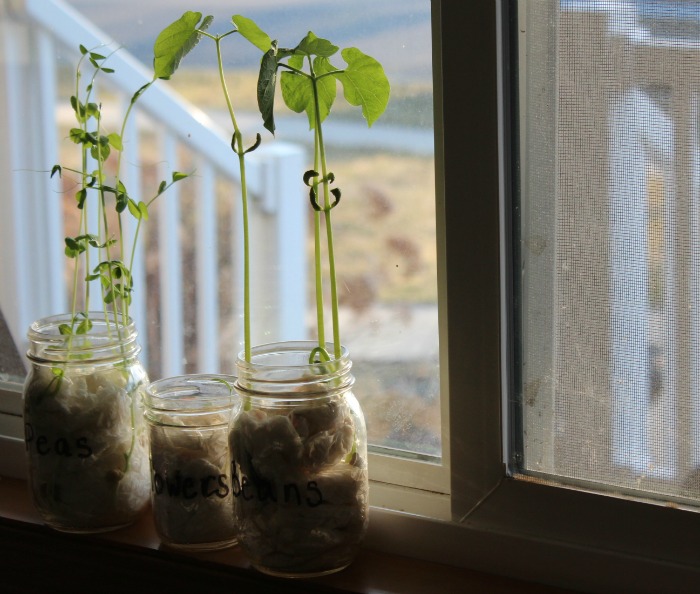
If you do multiple seeds, label the jars. Then place them by the window and wait. After a couple of days, you will see them start to sprout!
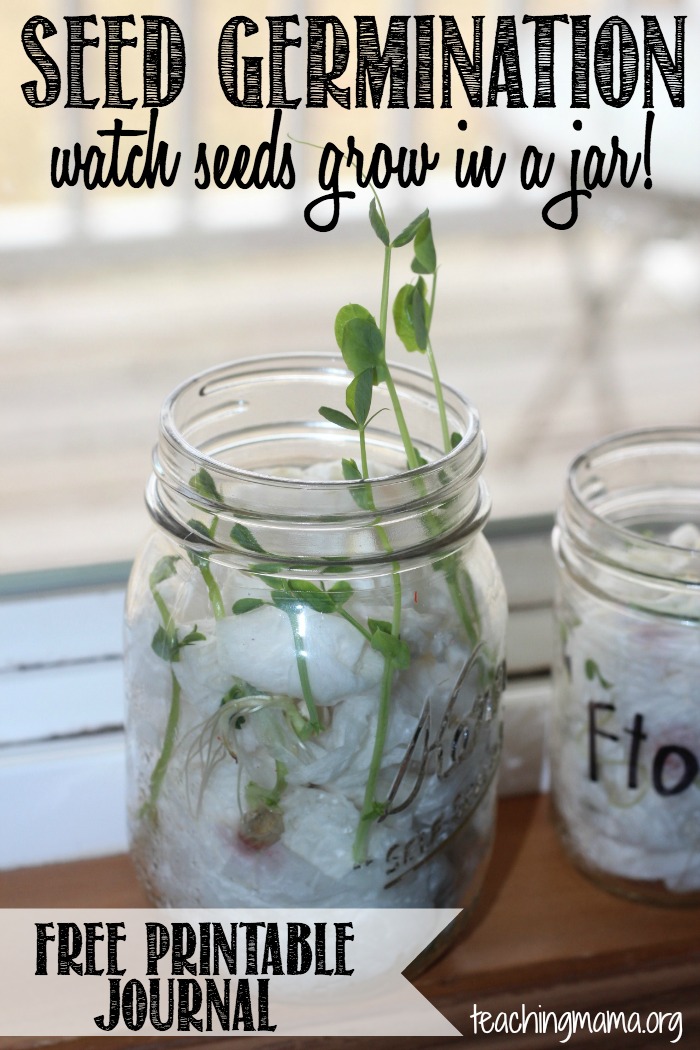
After about a week, they will really start to grow!
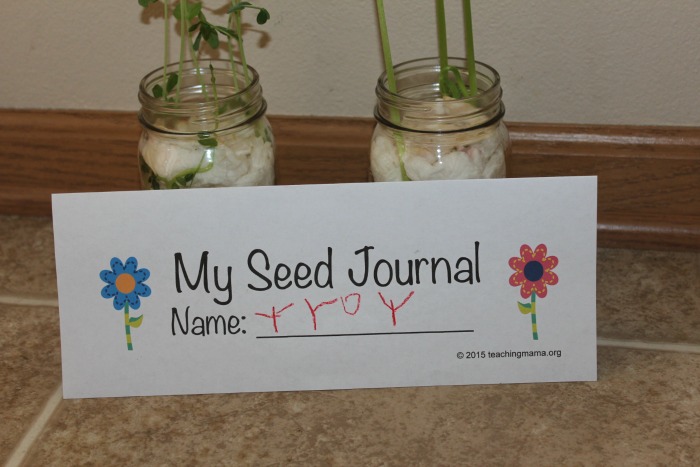
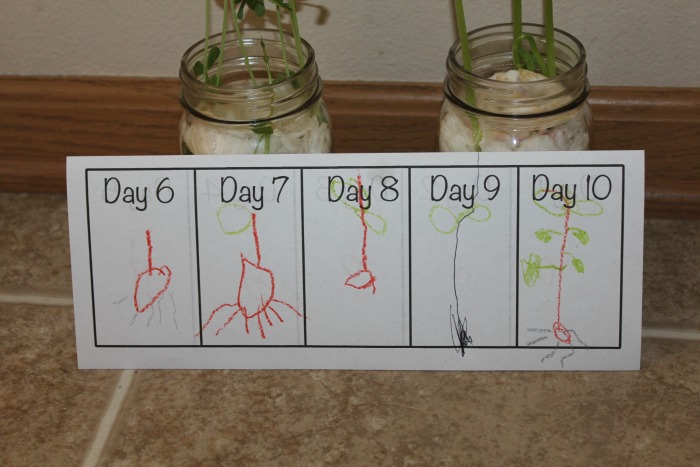
We tracked the growth of the seed with a journal. (The printable is found at the bottom of this post.) The journal has 10 days to draw a picture of the seed growing.
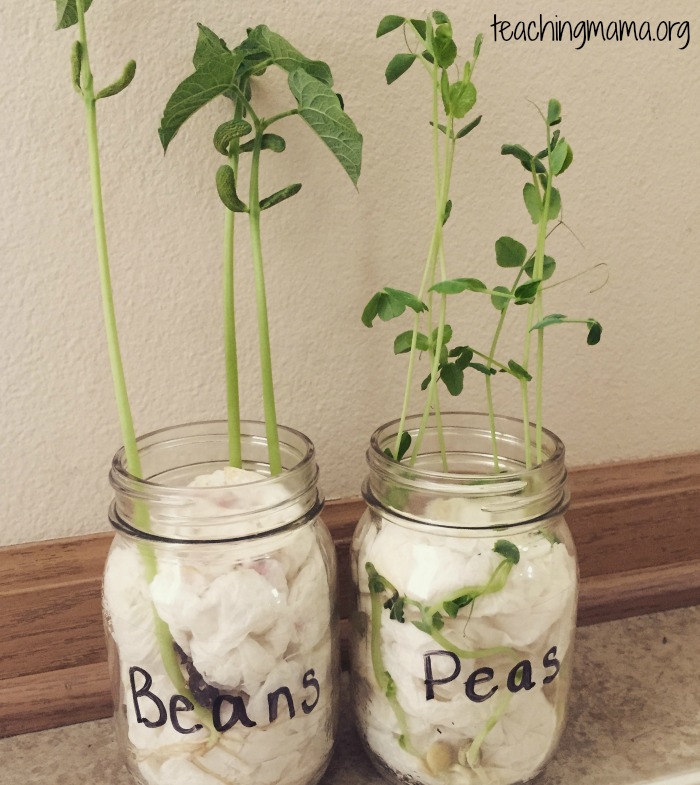
We’ve had ours growing for about 16 days and they now look like this! So fun to see them grow so tall and to see the beans and peas start to grow on the plant. The flower plant was definitely slower to grow, but the seeds were also much smaller.
It was so fun watching the seeds grow in our window.
I hope you’ll try this science activity out. To download the printable journal, click here —> My Seed Journal
To put the journal together, simply print the first page. Then flip over the page and print the second page on the back. Then fold the page horizontally.



Did you water them daily??
I keep an eye on the paper towels. If they look dry, I spritz them with water.
Do you happen to have a pdf of the directions for the experiment that you can share with me?
I’m sorry, but I don’t at this time.
I am a Pre-K teacher with a class of 12 kiddos. Teaching remotely for next 4 weeks. Is there a way that I can send your seed journal page To parents to use with their child? I am mailing seeds out to each child.
Yes, you can definitely do that! So sweet of you to send them to your students.
Hi … do you have an example of a completed journal for the bean in jar experiment for comparison reasons?
Thank you
Este
I’m sorry, but I don’t! I can try to take a picture of it when we do it next!
thanks a lot for sharing, definitely will try with my little one.