Caterpillar & Butterfly Crafts
Disclosure: This post contains affiliate links.
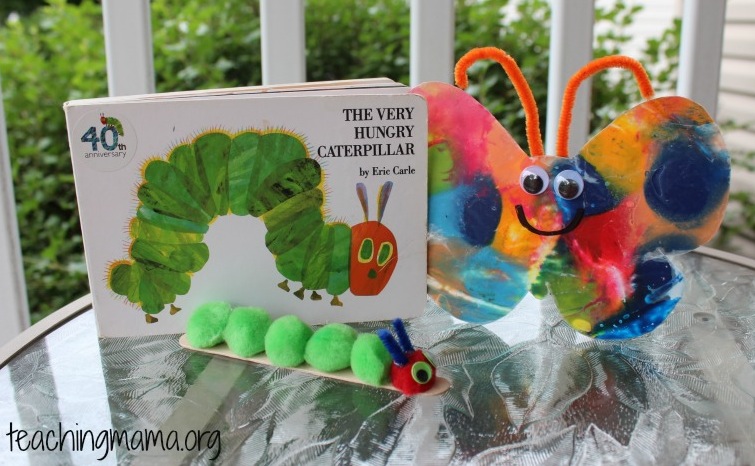
One of our very favorite books to read is The Very Hungry Caterpillar. There’s just something about the book that kids love! The story is educational, the pictures are beautiful, and it’s just a fun story to read!
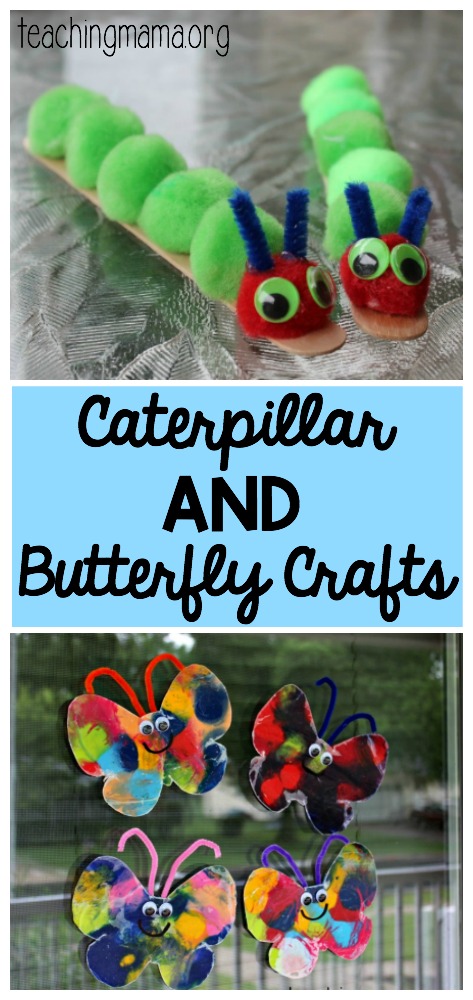
Caterpillar Craft
Here’s what you need:
- wide craft stick
- 5 green pom poms and 1 red one
- 2 googly eyes
- 2 small pieces of pipe cleaner
- glue
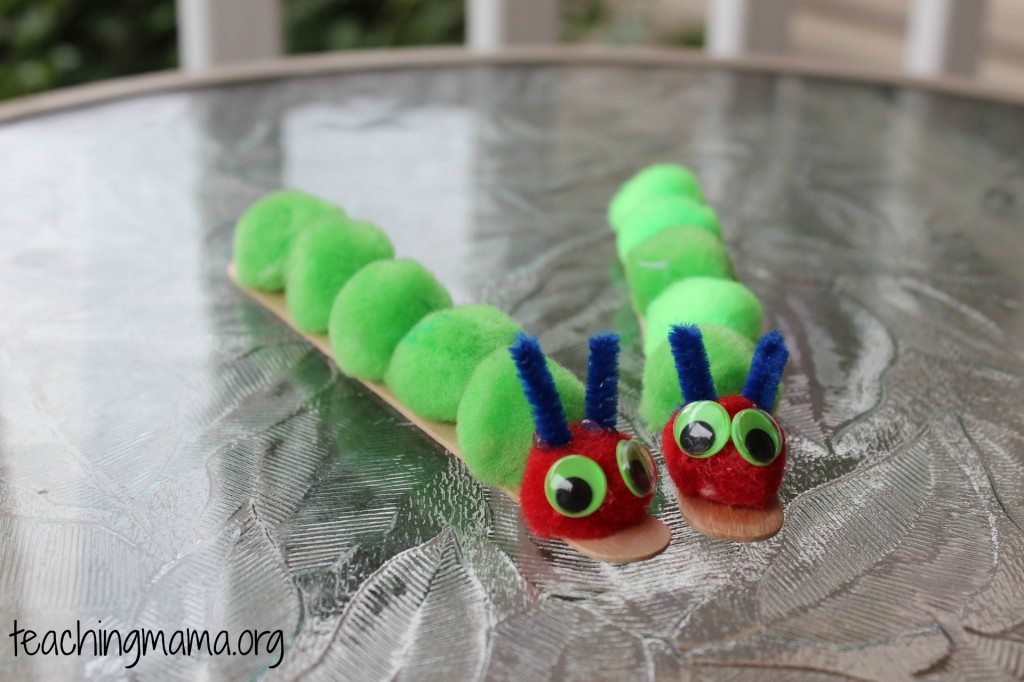
This craft is very simple…even easy enough for toddlers! First, place glue on the craft stick. Then stick on the pom poms, with the red one on the end.
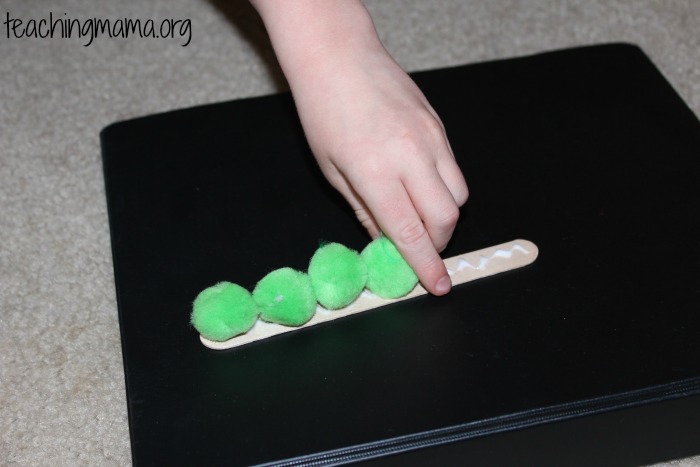 Then, glue on the googly eyes and pipe cleaner for the antennae. We used Elmer’s glue, which worked okay. I would suggest using something stronger like tacky glue
 or a hot glue gun. I ended up using a hot glue gun later to make sure it stayed secure.
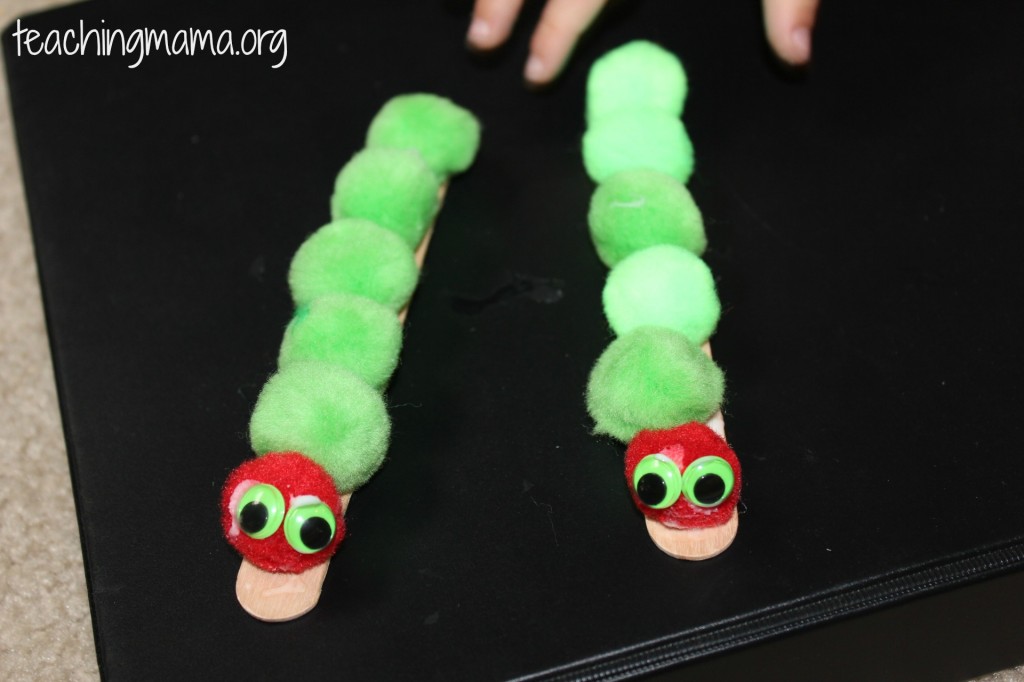 I love how they turned out. So simple, yet cute!
Butterfly Craft
Here’s what you need:
- crayons
- wax paper
- marker
- scissors
- googly eyes
- pipe cleaner
- baking pan
- oven
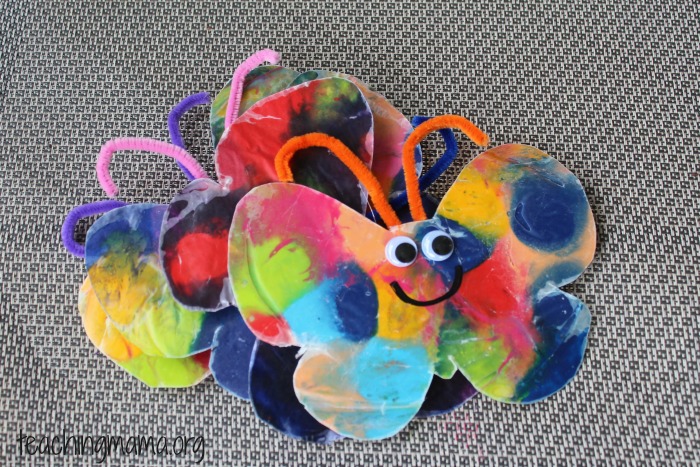
To make this butterfly, you will melt crayons. It makes a beautiful, artsy looking butterfly in the end!
First, preheat your oven to 200 degrees Fahrenheit. Then take paper off the crayons and break them into 1/2 inch pieces. Place on a pan lined with wax paper. They may roll around when you put them in the oven. Just rearrange them again in the oven. Leave in the oven for about 5 minutes, but check it periodically to see if the crayons have melted.
 While the crayons are in the oven, you can draw a butterfly pattern on the other sheet of wax paper. You can use this butterfly template.
When the crayons are melted, take it out of the oven and place the sheet of wax paper on top. Press down so no air-bubbles are formed. We used a small kitchen scraper to spread the melted crayon mixture around and make sure there weren’t any air bubbles.
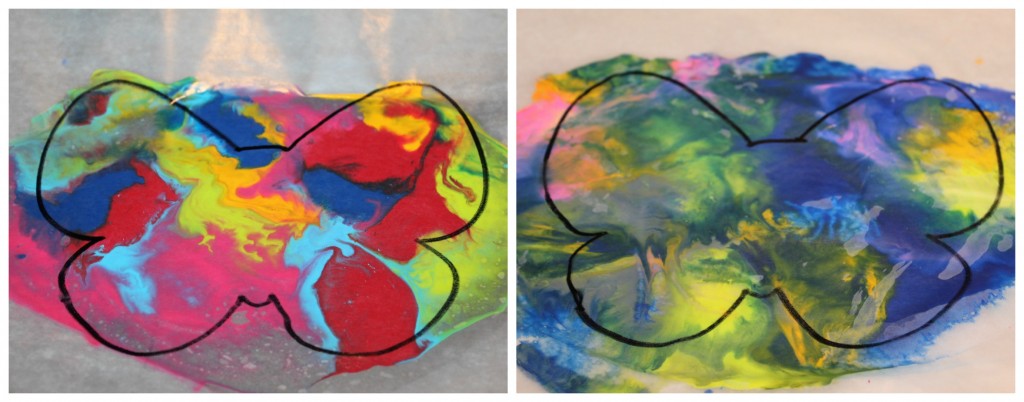 Let it cool on the baking sheet for about 2 minutes. When it is cool enough to touch, take off of the baking sheet and let it dry on a counter. (I found that if I let mine cool on the pan, it was harder to take off.) When it is cooled completely, cut around the butterfly. Cut and form the pipe cleaner to look like the antennae. Then glue on the googly eyes.
If the wax paper starts to come apart, then simply dab some glue and squeeze the wax paper sheets together. (This doesn’t happen all of the time, but I noticed it happened with one out of the four we made).
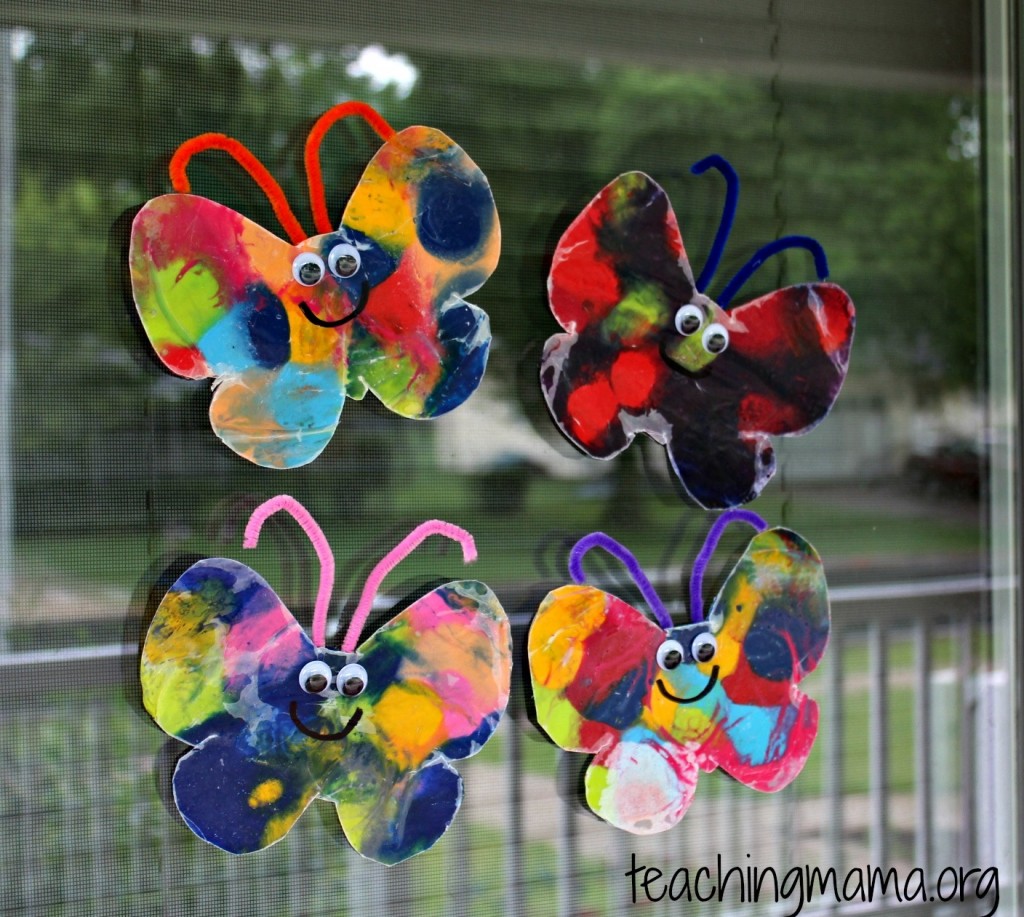
I really think these butterflies are adorable! They are so bright, colorful, and unique! They also look great hanging on a window and I think would look awesome in a preschool classroom!
Both crafts were a fun way to start our caterpillar and butterfly unit. The butterfly craft requires more help from adults, but toddlers and preschoolers can definitely help make this craft.



I love your ideal its easy and fun for a 2 two years old who is in love with bugs.
I loved your Facts About Ladybugs and Facts about Dragon Flies.
I was hoping to see here Facts about Caterpillars and Butterflies.
As always, thanks for sharing your works. You are appreciated.
I love your insect / bug theme. I’m just curious. I saw your fact sheets for ladybugs, houseflies, fireflies and dragonflies. I’m just wondering if you made one for butterflies too. I’m using a bug theme in my ESL class in Croatia and your materials will definitely help. Thanks.
I’ve done a similar crayon craft using an iron. We used a pencil sharpener to shave pieces of crayon and then put them between two pieces of wax paper. Doing it that way can make a big mess. A little goes a long way since the iron tends to press them and mix them together. You can’t use too many colors or it’ll just turn out black. But it’s a way to do it without turning on your oven. Just make sure you put something like a towel between the wax paper and the iron.