7 Tips for Homeschooling in a Small Space
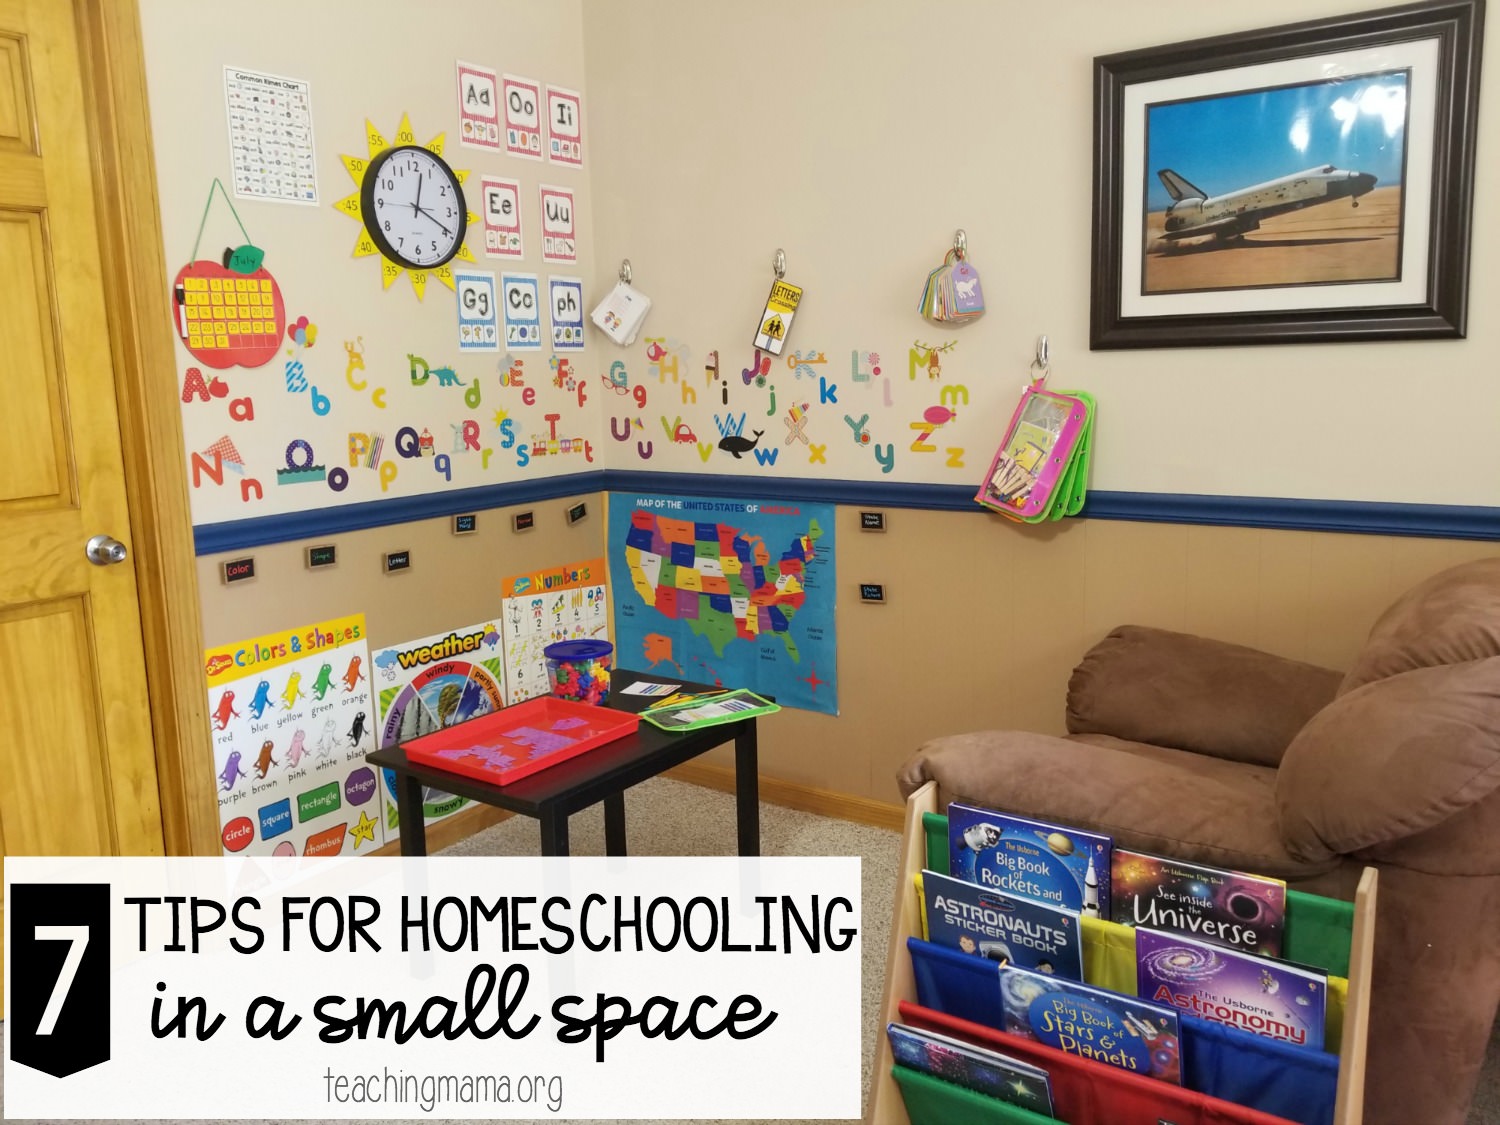
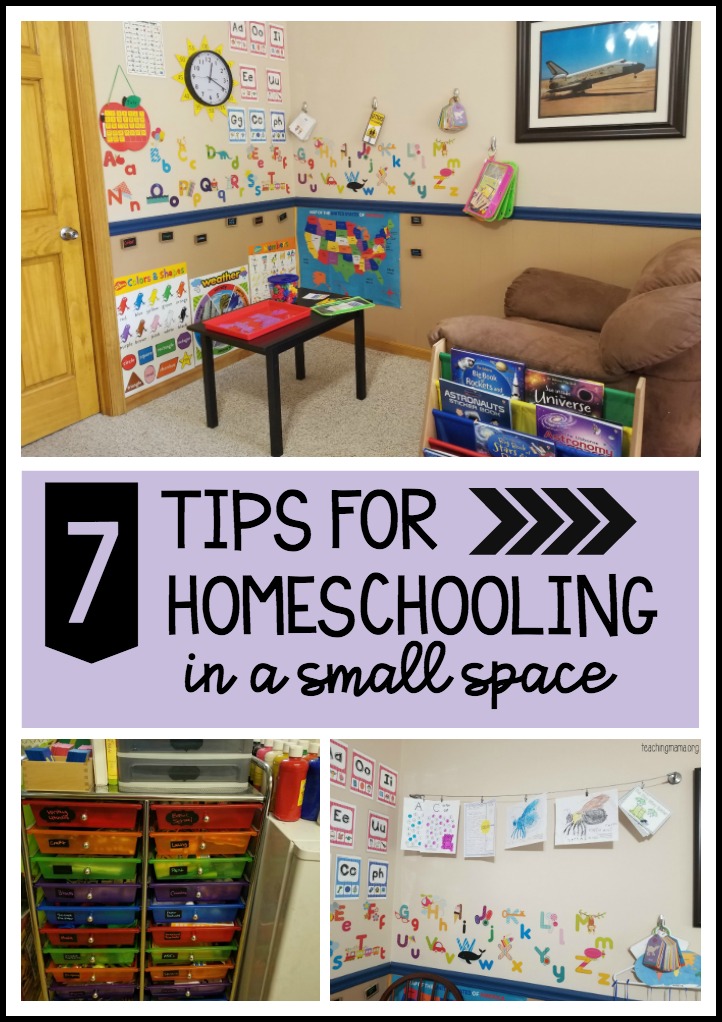
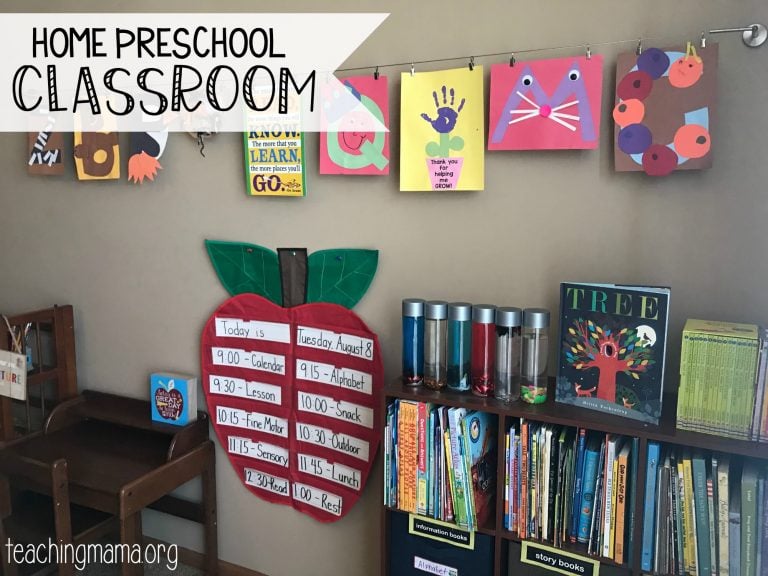
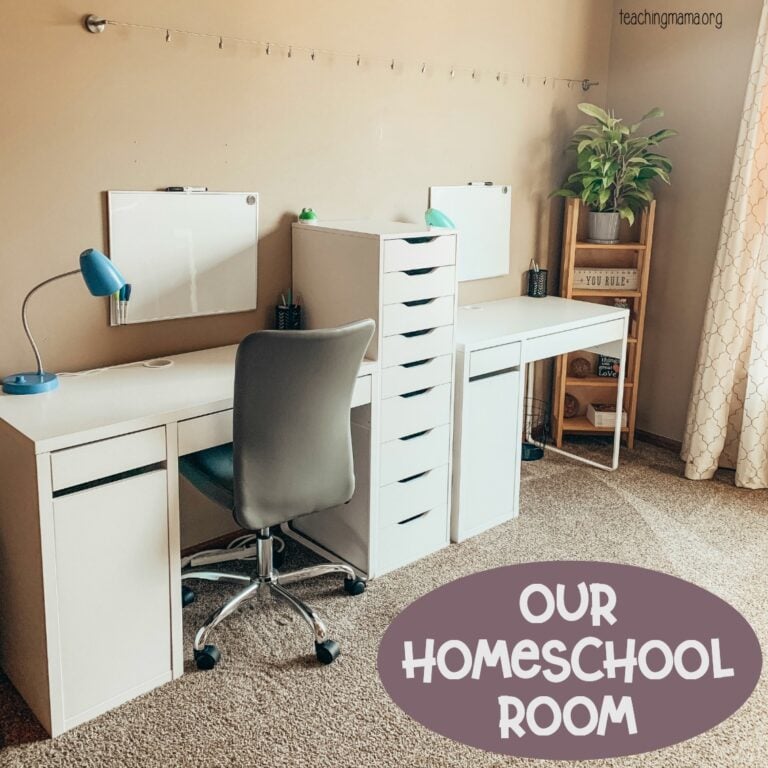
For 4 years now, I have taught 3 kiddos preschool to 1st grade within a jail size space. Admittedly, I had times when I wanted our unused nursery to be turned into this idyllic school room with individual desks, a big dry erase board, file cabinets of school supplies, and don’t forget the coveted Montessori shelves. I truthfully envied pictures posted of beautifully put-together rooms. Instead of staying stuck in my comparisons, I decided to embrace my space and began to make my area beautiful in my own way. Compiled below are my tips to help you bless your space, no matter the size!
Disclosure: This post contains affiliate links. See my disclosure for details.
1. Don’t Compare
This is the place to start, and one that was the hardest to get past. Remember no 2 people are the same, so no 2 school spaces will look the same. Stay true to your style and at the end of day remember it’s how the kids learn not where.
2. Bare Necessities
Stick to the essentials…no more than 3 things for each topic (ie. colors, abcs, shapes, etc); your shape sorters, puzzles do the trick pretty well! Toys are excellent for color sorting and alphabet hunts. Ask yourself these 2 questions before you do any school related purchase. Yes, even for the dollar spot!
- Does this teach a new concept/topic?
- Can I modify something I already have (with relative ease) to perform the same function? For example, if you have a magnetic fishing pole set for alphabet, then you can just print out words, numbers, shapes and add a paper clip.
3. Needs vs. Wants
List in 2 columns your needs and your desires with weights of importance (1 to 5). This is all you…the space has to function for you! I knew 2 years ago, in my revamping stage, that I needed a place to nurse right beside our school area; instead of having a bookcase, I had a chair.
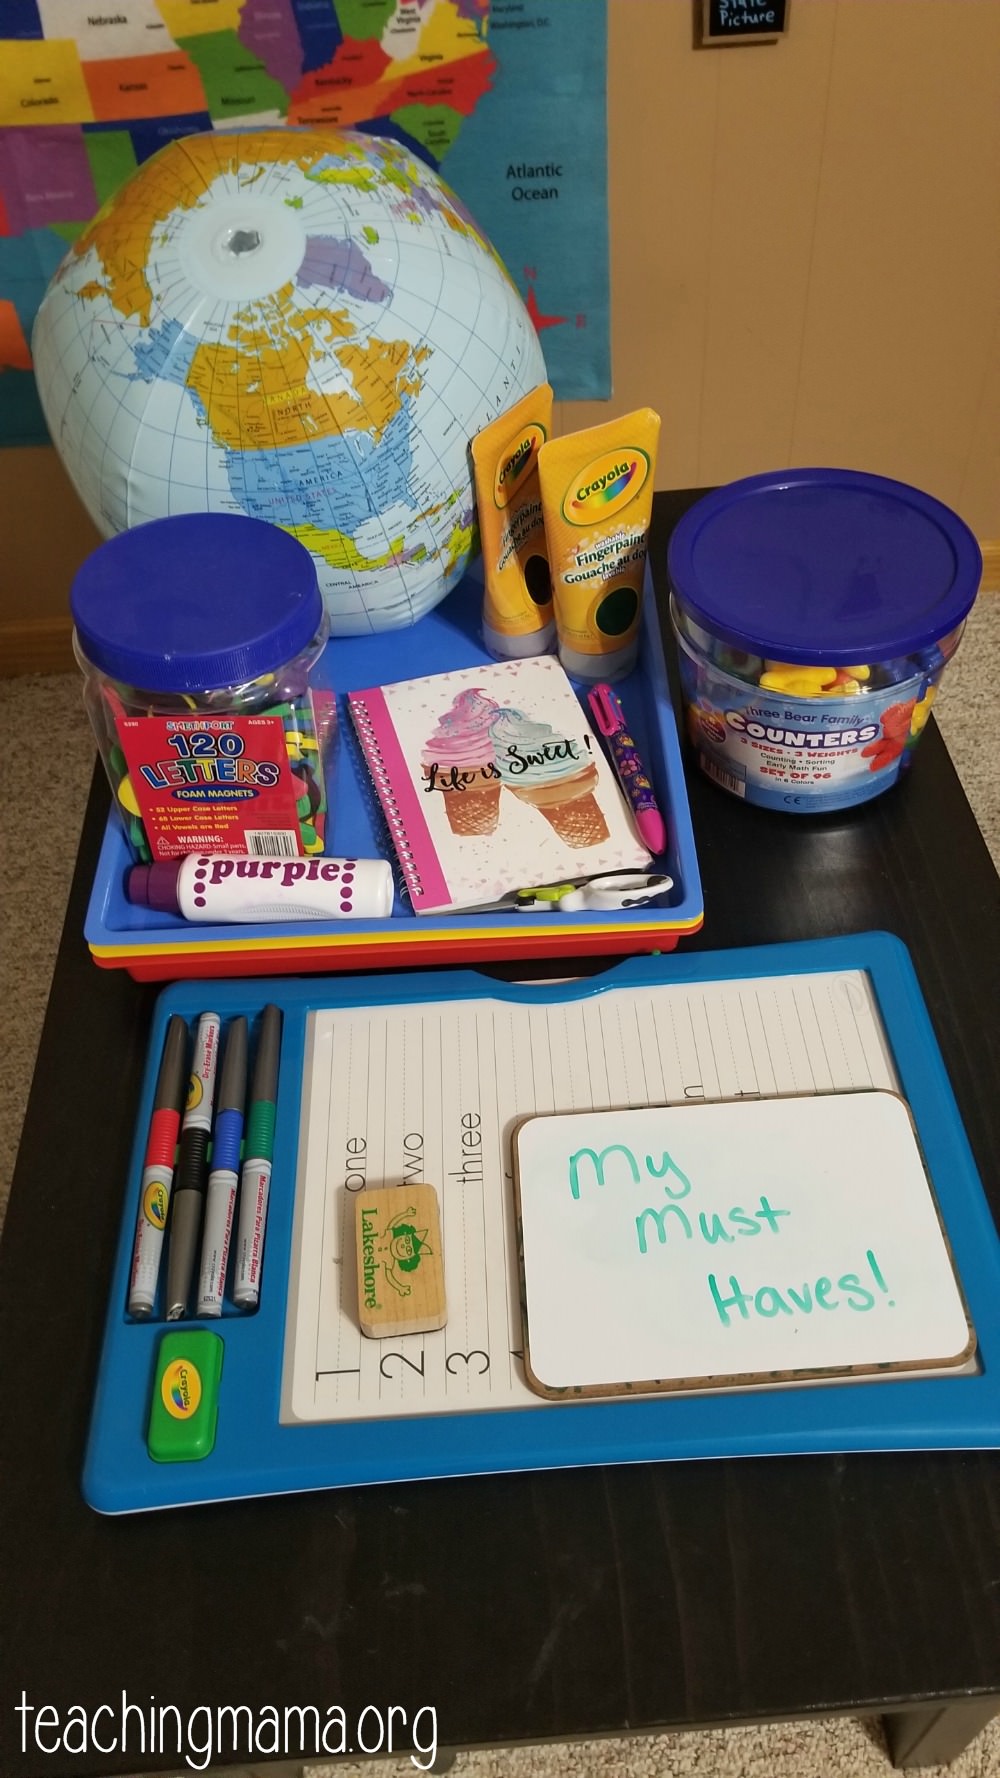
Here are some of my must-haves:
- Three bear counters
- Do-a-dot markers
- Crayola fingerpaint
- Letter foam magnets
- Inflatable world globe
- Crayola dry erase markers
- Dry erase board
4. Everything must have a home
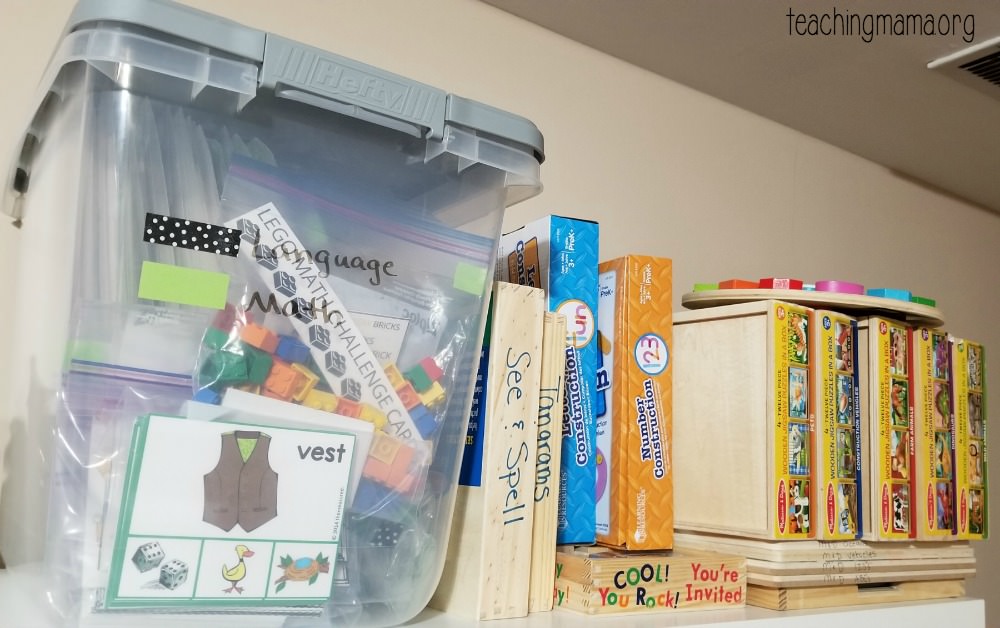
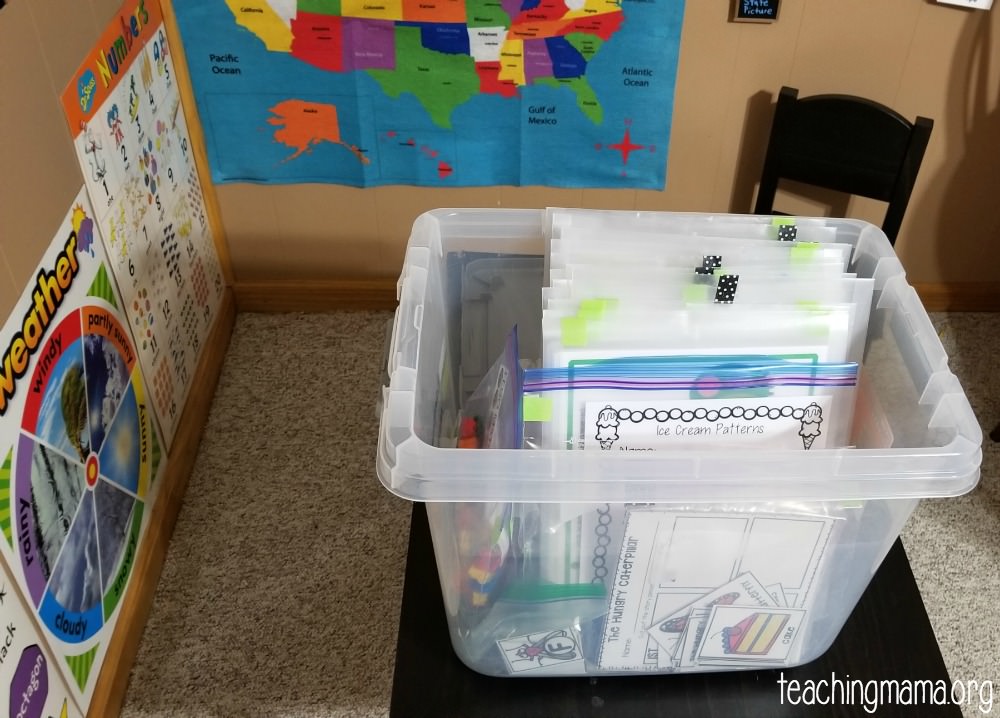
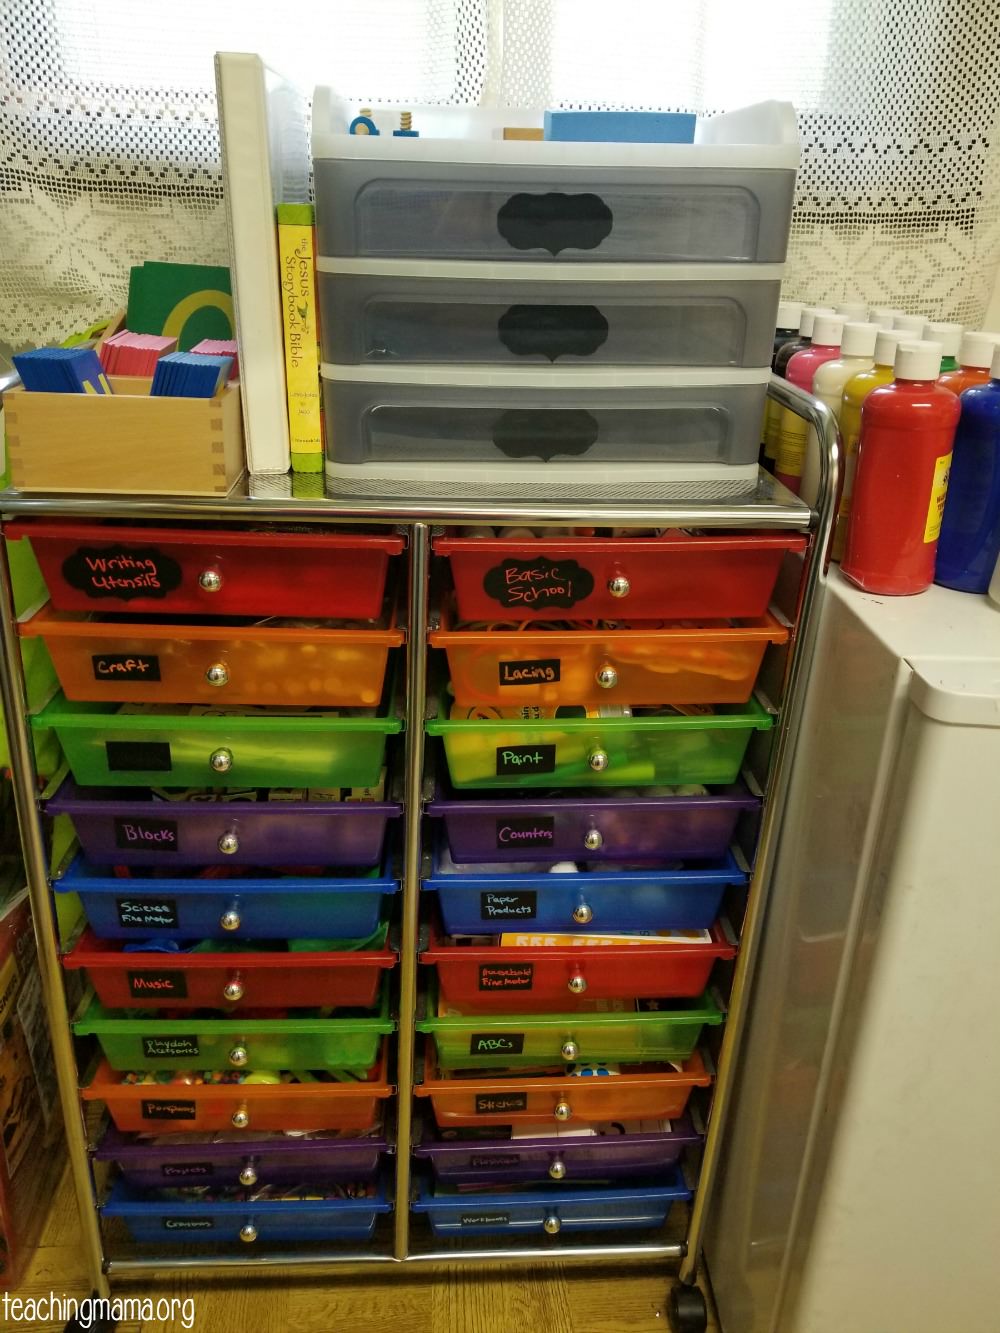
This is the basic cleaning/organizing mentality; so, if it doesn’t have a home, gift it to another one. Also, store like things with like. I recently put all my holiday themed items in my holiday décor bins. Additionally, I organized all activities/manipulatives together with color coded subjects. Based on placement of the sticker I know what age it is for more readily.
5. Think outside the corner
In most homeschool room pictures, I see walls decorated and shelves of toys/manipulatives down below. If your space doesn’t allow for this, build some shelves. Being realistic, you are going to have “stuff,” so look around you. Do you have space elsewhere to use? Any extra room in a closet? I’ve seen over-the-door shoe organizers and bins that go under beds. Personally, I had a little extra space in my laundry room. As long as you keep like things together and don’t go too far from your area, a little extra room can really help. (Click here for a similar rainbow cart!)
6. School on the go
With little space it is likely you might go elsewhere for a change of scenery. For moving within the house my son used a bookbag; for my materials, I used a shopping bag hung on the banister. You could also use a bin or caddy. For the car, keep everything contained. We use a clipboard storage box.
7. Add some flair
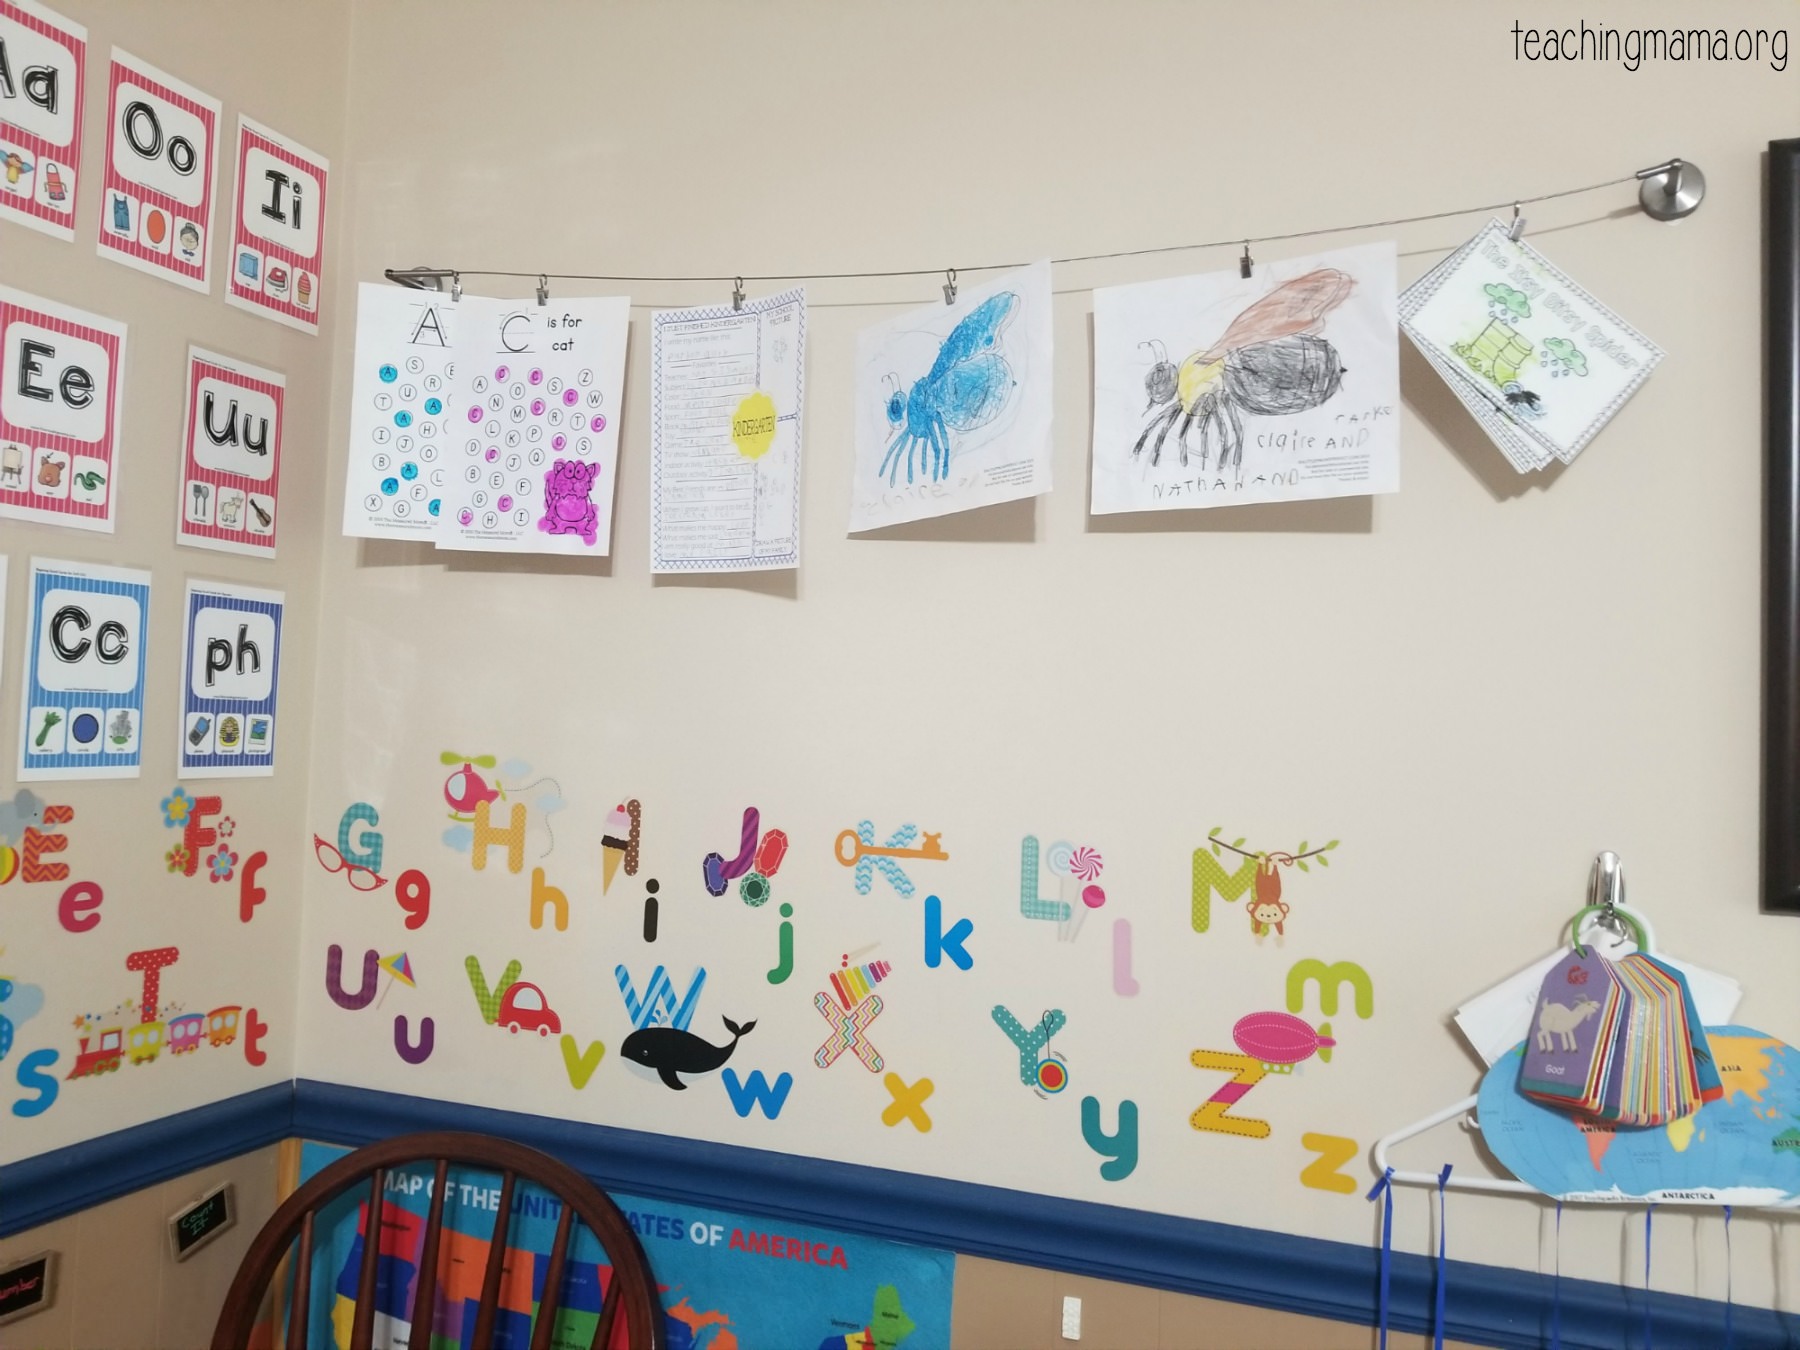
Once you have all your physical pieces planned out, add some spice! Paint your shelves, put up a quote, make something cute you saw on Pinterest (I did that!), add touches that only you can! I love this curtain rod from Ikea that displays the kids’ school work.
It is possible to homeschool in a small space. I hope these tips inspired you to be creative with your space!


