Ladybug Craft for Toddlers & Preschoolers
Today I am starting a brand-new series on bugs and insects! I am super excited to study bugs and insects with my boys and share our crafts and activities with you.
For week 1, we learned about ladybugs. I let my boys pick out which bug or insect they wanted to study first and they chose ladybugs! So today, I am sharing the ladybug craft we did.
Here’s what you need:
- paper plate
- black pipe cleaners (3 per ladybug)
- 2 googly eyes
- red tissue paper
- modge podge (or watered-down glue) and paintbrushes
- black beans (6-12 per ladybug)
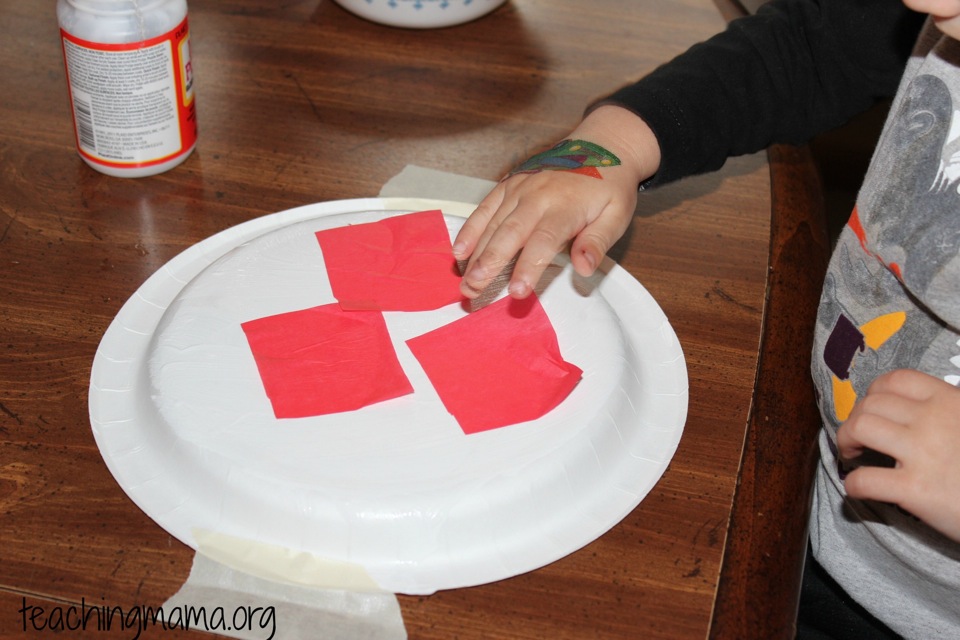
Here is how I set up the craft. I taped the paper plates onto the table so they wouldn’t move around for my kids. I cut the tissue paper into large squares ahead of time. I also had two paintbrushes and modge podge. If you don’t have modge podge, simply just water down white glue and you have the same thing.
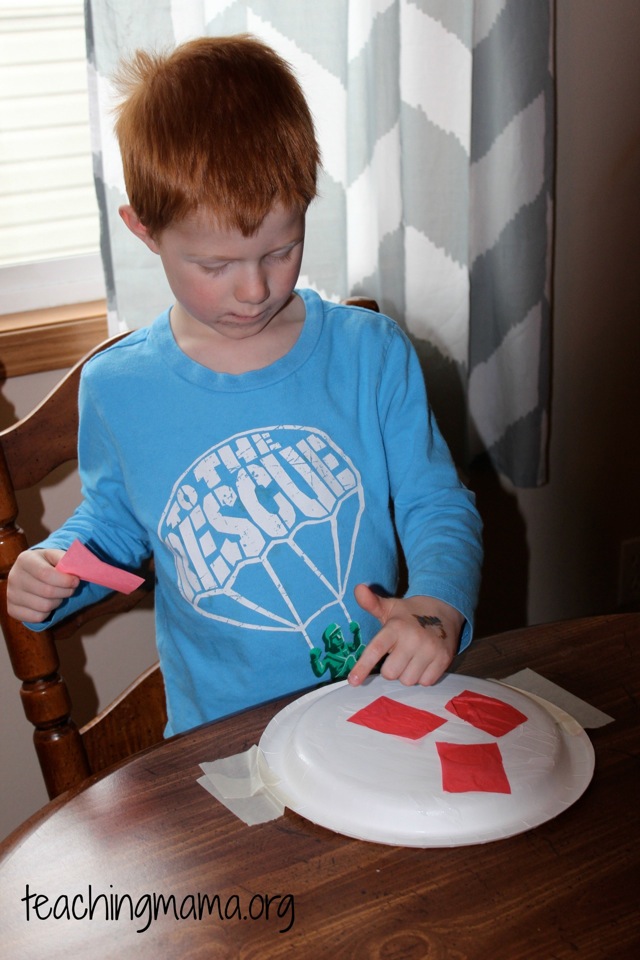
 First, I had my toddler and preschooler paint the paper plate with modge podge.
 Next, they placed the tissue paper squares all around the plate.
It can be tricky for little ones to get the paper on the edges, so you may need to help with that part (unless you just want white edges).
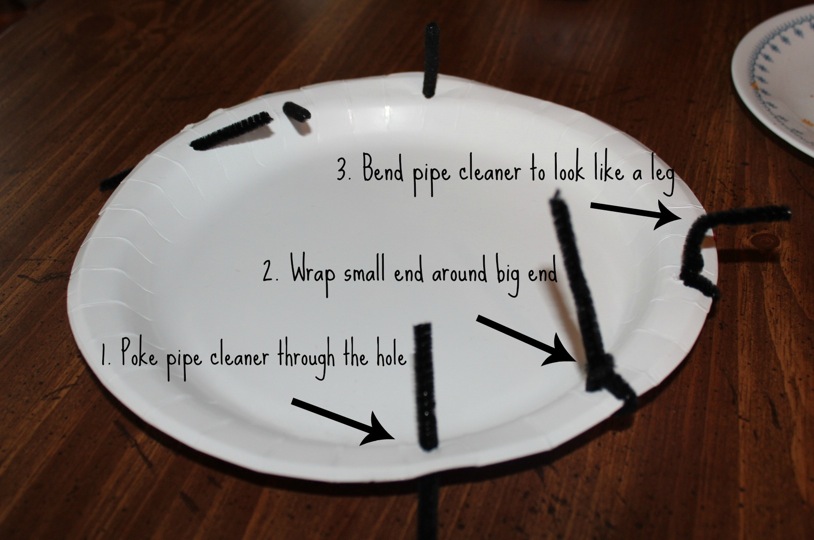
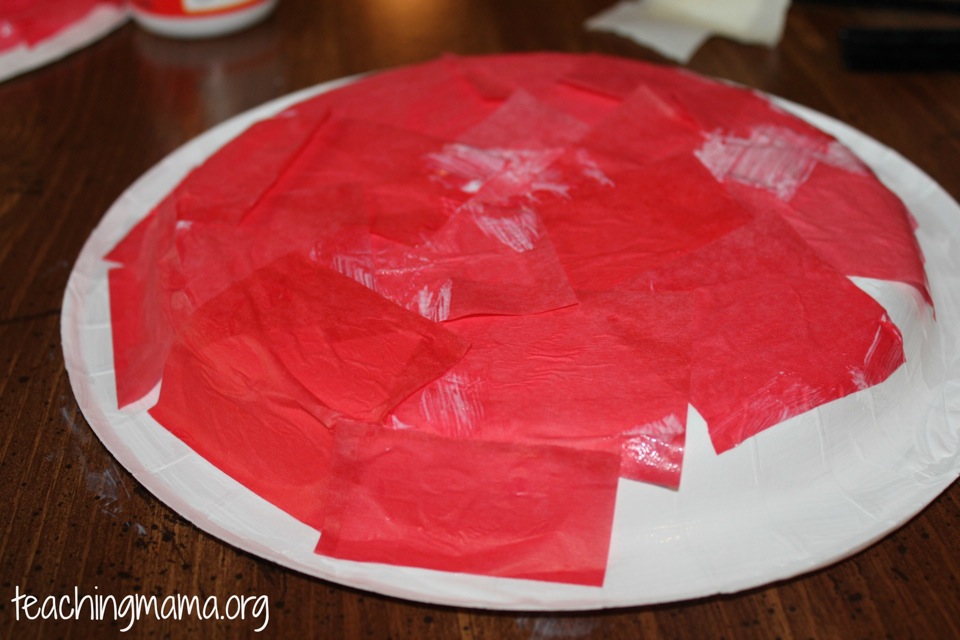 Then you will let it dry. It took a couple hours for ours to dry. Next, poke holes on the side for the ladybugs legs. You will want three on each side. Take 2 pipe cleaners and cut it into six pieces. Then have your little one poke them in the holes.
 Then you will need to do the next part. Wrap the small end of the pipe cleaner around the long end. Then bend it away from the plate so that it looks like a leg.
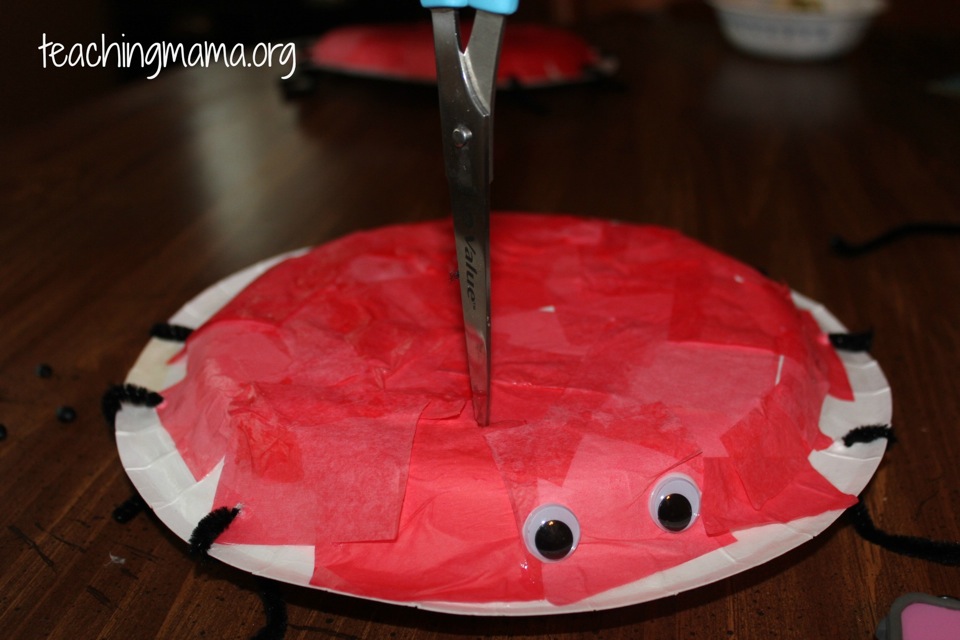
Next, add two googly eyes and poke holes on the top for antennas. I used scissors to poke the holes.
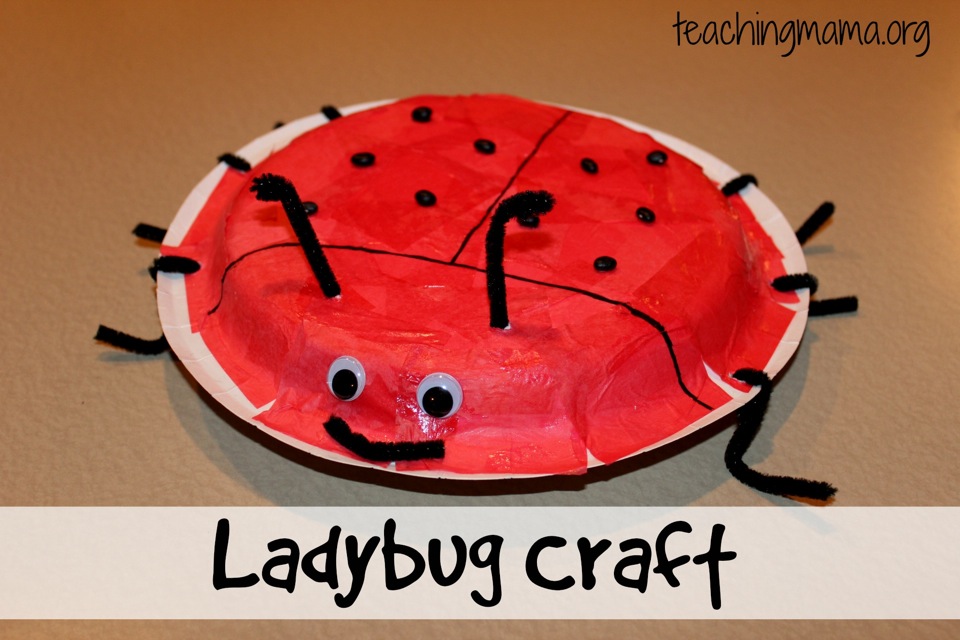
Stick pipe cleaners through the two holes and bend them at the bottom so they don’t fall out. Also, draw two lines like the picture below using a black marker. This defines where the wings are.
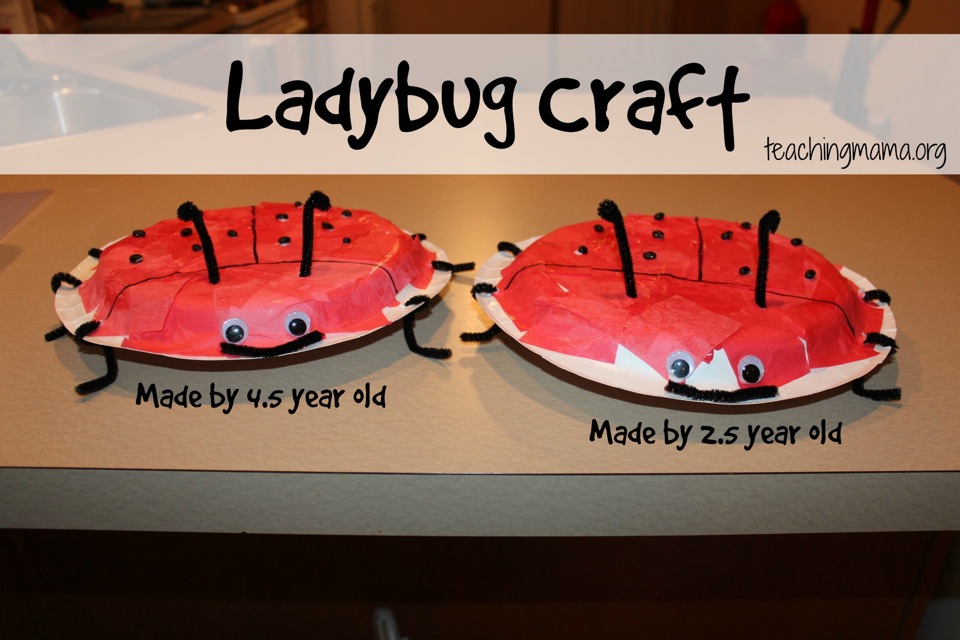
Have your child place black beans on wings to represent spots. Talk about how ladybugs are symmetrical and that they usually have the same number of spots on each side. I let my children choose how many beans they wanted to glue on each side. Then we made glue spots and the stuck them on. If you don’t have black beans, you could also use black pom poms or black construction paper cut into circles. Lastly, add a mouth to your ladybug by gluing a small piece of black pipe cleaner underneath the eyes.
Here is what the final product looks like!
This ladybug craft is great for talking about the anatomy of a ladybug. Here’s what they’ll learn about ladybugs:
- they have two eyes and two antennas
- ladybugs have 6 legs, making them an insect (and they are also a beetle!)
- they have wings to fly
- the spots are usually symmetrical on each wing
And for more ladybug fun, check out these activities!



It´s amazing this material. I love it. Well, I like all your resources. Thnk you to share it. =)
Wow! What adorable ideas you have here, I absolutely LOVE your site! It is so organized and FUN!!!!
I’ve made sure to follow you everywhere to ensure that I keep up to date on your fun ideas.
Thank you for linking up your craft with us at #artsyplay. We hope you join us again next Wednesday!
What a cute craft! We love using tissue paper! It’s just so bright and colorful 🙂 Thanks for linking up on Mom’s Library last week! This is one of my features.
This is adorable! It’s one bug I wouldn’t mind in the house. Thanks for linking up with Mom’s Library, I’ll be featuring you this week at Crystal’s Tiny Treasures. Have a great week!
This is such a cute lady bug craft. It is different from some of the others I’ve seen and requires a little more work from little hands which is good for small motor skills. Pinned and Thanks!
I love this! I’m going to pin it for when we start our ladybug unit!
I love this ladybug project! Thanks for sharing and I pinned it!
Thanks, Debbie!! 🙂
Very cute craft! We love lady bugs! Looking forward to the next post! 🙂