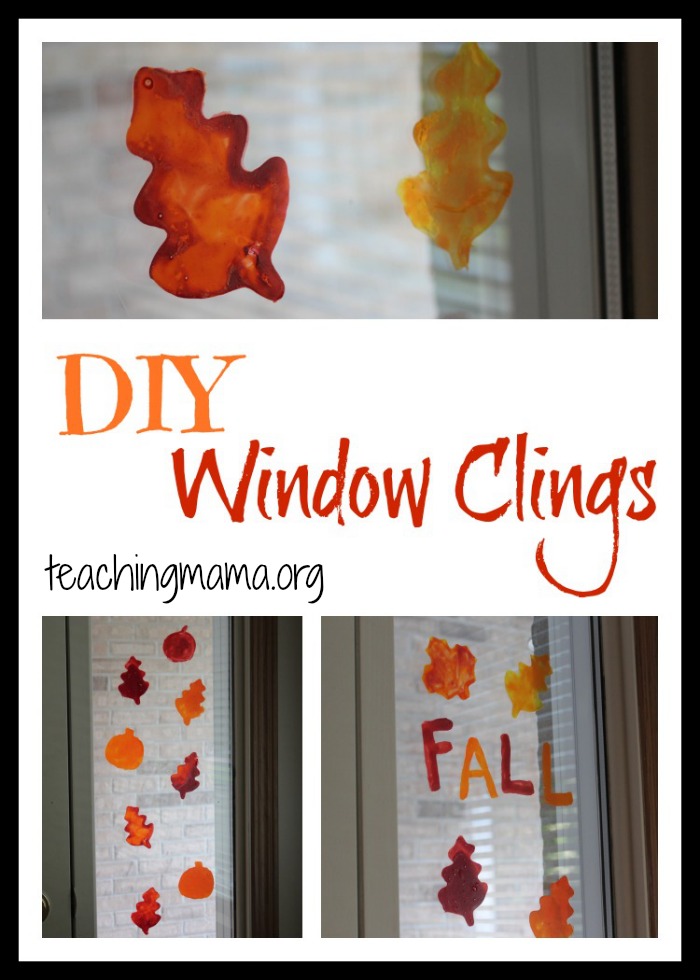
DIY Window Clings
I am so excited to share this new craft with you today! We just created DIY window clings and they are SO easy to make! I can’t wait to share all the details with you. I saw the idea on this site and decided to try it out and put our own twist to the activity. These window clings would be great to make with your preschooler at home or it would be a fun classroom project!
(This post contains affiliate links. See my disclosure page for details.)
Here’s what you need to make your own window clings:
- 2 Tablespoons of white glue (I used Elmer’s
)
- 2 drops of dish soap
- food coloring (I used gel food coloring
, but you could use liquid food coloring.)
- plastic page protectors
- paintbrush
- cookie cutters
(optional)
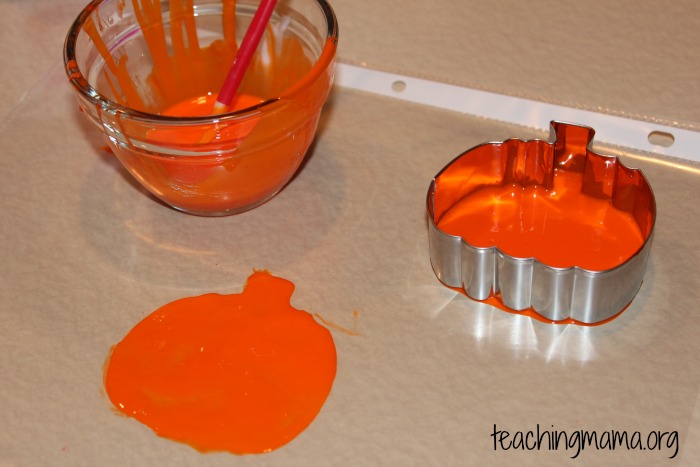
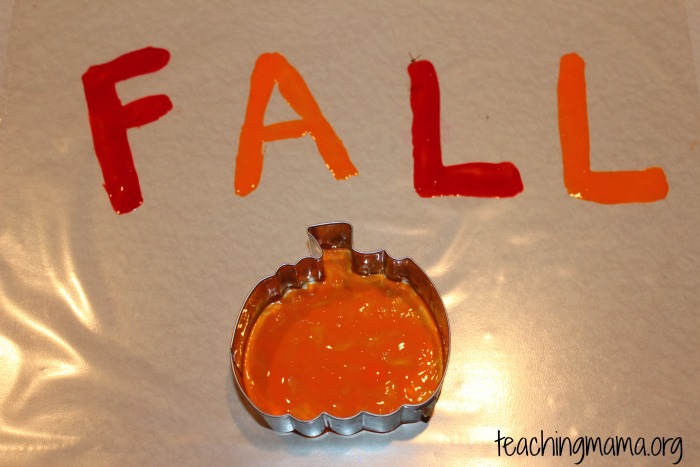
Start by mixing the glue, dish soap, and food coloring together into a bowl. Then use a paintbrush to paint a design on the plastic sheet protector. You can also fill in a cookie cutter with the colored mixture to make it easier. We used fall cookie cutters that I picked up from Hobby Lobby.
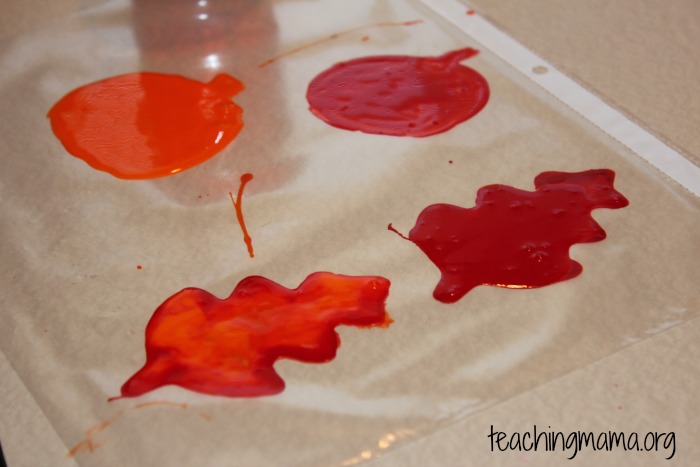
You want the design to have a semi-thick layer. If you use too much, the design will run together and won’t dry properly.
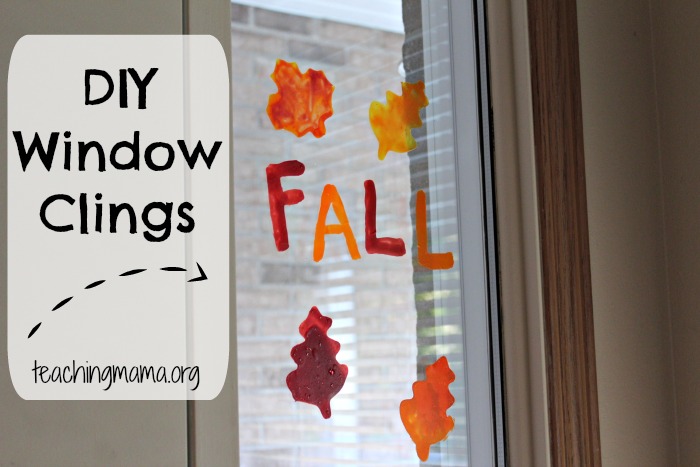
I also wrote out the word “FALL” because I thought it would look nice on our window with our fall leaves and pumpkins.
You may want to leave the cookie cutter on the design for a few minutes until the glue mixture settles. It helps the design stay in place.
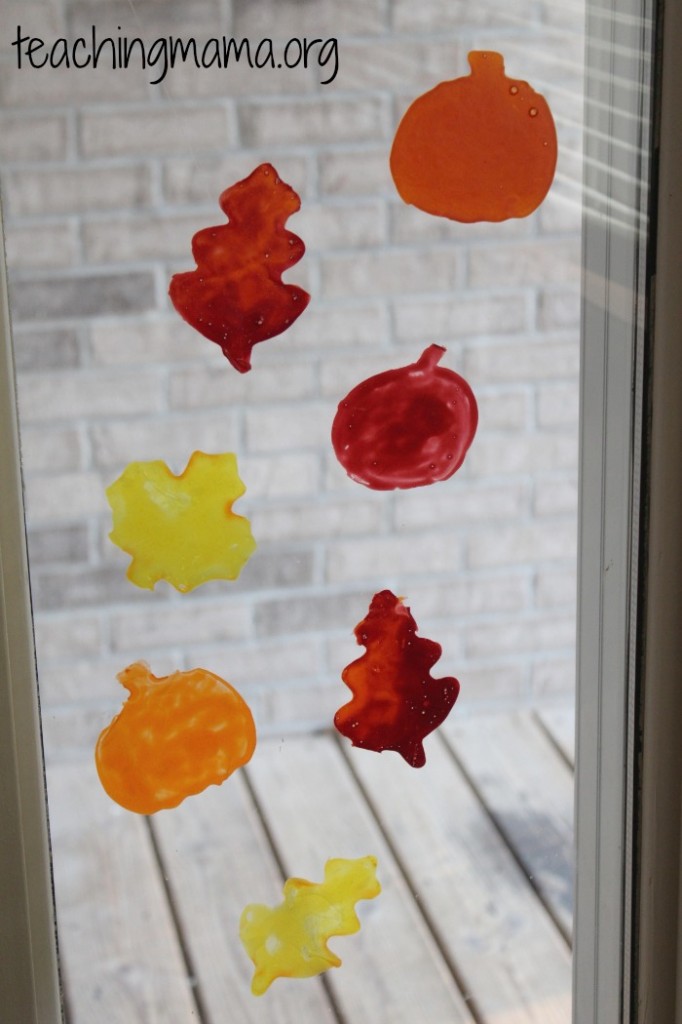
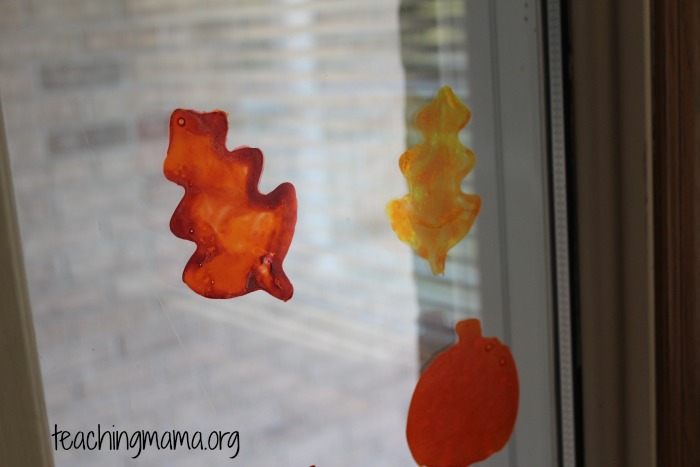
Allow the window clings to dry overnight. Once they feel dry, you can peel them off the plastic page protector and stick them to the window! So easy! They stick very well and can be used for a long time.
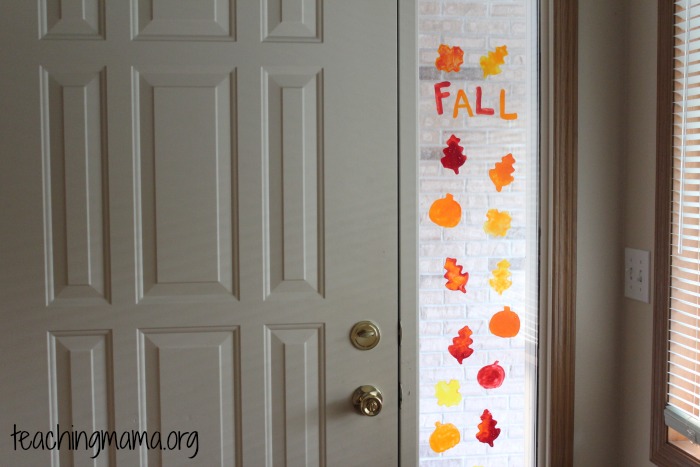 I LOVE how these turned out! They look so pretty on the window. I’m sure we’ll be making these for every season now!

My granddaughter and I made these and turned out great….however I put them on window for her to see results, then removed for her to take home, but now they won’t re-stick !! Any ideas??
You can add a tiny bit of hot water to the. Back of the cling and it will restick.
I tried these last night and wanted to report that freezer paper (the shiny side) works well as a surface for these. Thanks for the fun idea!
(Aside: freezer paper is great for DIY fabric stencils, too! Cut out your design by hand or using a Cricut, Silhouette, etc. Iron (shiny side down) to fabric, paint, let dry & peel off.)
Awesome tips! Thanks for sharing!
I was really excited to give this project a try. Somehow I left out the dish soap. I used liquid food coloring and wax paper. They didn’t work for me. Though not any fault of yours. I didn’t properly follow the directions. I see from others that wax paper didn’t work for them either. I will try these again, I have lots of glue leftover. This time I will follow all directions. Fingers crossed they turn. I think its such a cool idea.
I’m glad you’ll try it again!! Yes, the dish soap is an important ingredient! I just made another batch last night and I used liquid food coloring and it worked great. I haven’t tried it on wax paper, but I know it works well on the plastic sheet protectors. Good luck!
What a great idea! I remember doing something similar as a kid but hadn’t thought to try it with my own!
Can you pour it out in a big sheet and the cut your shapes out?
That’s a great idea. I have not tried that, but I would assume it would work.
I tried this today with my students but they do not look as dark or thick as yours. I tried the cookie cutters but when they dry they are almost clear. Do you know what I did wrong? Thanks!!
I’m so sorry it didn’t turn out for you! Did you use liquid food coloring? I used gel food coloring, so I think it maybe made it thicker. I would try adding some more glue to make it thicker.
Could you use wax paper or parchment paper instead of page protectors?
The page protectors are a bit thicker and lays flat, which is why I used them. I have not tried using wax paper or parchment paper, but I would think it would work. Good luck!
What about using freezer bags? I would assume they would have the same thickness and durability. I will try this and let you know!
You could try it out. I haven’t tried it, so I don’t have any experience with it. Sorry!
I used baking paper = disaster struck. The paint glue mix started going through and wrinkling the paper. I then used freezer bags that were quite thick and now I am waiting for it to dry overnight, no wrinkilng.
I tried this yesterday and used waxed paper…. it didn’t work for me. The clings seemed too dry and therefore were not sticky. I don’t know if my mixture was off (when I tried to put in 2 drops of dish soap, a bit more came out) or if the waxed paper absorbed the mixture. If I try this again, I will use the plastic page protectors.
Oh, and I also used the liquid food coloring because I don’t have the gel.
I am so sorry it didn’t turn out for you!! I’m guessing the wax paper was the problem. I’ll try making some with liquid food coloring to see if that may be a problem, too!
I tried with wax paper and the glue kind of absorbed into the paper and wouldn’t peel off. I switched to page protectors halfway and those worked much better!
I love this idea. I can’t wait to make these with the kids. I agree this is a great idea for all the holidays. Thanks for sharing this fun tip!
I’m so glad their’s a post about DIY window clings cause my daughter and son both love sticking them onto our front and back doors. I just bought some at Michael’s this past weekend but they’re not cheap and they asked for more but till now that wasn’t going to happen. Now we can make our own and we have lots of fall cookie cutters! Can’t wait to give this a try!! Pinning!
These are awesome! I have got to try these with my daughter this week. Going to pin this so I can come back to it later.