Calm Down Sensory Bottles
A calm down sensory bottle is a wonderful way to help a child who is anxious, sad, upset, or overwhelmed. These easy-to-make bottles are a great addition to a classroom or a home and can make a huge difference for children…and even adults!
I recently walked into our doctor’s office to find several sensory bottles on the front desk. When I asked about them, they said that they were very popular and that adults use the calm down bottles more than the children. Who knew?! I love these calm down bottles and I think they are great for self-regulation.
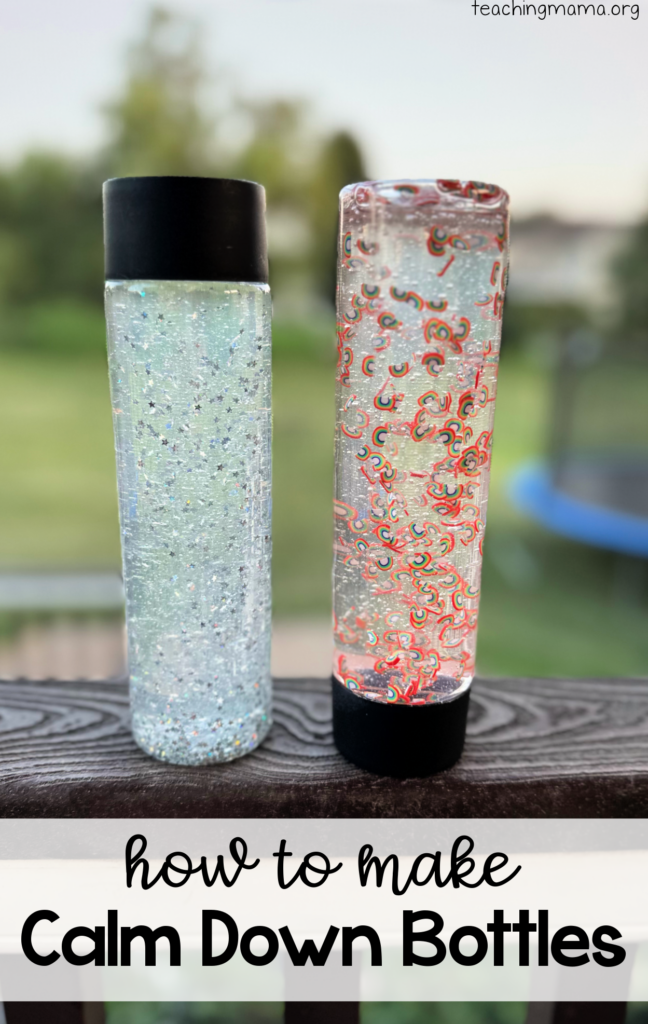
What are Calm Down Sensory Bottles?
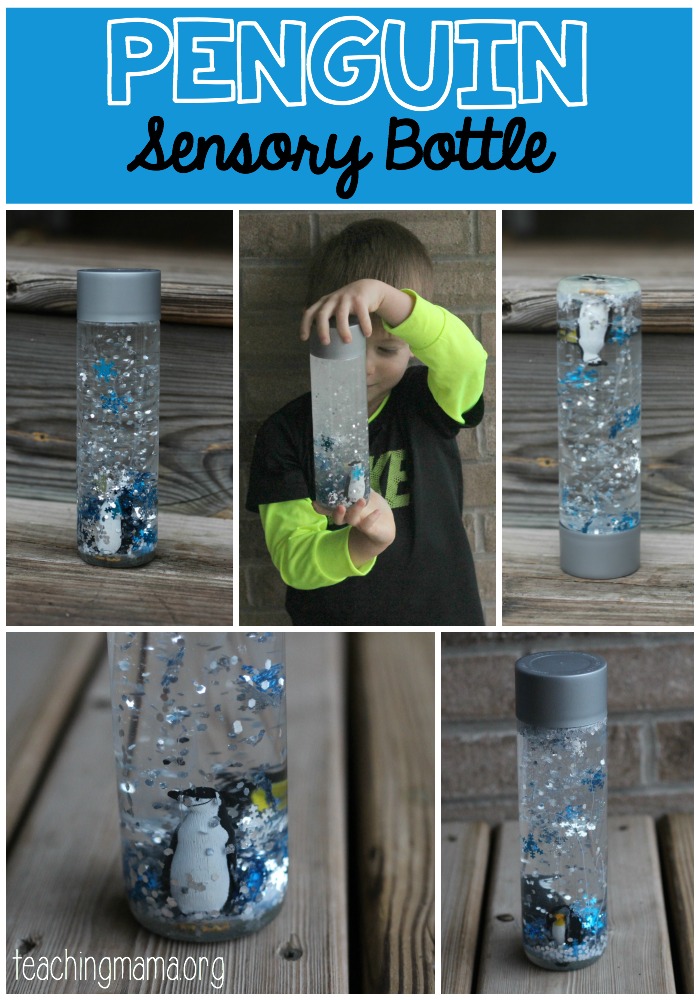
A calm down sensory bottle is a container filled with liquid and a variety of items to allow students to play and observe the bottle without making mess.
There’s something very mesmerizing about a calm down sensory bottle. They are a great way to self-regulate and calm down their emotions. When children focus on the objects in the bottle, it will help the child settle down and focus their attention.
We use these bottles to help calm an anxious or upset child when they become overwhelmed. They are also just fun for kids! You can play I-spy with them, learn about science concepts, and are great for young children to look at.
How to Make a Calm Down Sensory Bottle
It’s very easy to make a calm down sensory bottle. The materials vary for how you want to make it, but for this bottle, I used the following:
- plastic bottles
- clear glue
- warm water
- confetti and polymer clay slices
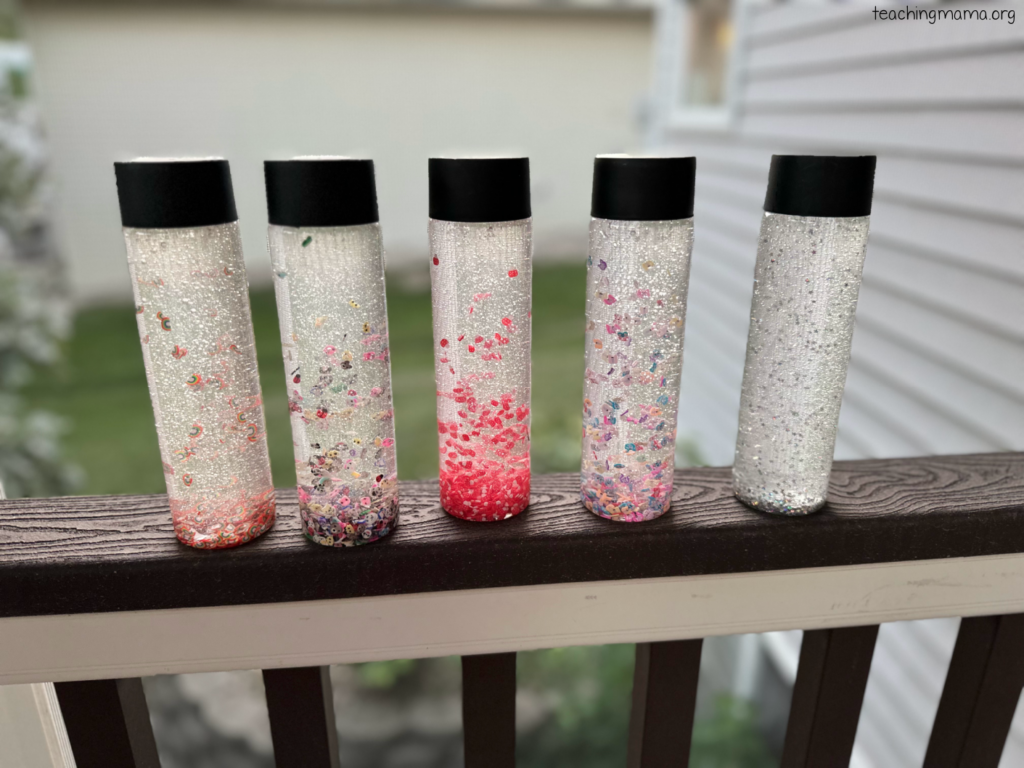
I usually use Voss water bottles to make these, but I found a pack of 6 bottles at Hobby Lobby that I decided to try out!
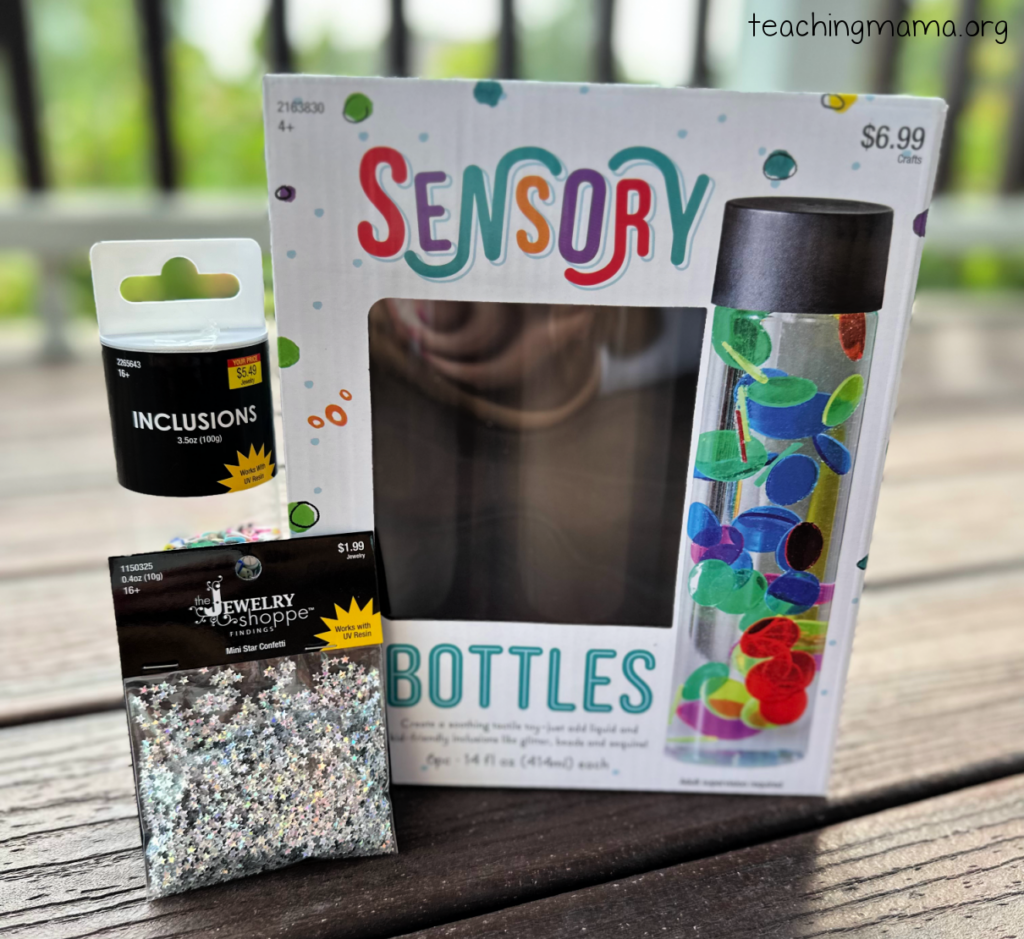
These are a great size for little hands. I decided to make some for my preschool classroom!
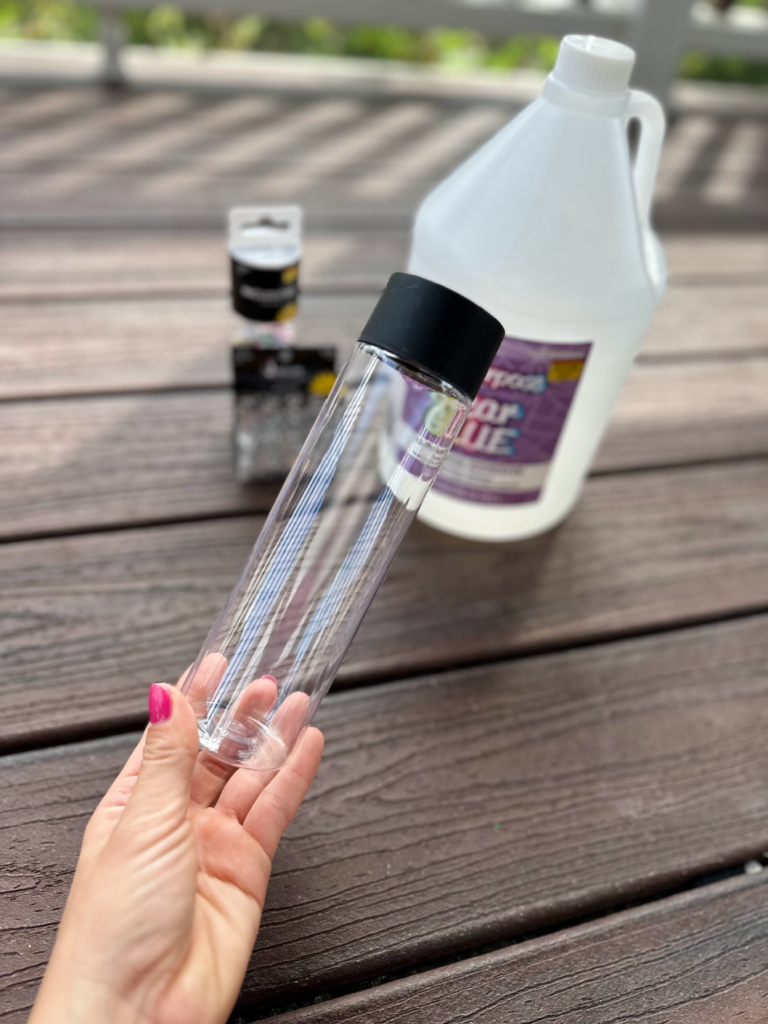
- To begin, fill the bottle 2/3rds full of clear glue. If you want the objects in your bottle to fall quickly, then fill it with less glue. If you want the objects to fall more slowly, then add more glue.
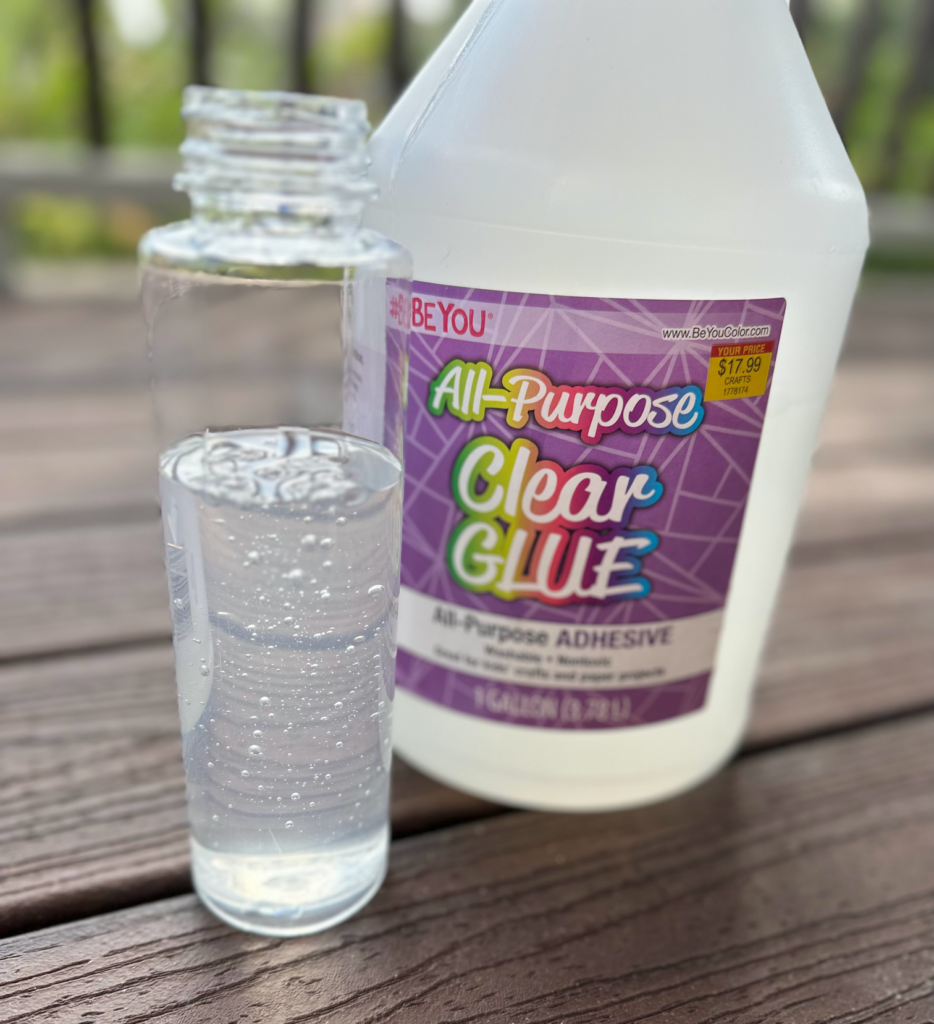
2. Next, fill the rest of the bottle with warm water. Leave a small space at the top so you can add in your objects.

3. Then add in your glitter, sequins, or small objects.
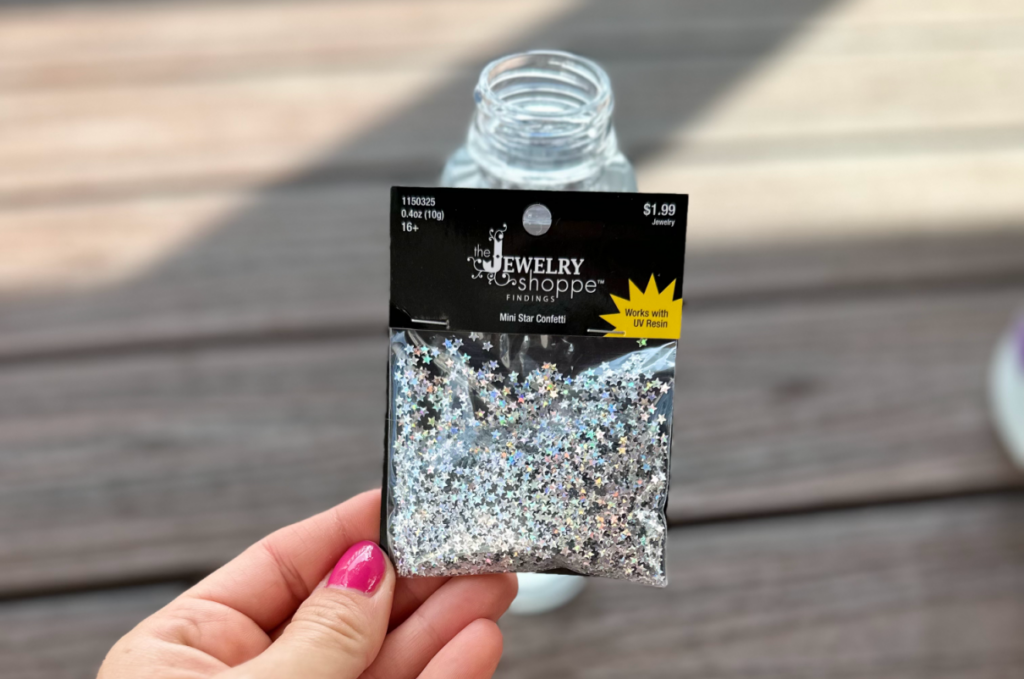
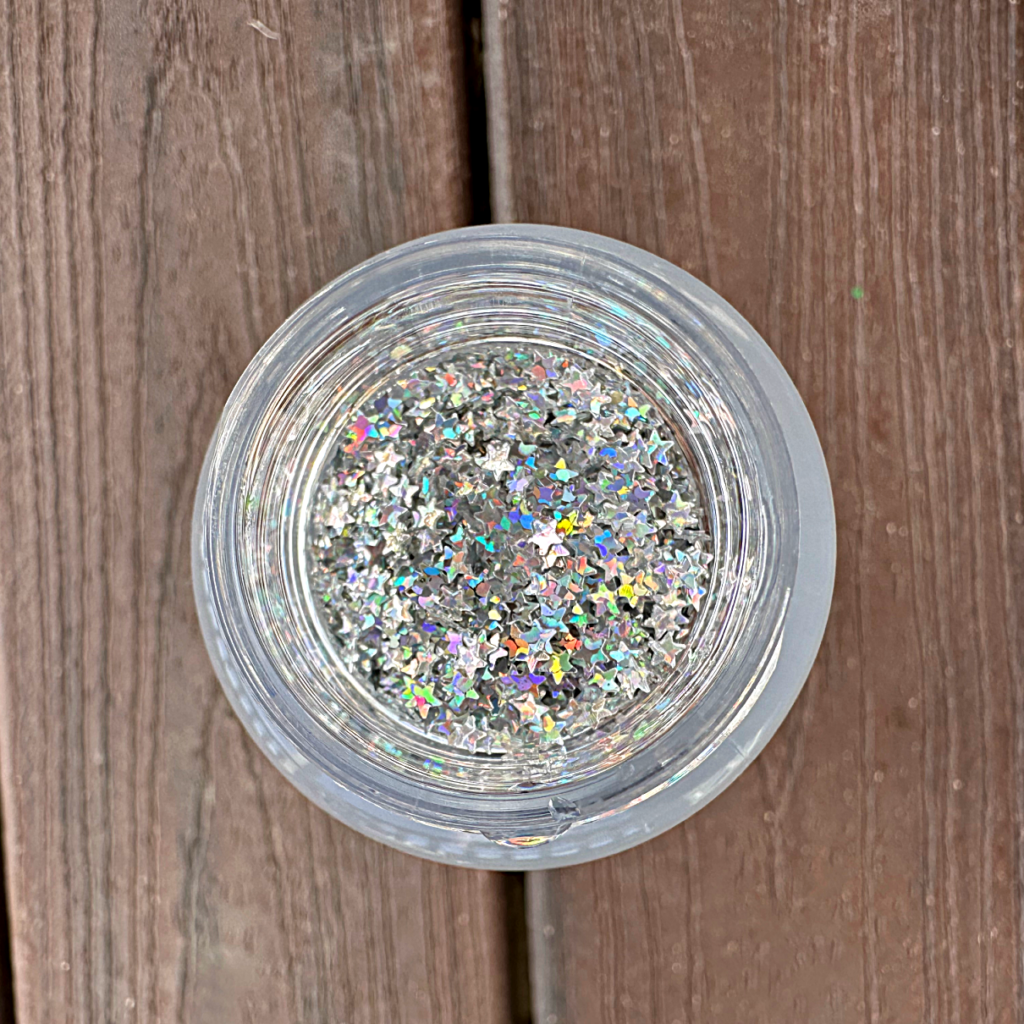
4. Screw on the lid and then shake it up really good!
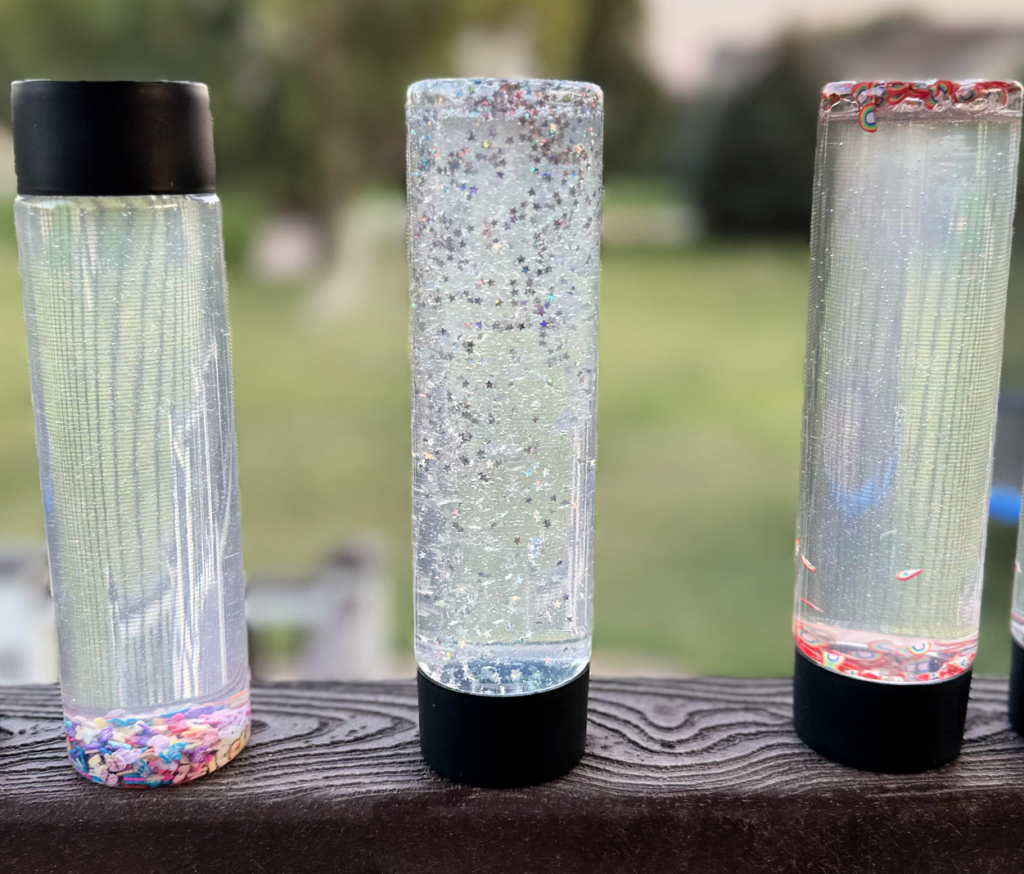
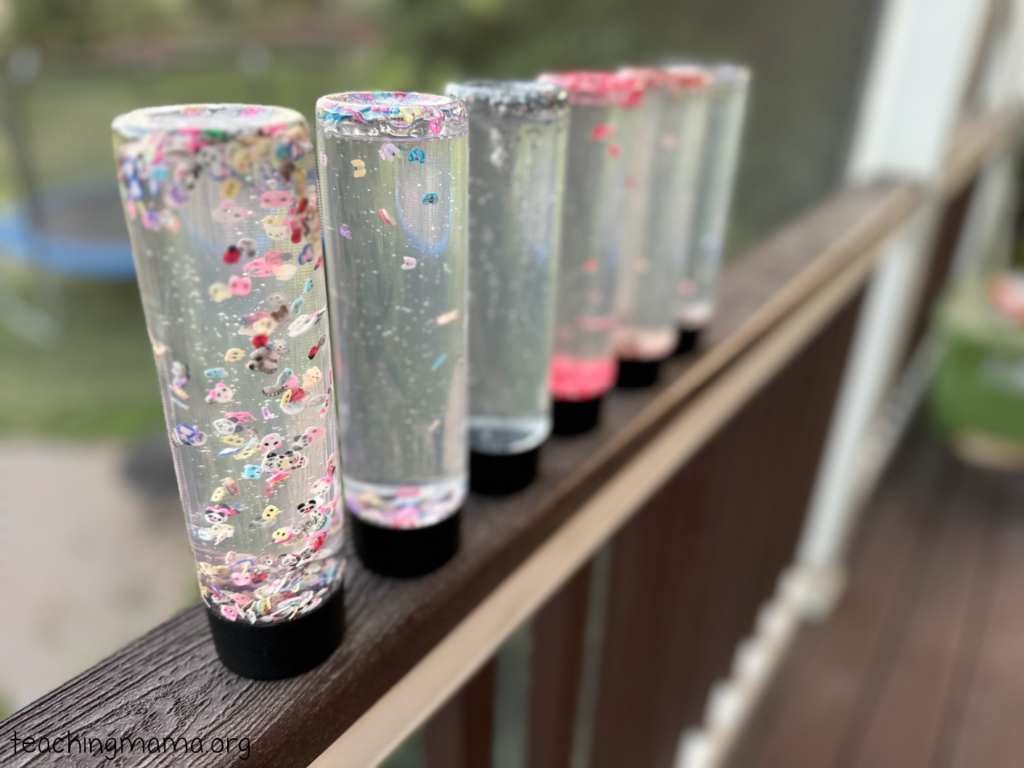
Before giving the bottle to children to play with, make sure you use hot glue or super glue on the lid so that the bottle doesn’t open up and spill.
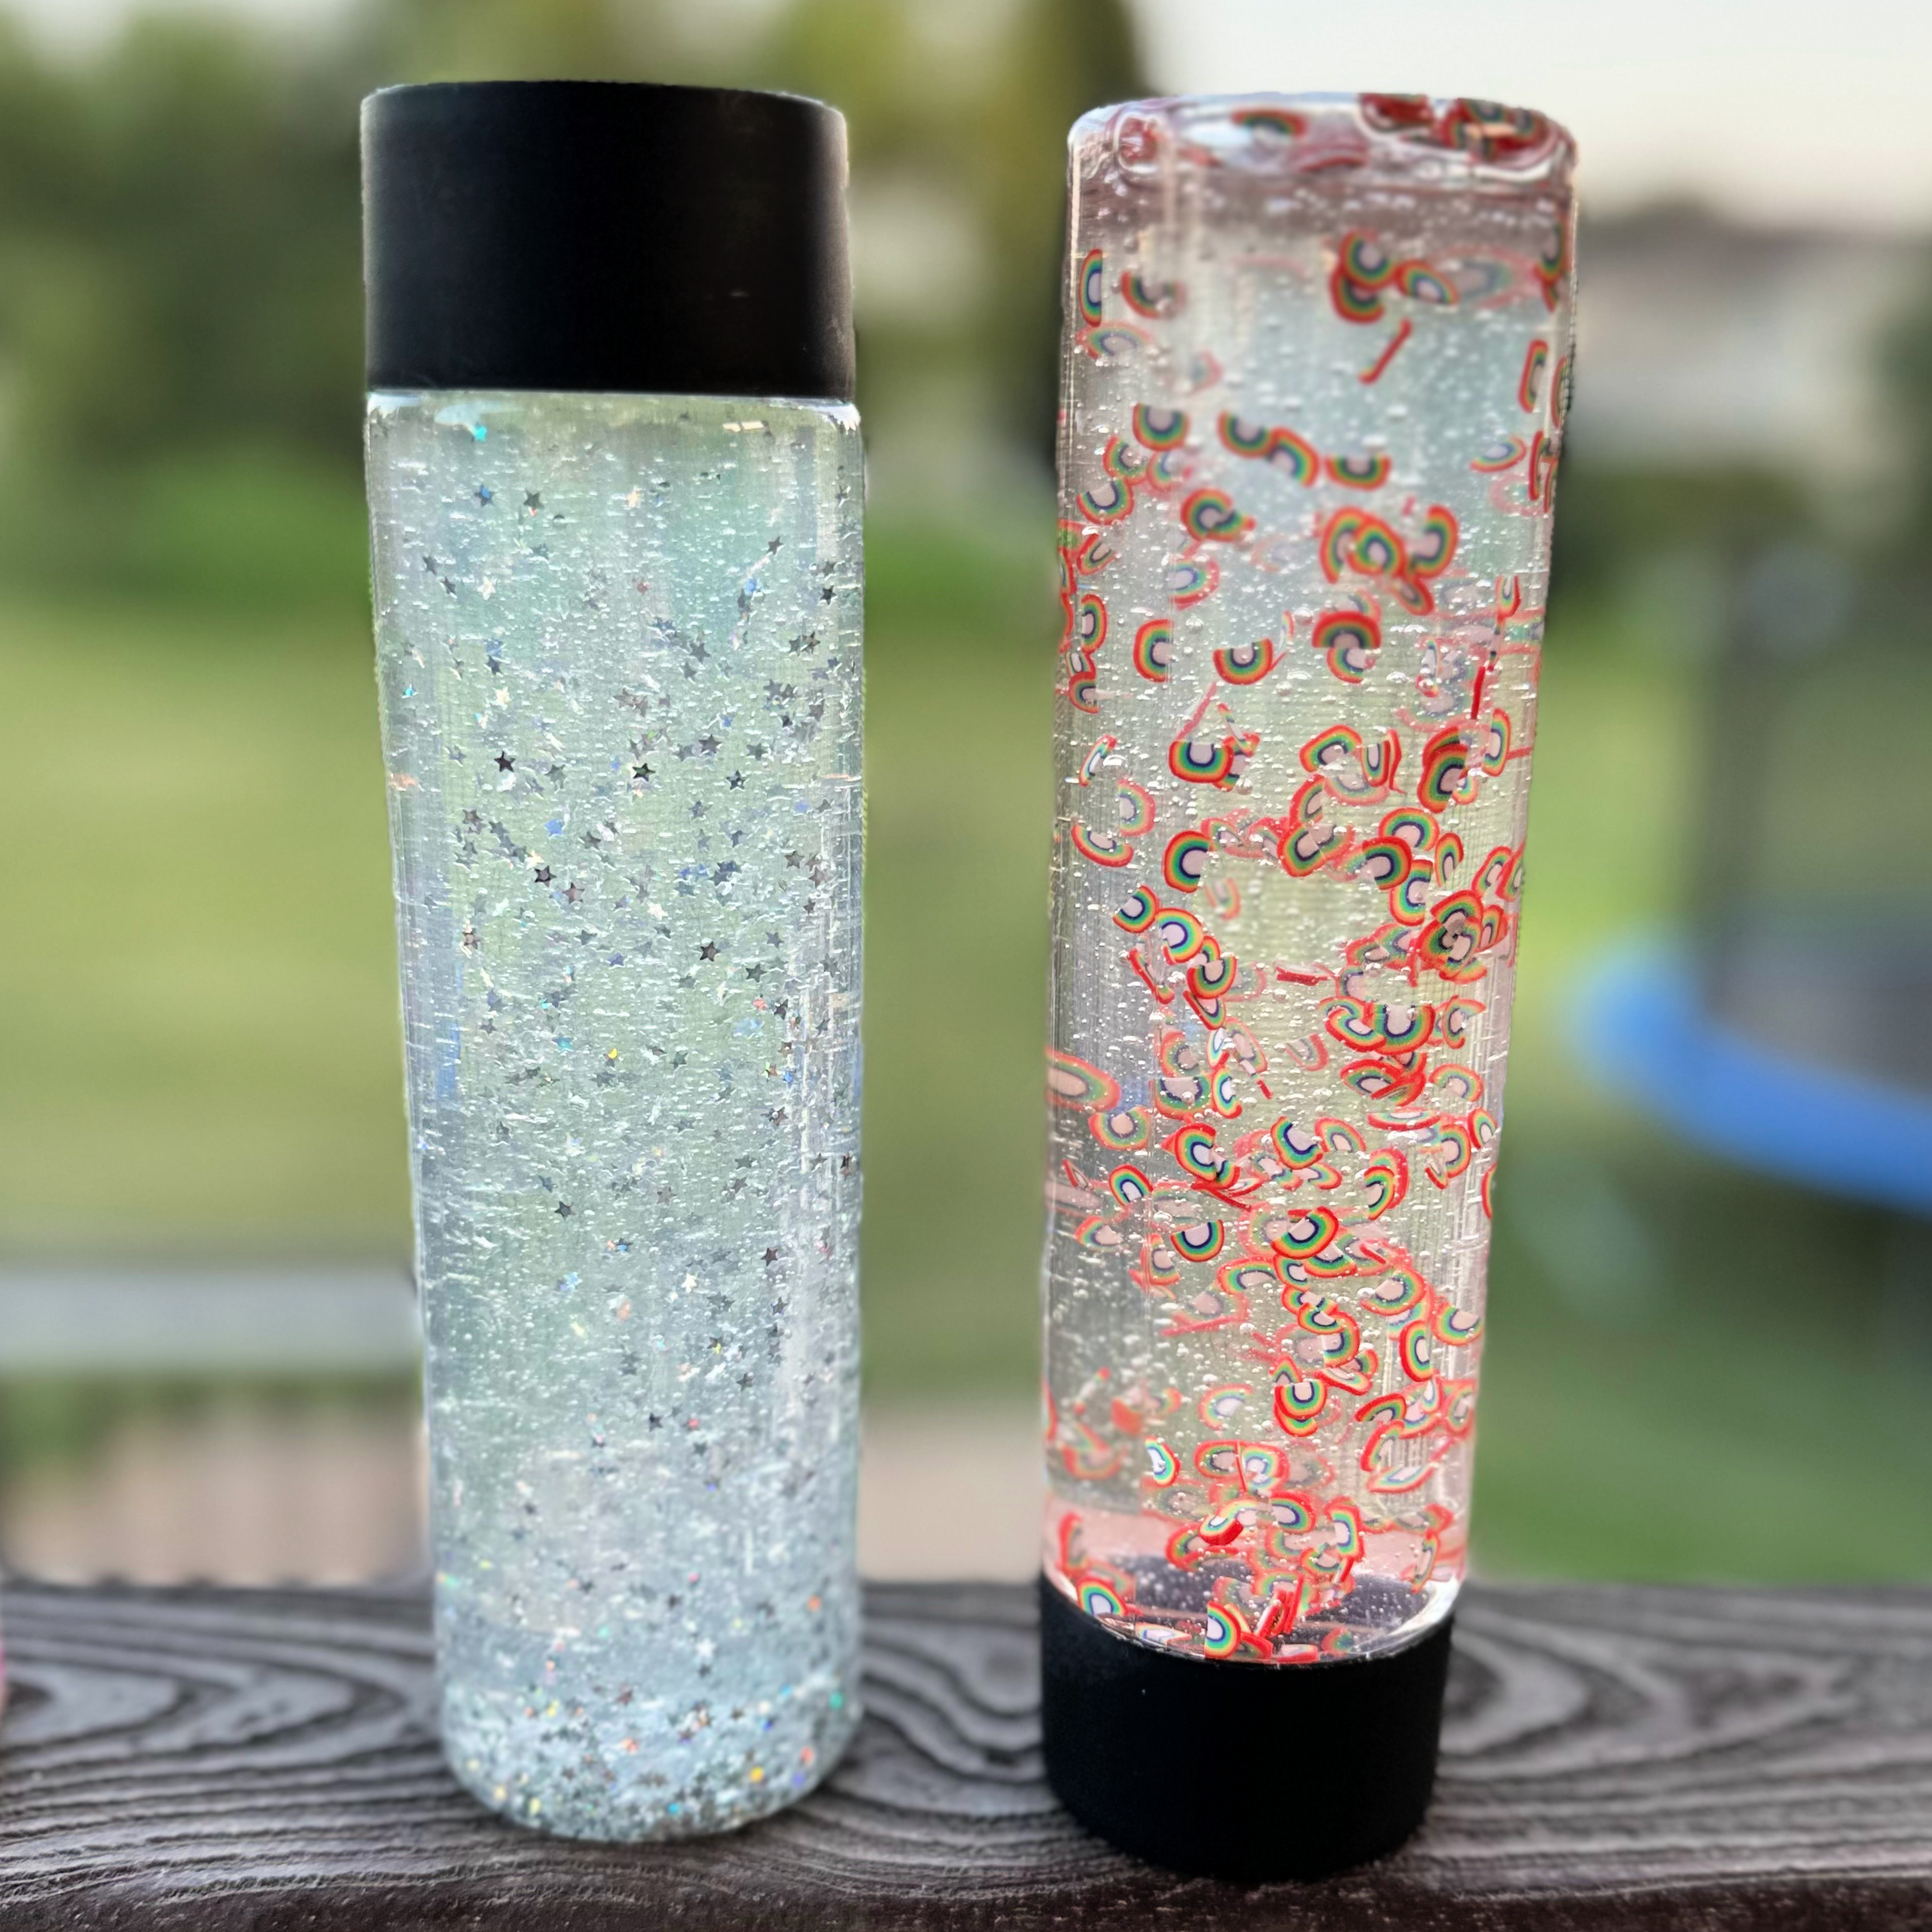
It was hard to capture a great photo with these bottles because the objects are constantly moving.
Frequently Asked Questions
To have the objects move faster in the bottle, simply add more water instead of glue. Try 50% glue and 50% water.
I like to use a hot glue gun for this. I place the hot glue around the neck of the bottle and then I quickly screw on the lid.
No I actually haven’t! I do monitor the bottles and make sure they look durable and aren’t leaking before I give them to my students.
You can try colored water and oil, soap foam, colored rice, rainbow loom bands, sand, glitter glue, nature items, beads, and really anything else you can think of! I love how creative you can be with making these sensory bottles.
I hope you’ll try making a calm down sensory bottle! Share your ideas with me in the comments!

