Puffy Paint Pumpkin Picture
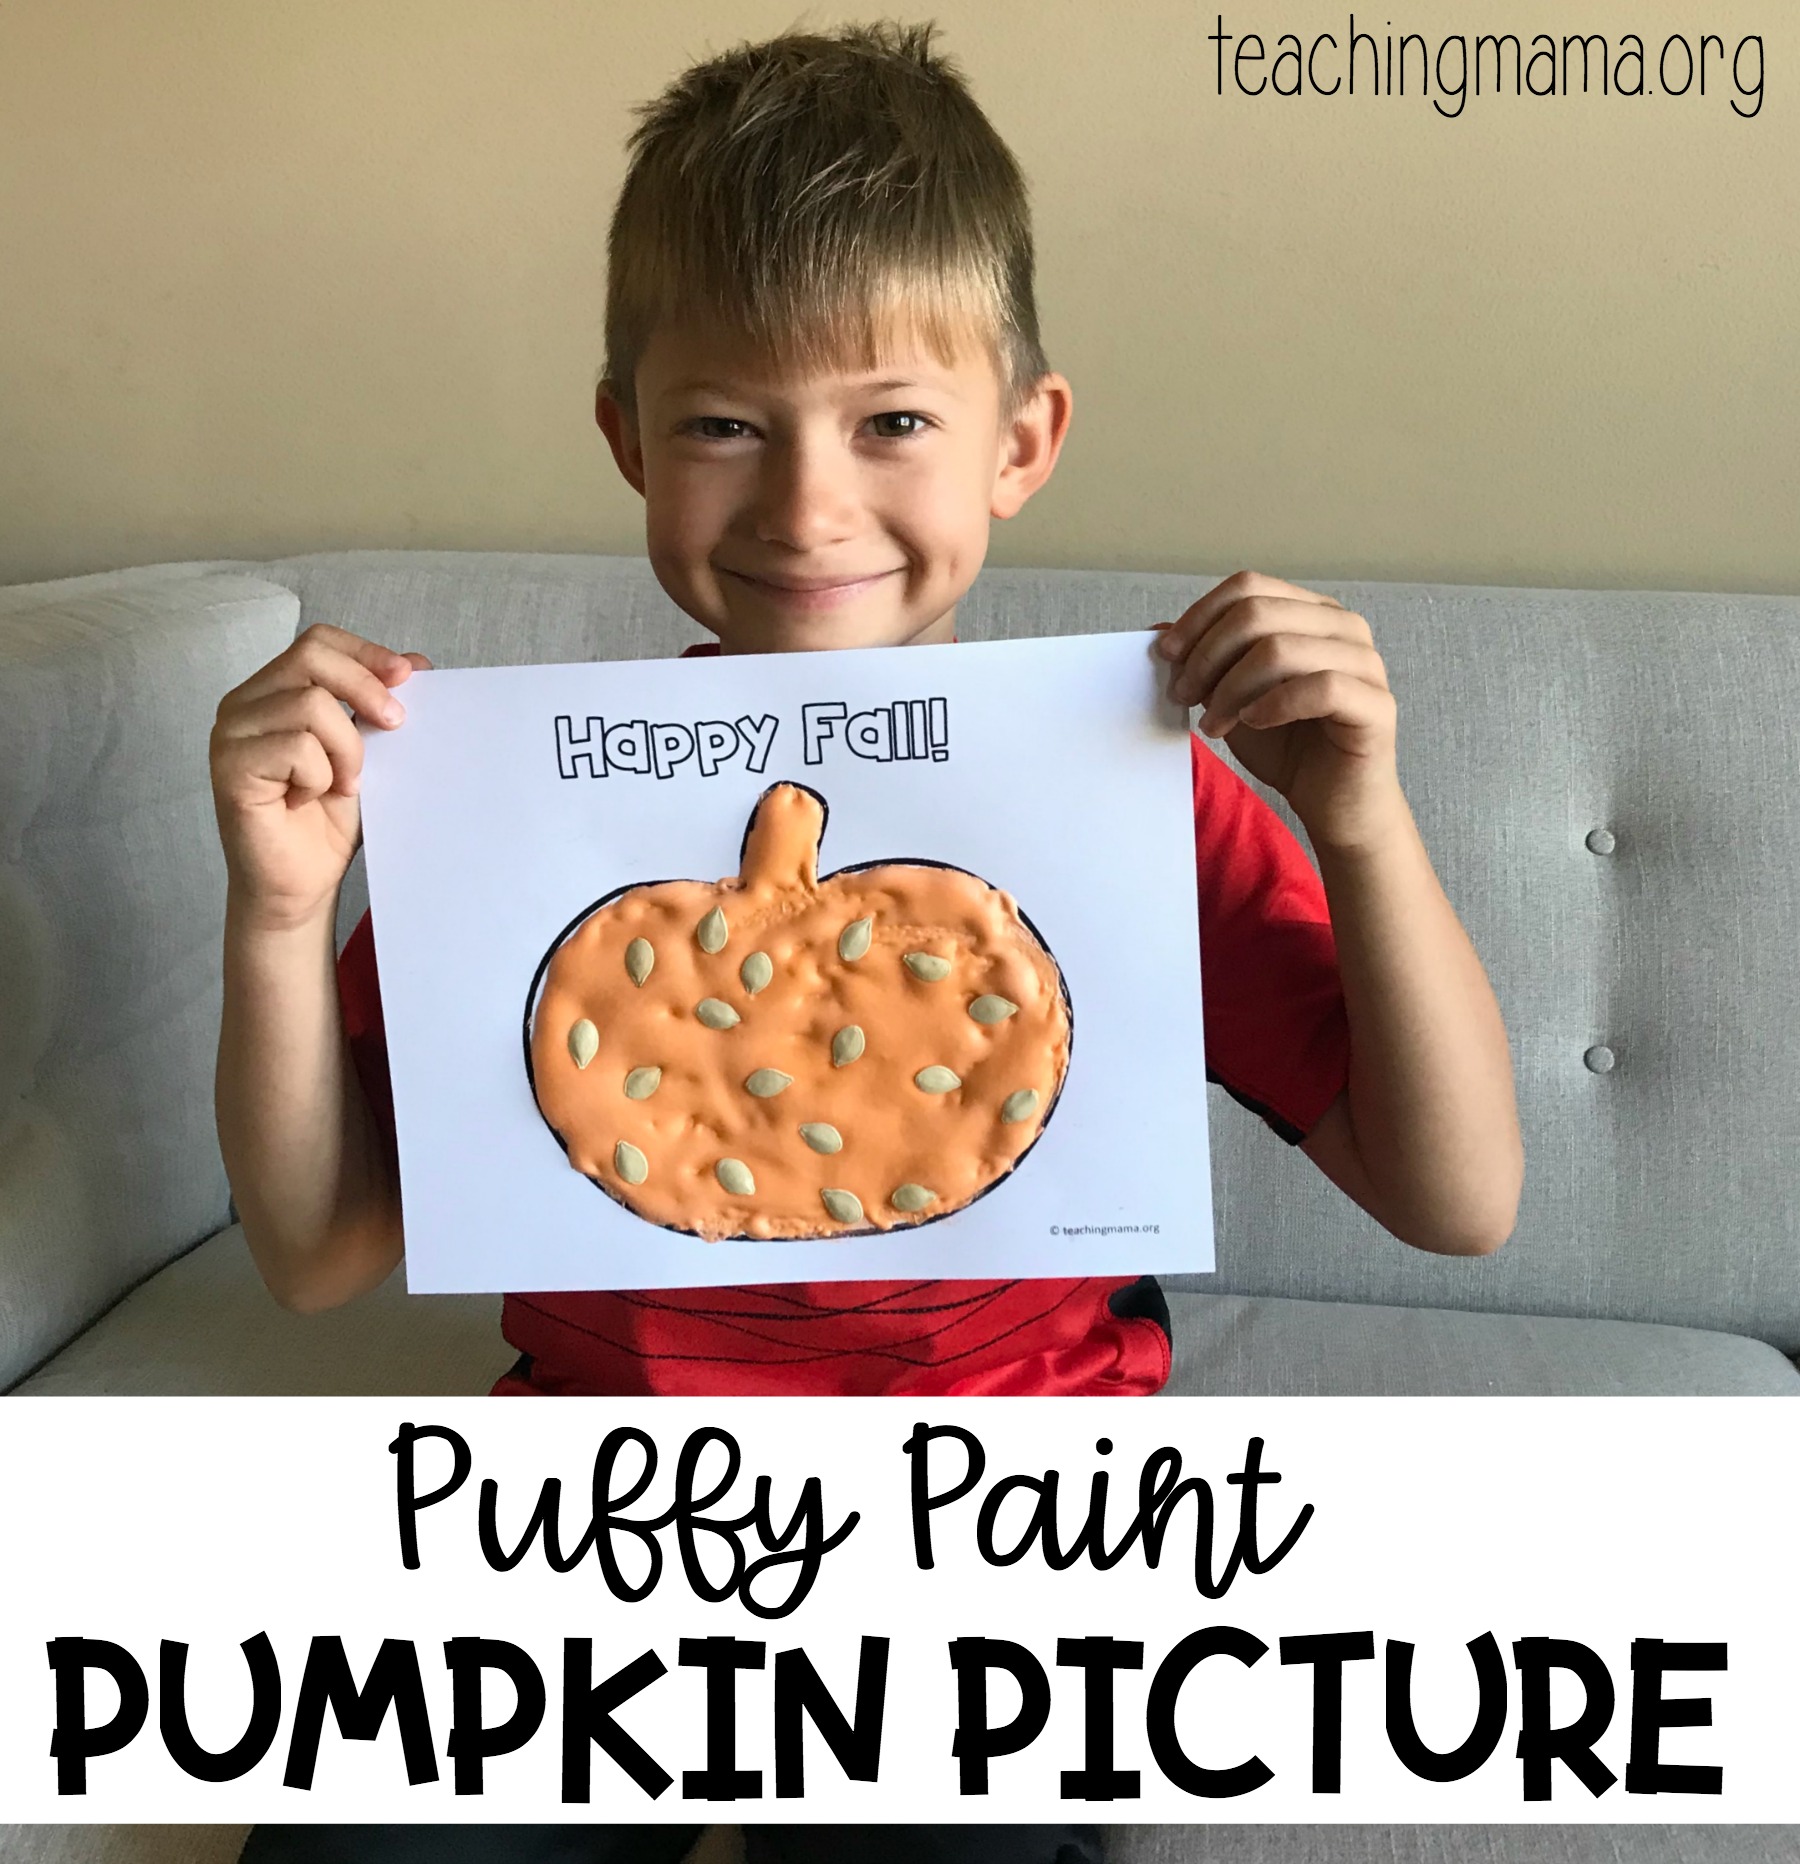
Do you know how easy it is to make your own puffy paint? You just need three ingredients! Today I’m excited to share this adorable puffy paint pumpkin picture. It’s perfect for fall!
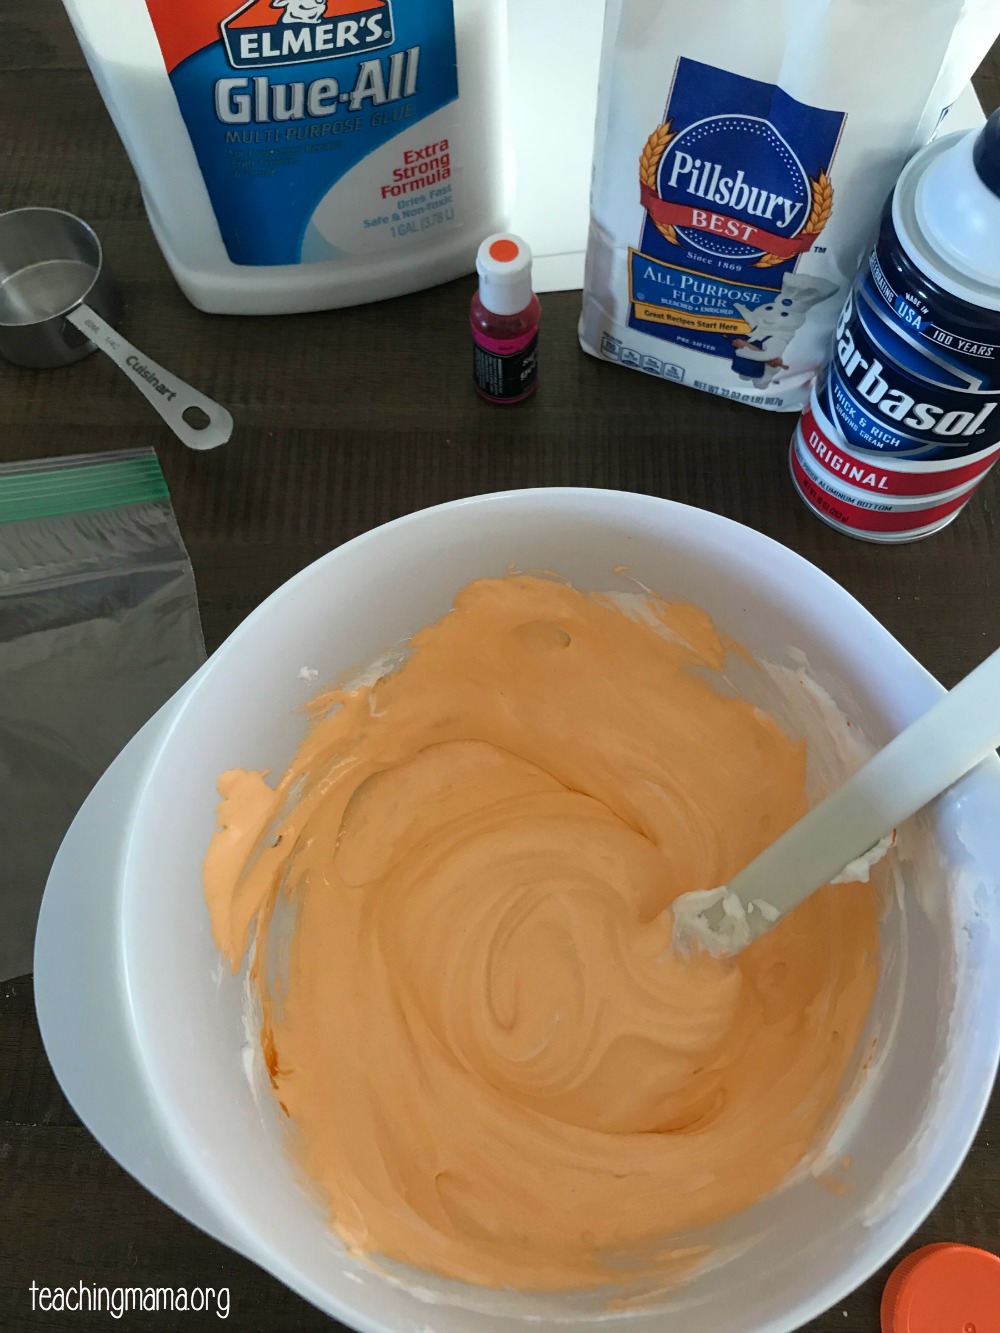
Materials for Puffy Paint Pumpkin Picture:
- 1.5 cups shaving cream
- 1/4 cup flour
- 1/2 cup white glue
- orange food coloring (I used gel food coloring)
- sandwich size Ziploc bag
- scissors
- spatula
- paintbrush
- Pumpkin Template
Stir all the ingredients together and then pour it into a Ziploc bag. Try to get all the air bubbles out and then seal it shut. Snip a small part of one corner for the paint to come out.
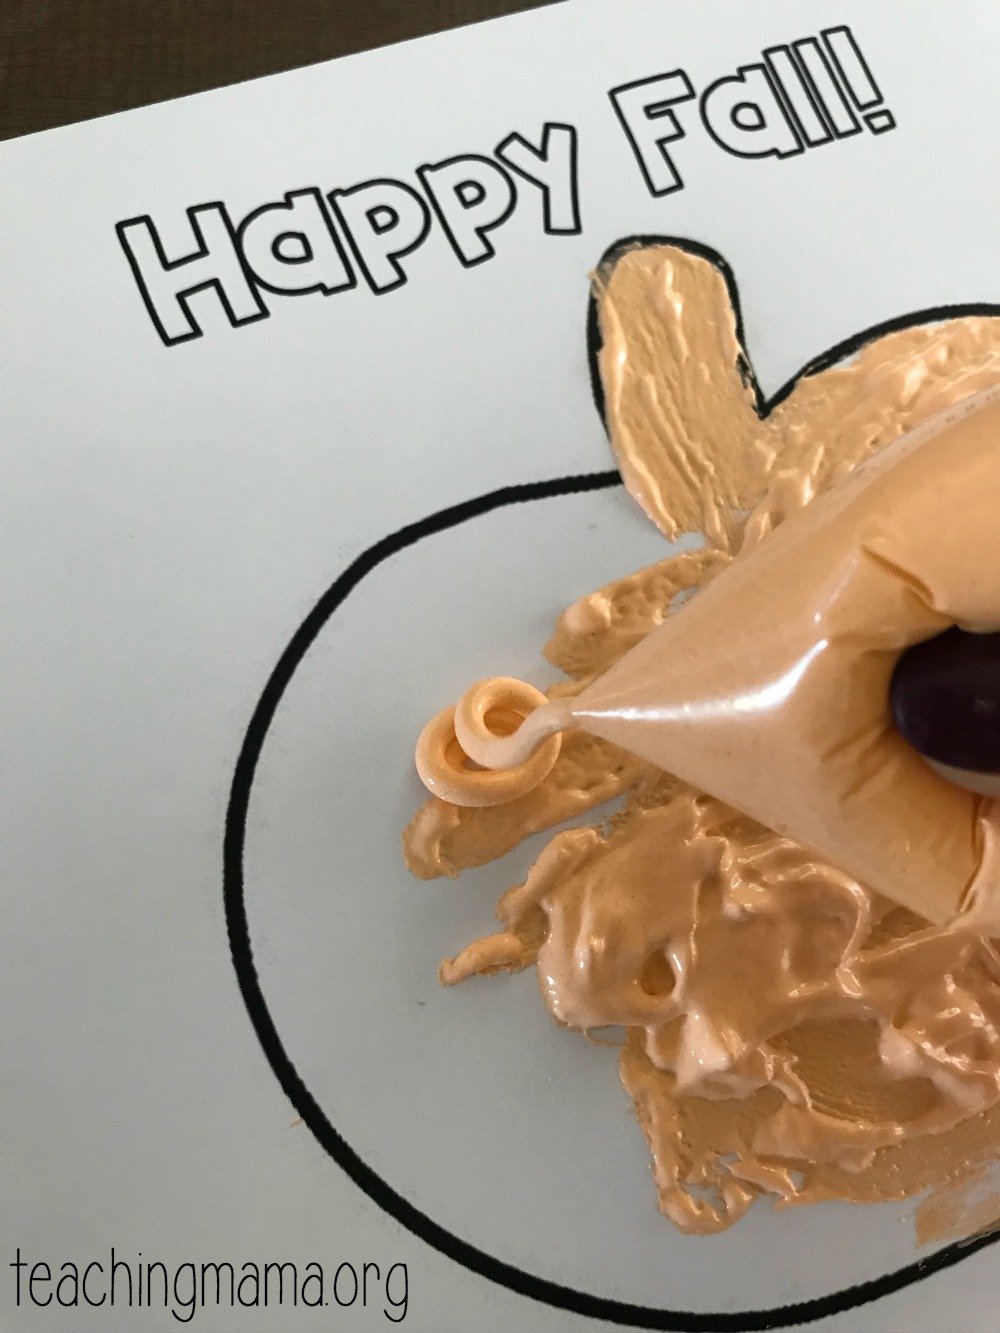
After everything is ready, invite your child to squeeze the paint out of the bag onto the pumpkin outline.
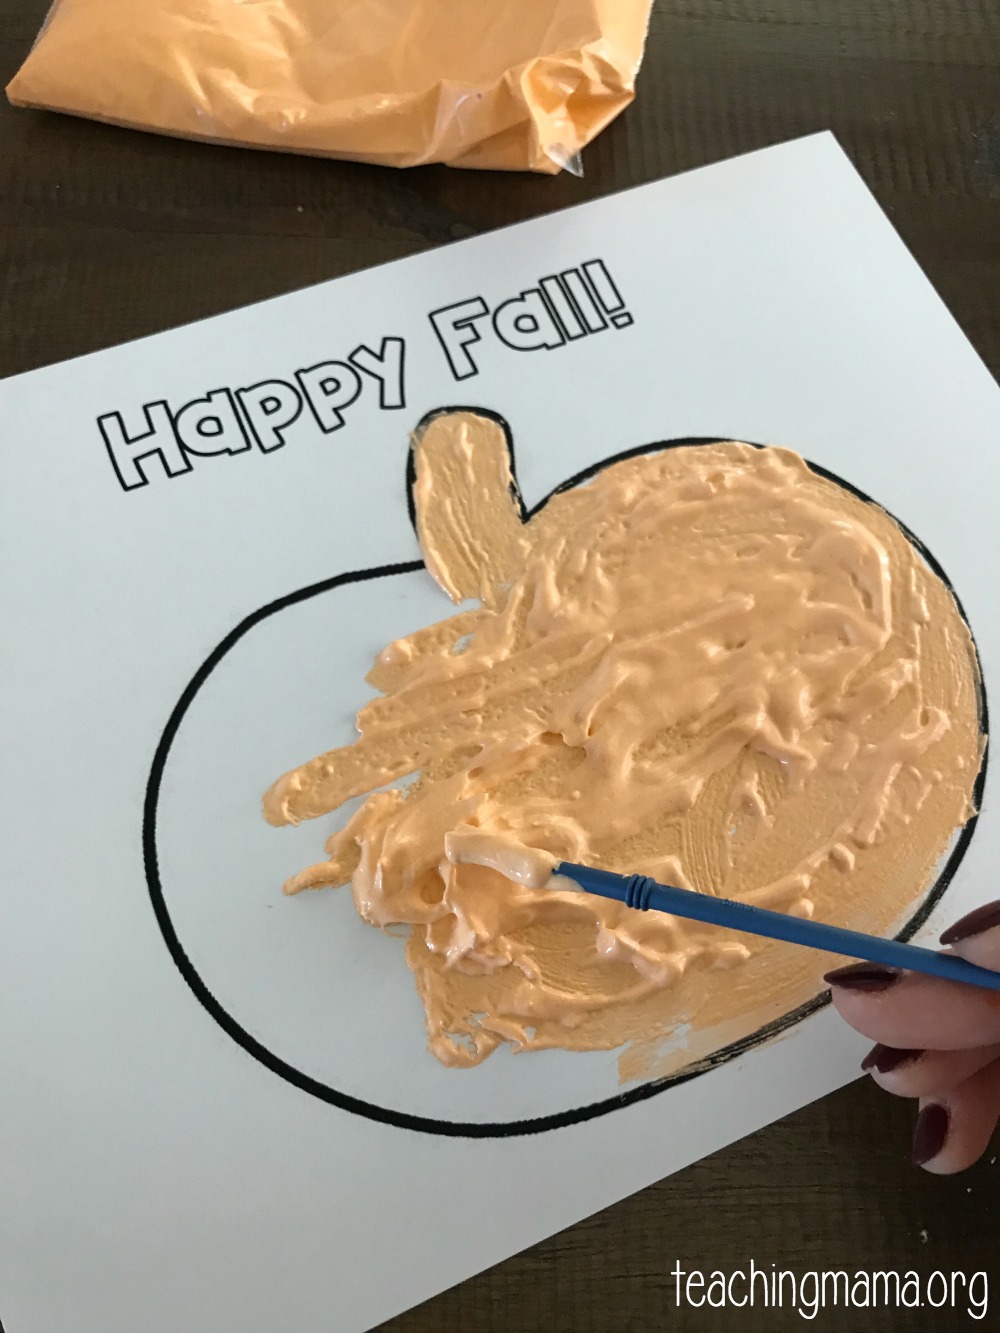
Then use a paint brush to spread the paint around.
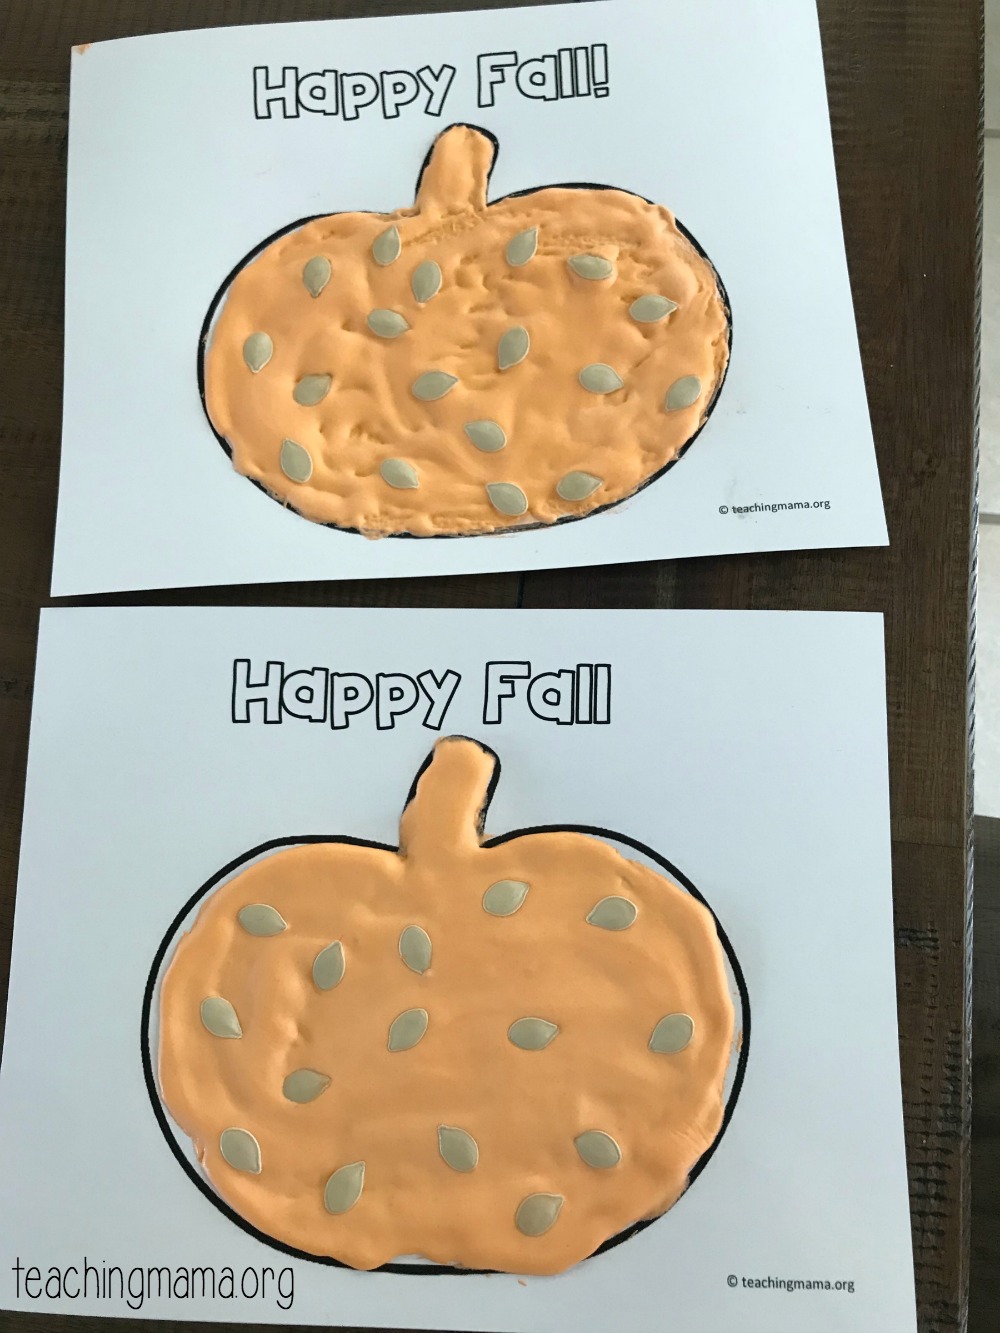
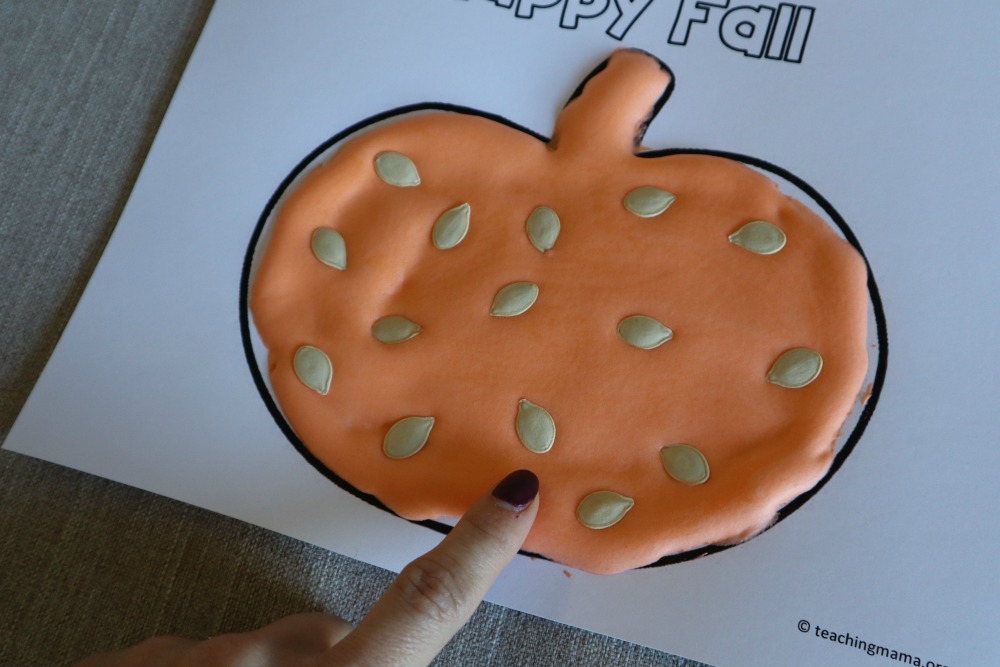
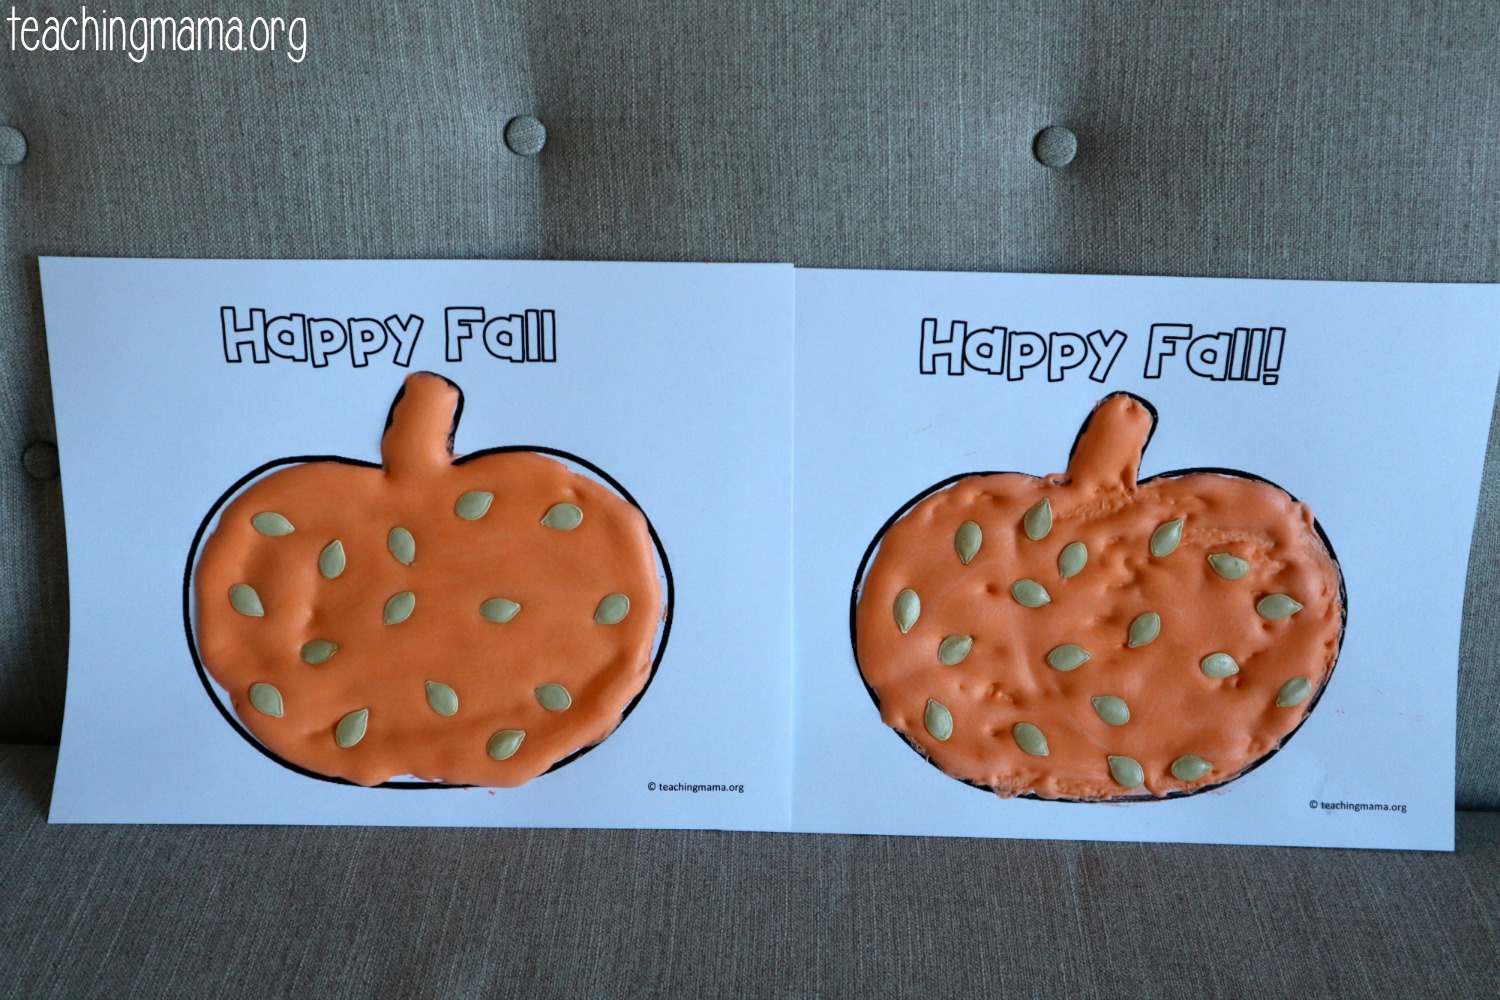
After all the paint is spread out, sprinkle pumpkin seeds around the pumpkin. They will dry in place.
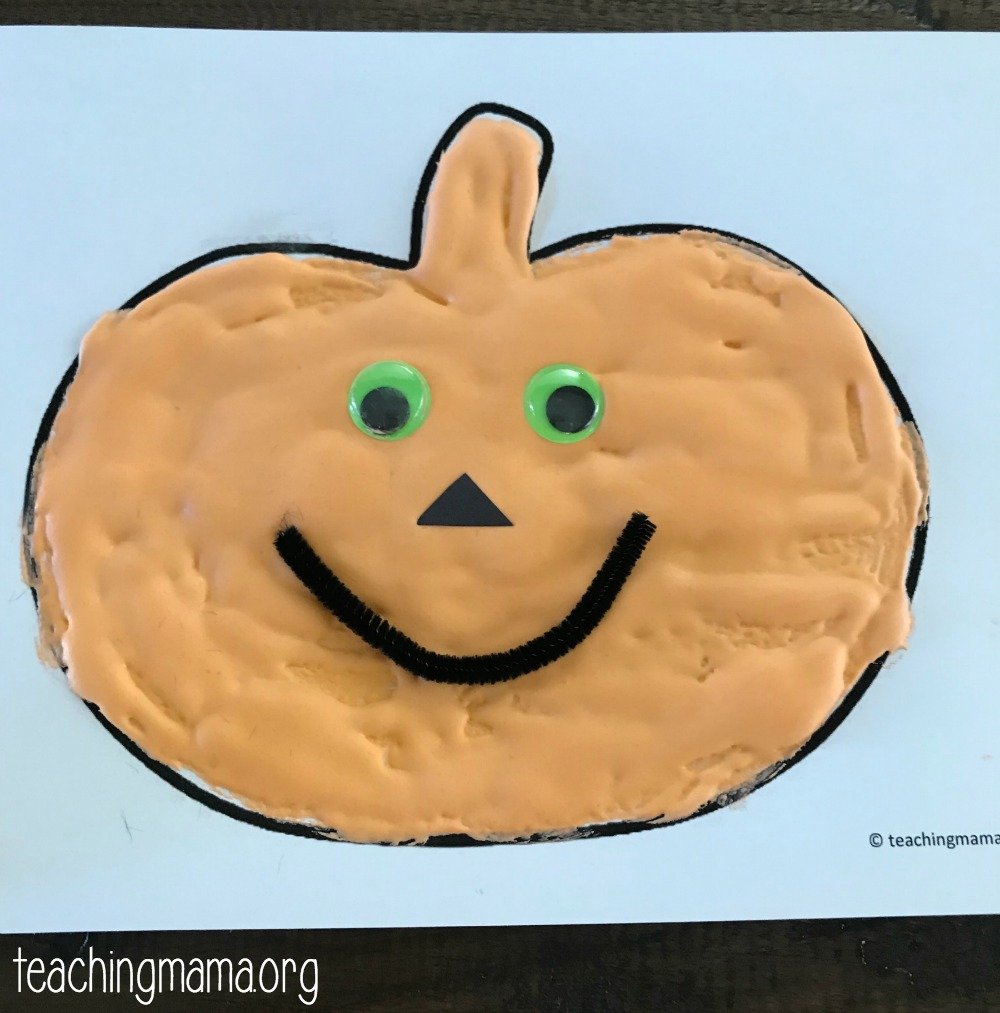
You could also use googly eyes, a triangle made out of paper, and a pipe cleaner to create a face!
Wait 1-2 hours for the paint to dry.
When it’s dry you can touch the paint and will feel soft, like foam but it will stay in place.
I created a pumpkin template for you to use. One picture says “Happy Fall” and the other has no words. You can download it here —> Pumpkin Template
This puffy paint recipe makes enough for three pictures.
Happy fall!

Thank You! I can’t wait to make this with my grandaughter….
What an interesting art activity, Angela 🙂 My little boy would enjoy (especially the squeezing part) this for sure!
Happy Fall!
Cheers,
Jessica