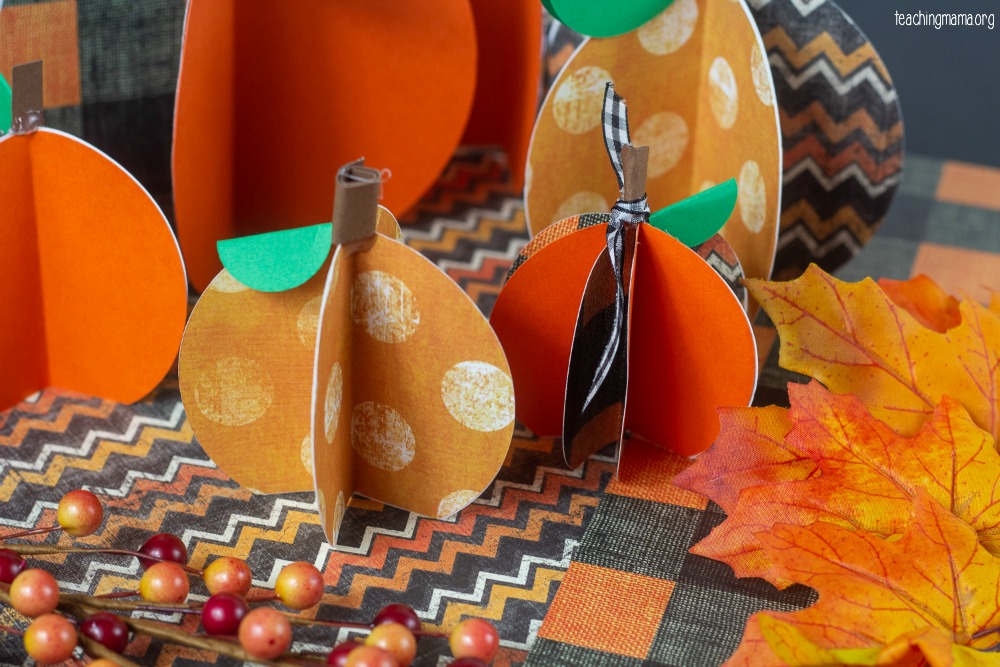
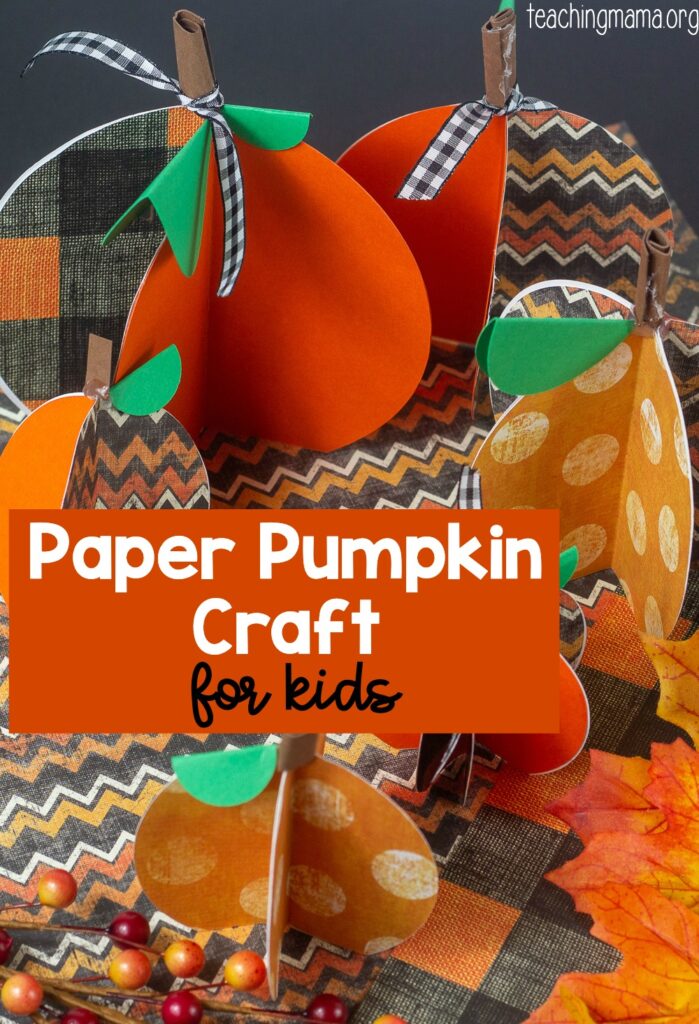
Paper Pumpkin Craft for Kids
Pumpkin season is here! I have a cute paper pumpkin craft for kids to share with you! It’s so simple and is a fun way to decorate for fall!
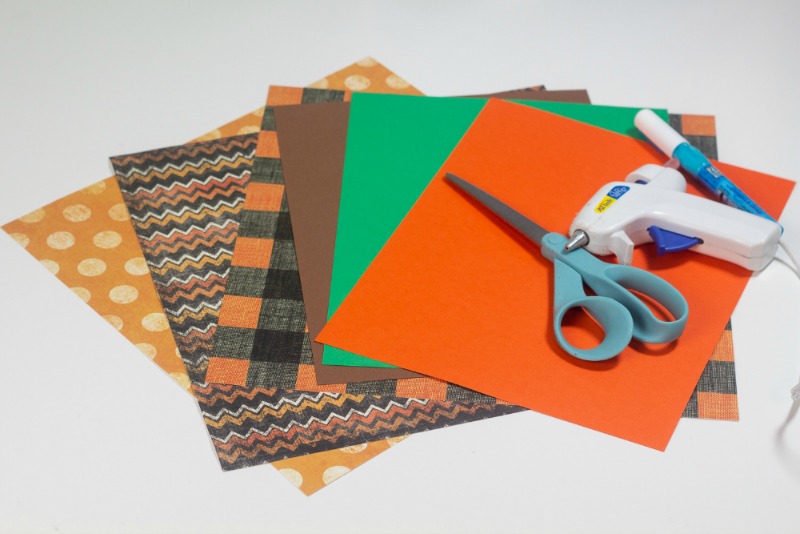
Paper Pumpkin Craft Materials
You only need a few supplies for this craft:
- Card Stock
- Scissors
- Hot glue gun
- Glue Pen
For this pumpkin craft, you will need a template to cut the pieces of paper. You will need at least four of the sizes you choose to make.
Since I do recommend using a hot glue gun, this craft needs to be made with an adult. You can use Elmer’s glue, but it will take more time for the glue to dry.
You can download the free template here —> Pumpkin Craft Template
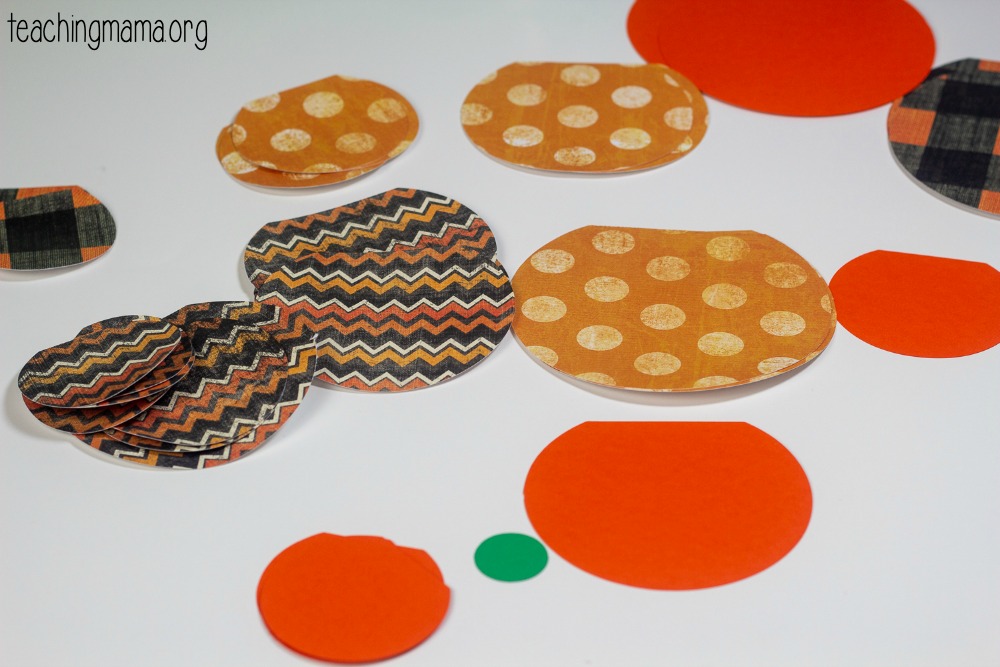
The round pieces with flat bottoms are for the pumpkin, the completely round are the leaves, the square is for the stem.
How to Put Together the Paper Pumpkin:
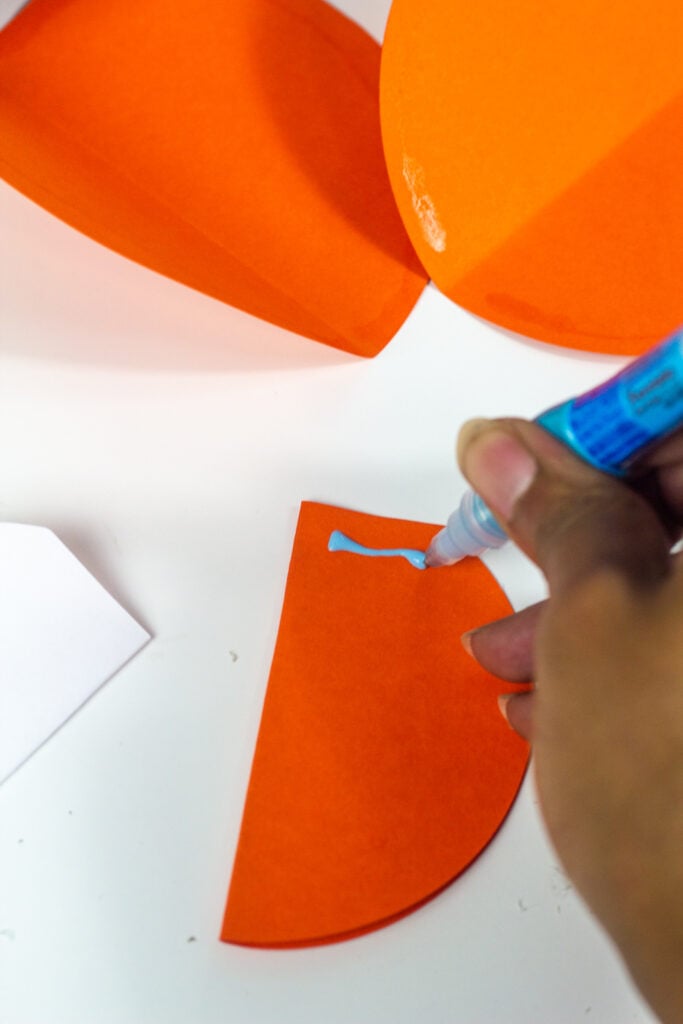
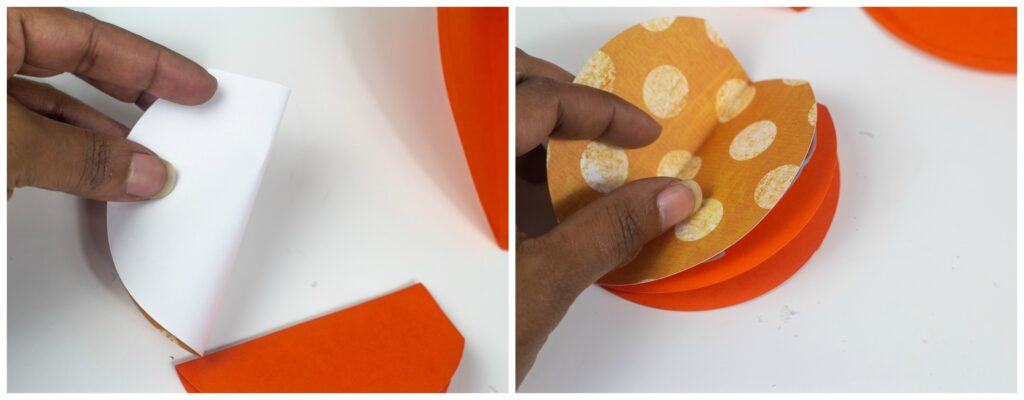
Begin by folding the pieces of paper for the pumpkin down the middle.
For the pumpkin you are going to glue with a glue pen the wrong sides together. Continue this process until you have the fullness you want.
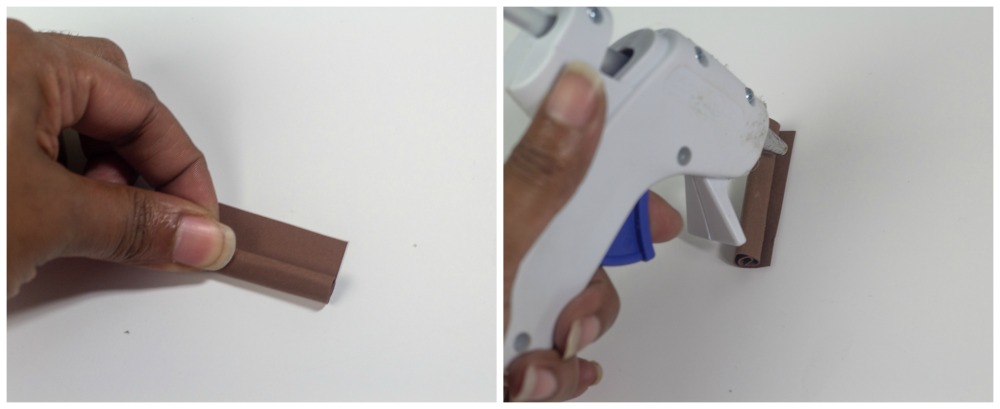
Cut off a piece of your stem and tightly roll it up. Then use glue to close it.
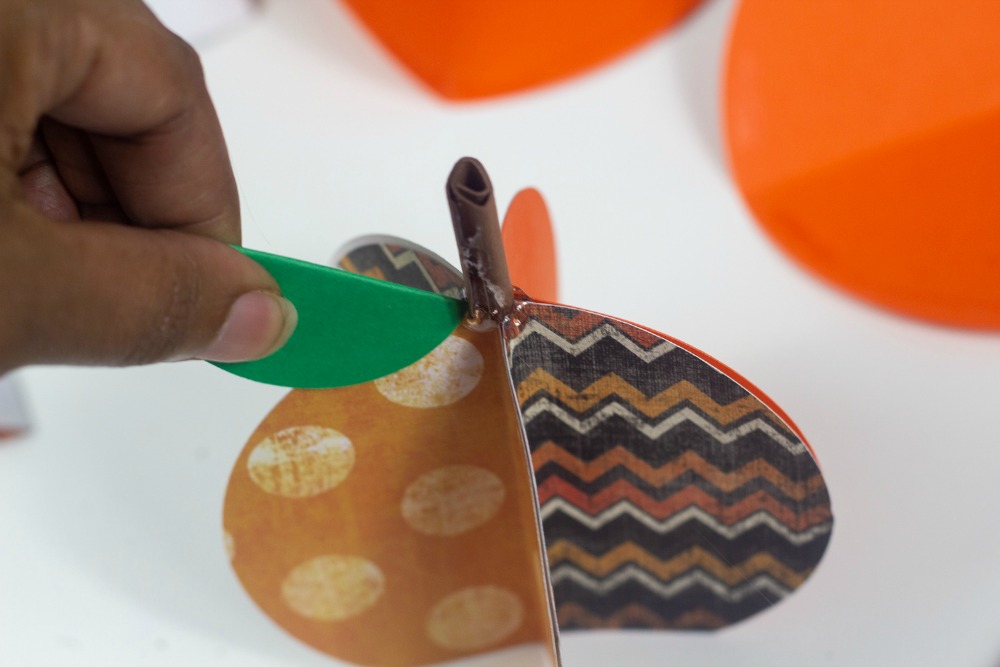
Glue the stem to the top of the pumpkin, then glue the leaves onto the top edges of the pumpkin.
That’s all you do to make this adorable paper pumpkin craft!
Let me know if you try it out! Happy fall!

Angela,
This is a fantastic and very versatile craft. I have used it in so many ways.
Initially I made several to decorate our Fall gatherings table. I used twigs for the stems instead of rolled paper. It was tricky but worked out. That definitely needed hot glue. My cousin had the idea to use cinnamon sticks for stems to add a little spice (I did’t try it, but maybe someone else would like to)
Then, in my classroom I made pumpkin books. I used card stock for the front and back covers. For the inside pages, I just used some patterned paper I had in my craft box. Though next year I will probably just use construction paper at school. The first books we made in our small groups: We were able to put build the books together during reading groups- skill following directions. Then in math groups the next day or so students played a matching game with Halloween 10 frames and digits, then glued the 10 frames and matching digits into the book. They loved it.
We also made “Pumpkin Life Cycle” books for science.
I have several ideas for the coming school year .I know I can just make the pumpkin shaped books that are stapled on the edge, but something about these is more fun. I just wanted to say thank you! There is so much to learn in kindergarten, your ideas and products are often the difference between torturous and engaging.
I’m so happy to hear this! Thank you for taking the time to share this!