Four Seasons Tree Activity
I have to admit that I have an obsession with using contact paper for activities. It can be used in so many ways for learning! Today I’m sharing how I used it to create a four seasons tree activity. This is a great way for toddlers and preschoolers to learn about the four seasons.
Materials for Four Seasons Tree Activity:
- clear contact paper
- tape
- permanent marker
- small white pom poms
- green paper or sticky notes (cut into the shape of a leaf)
- flower confetti
- leaf confetti (similar one)
How to Make the Tree:
- Cut a long sheet of the contact paper. Peel off the back.
- Tape the contact paper to the wall, with the sticky side facing out. Use some tape on the four corners.
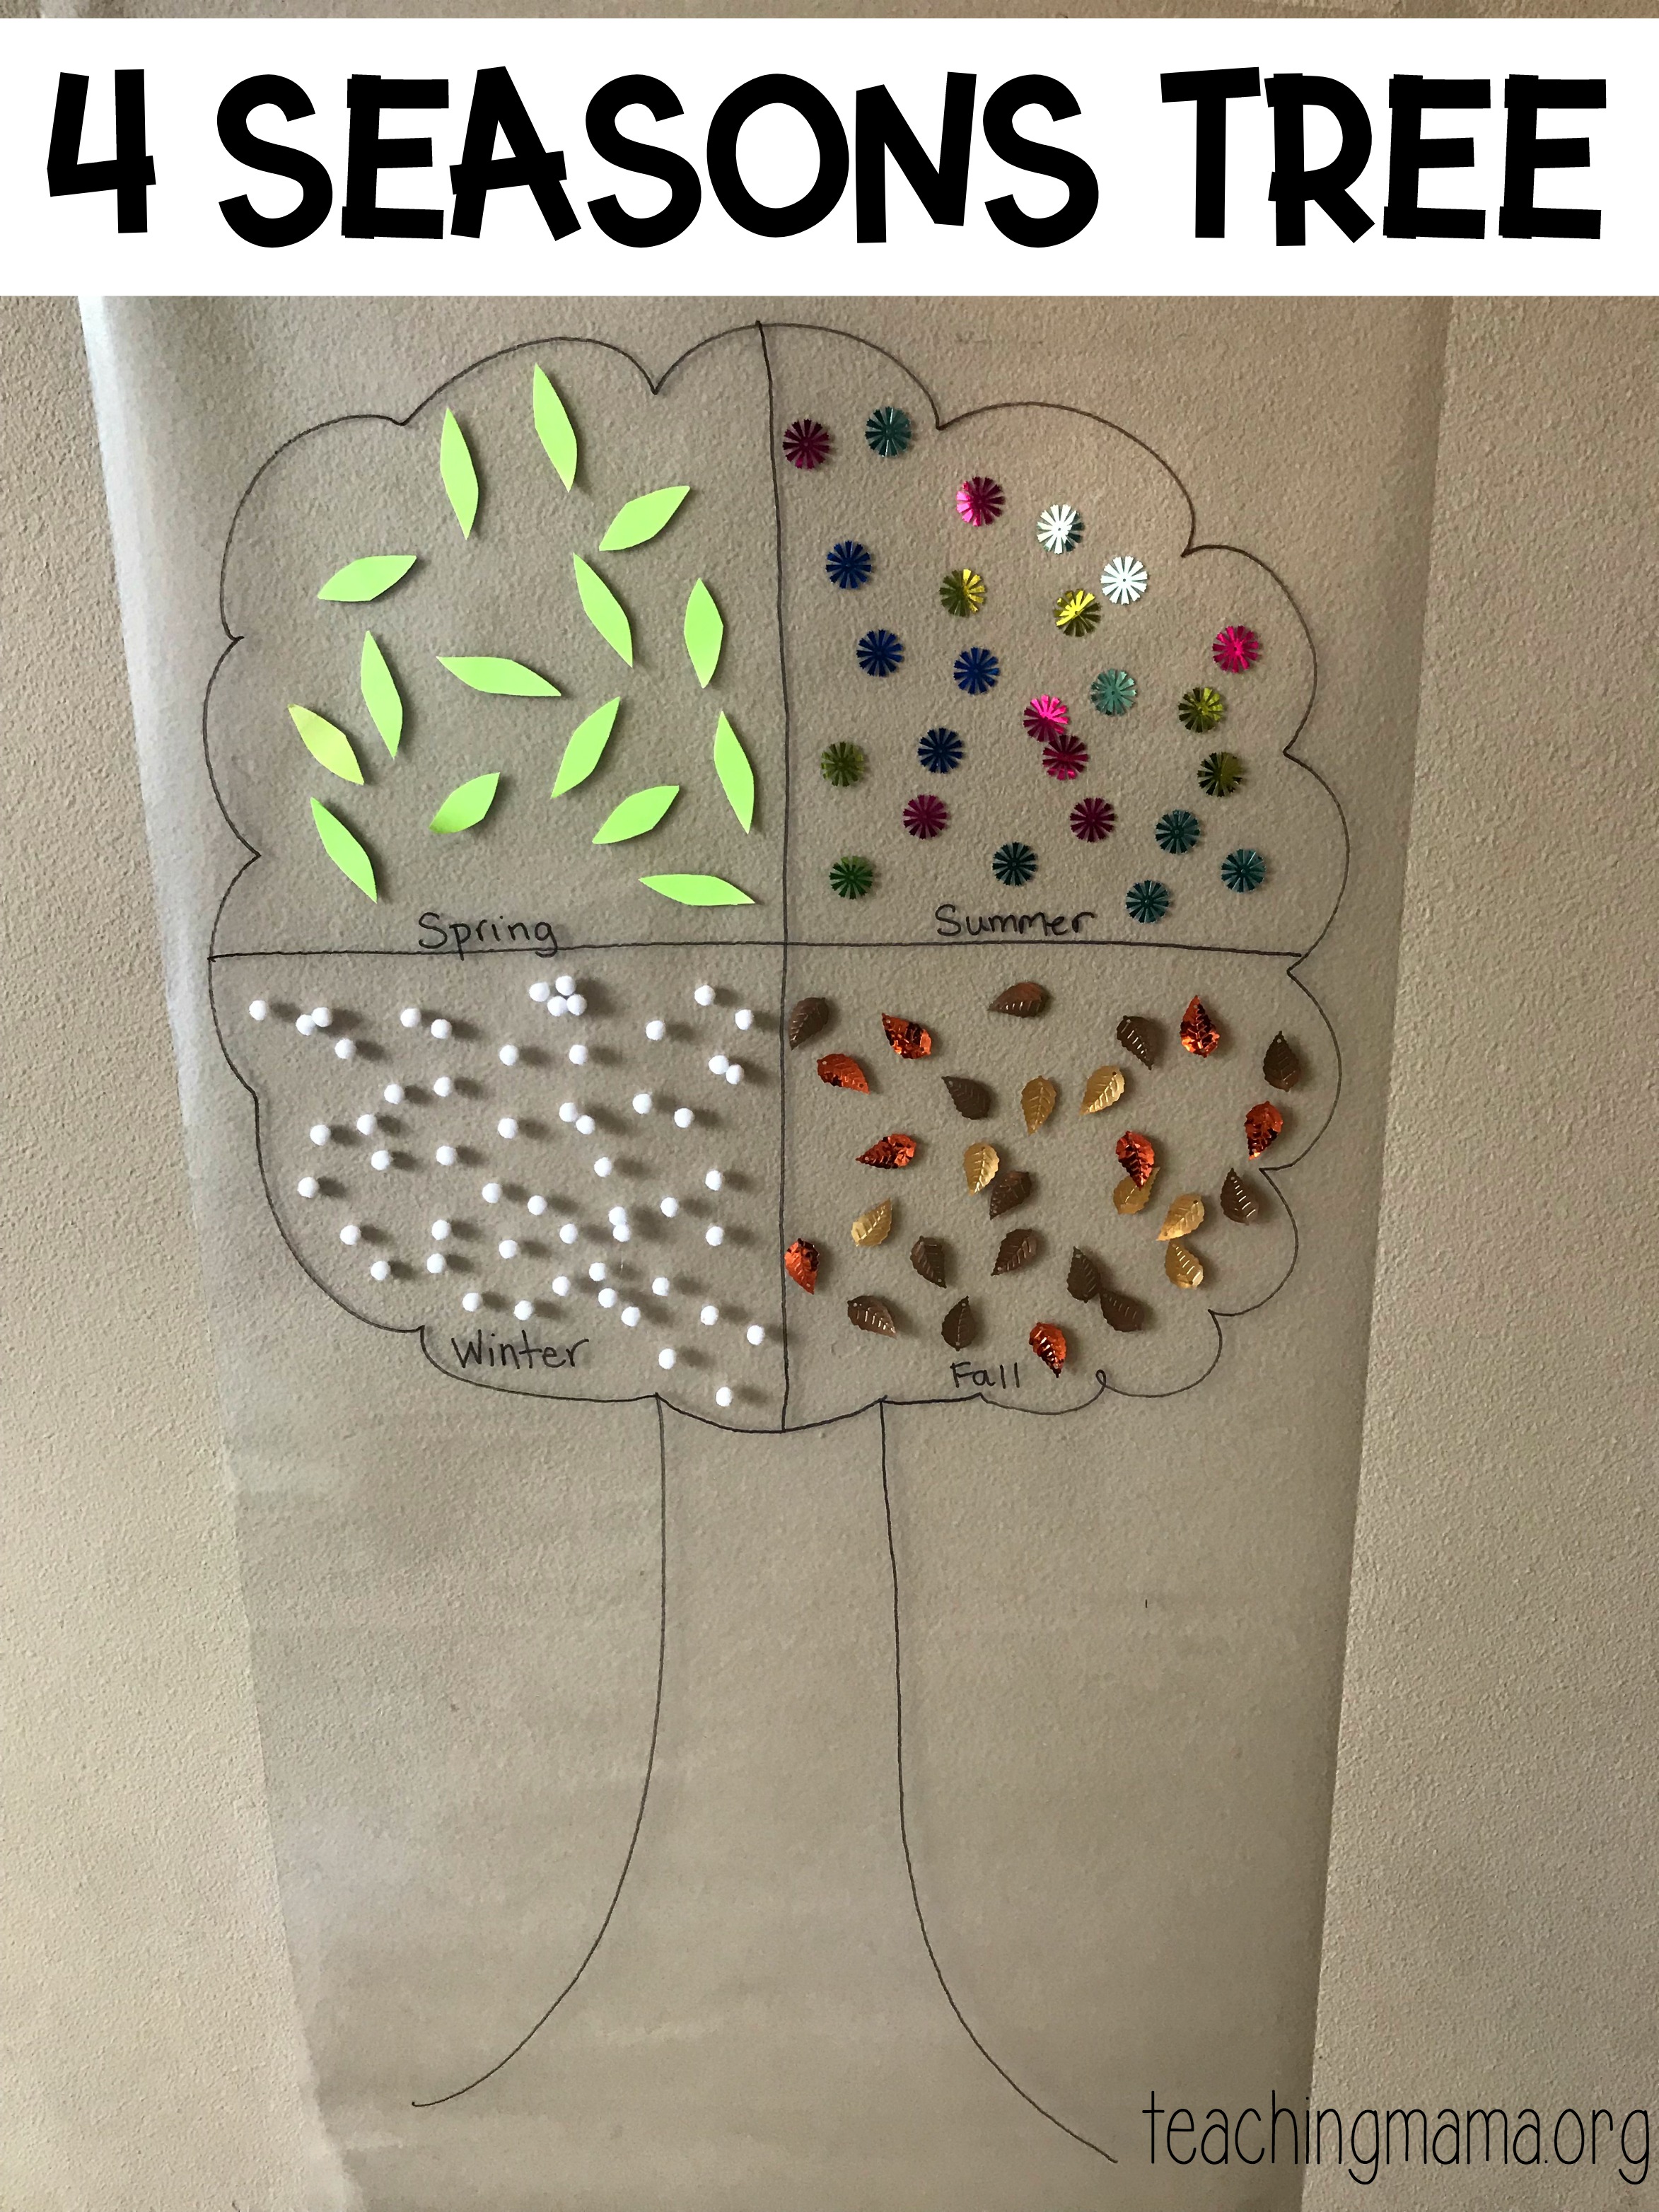
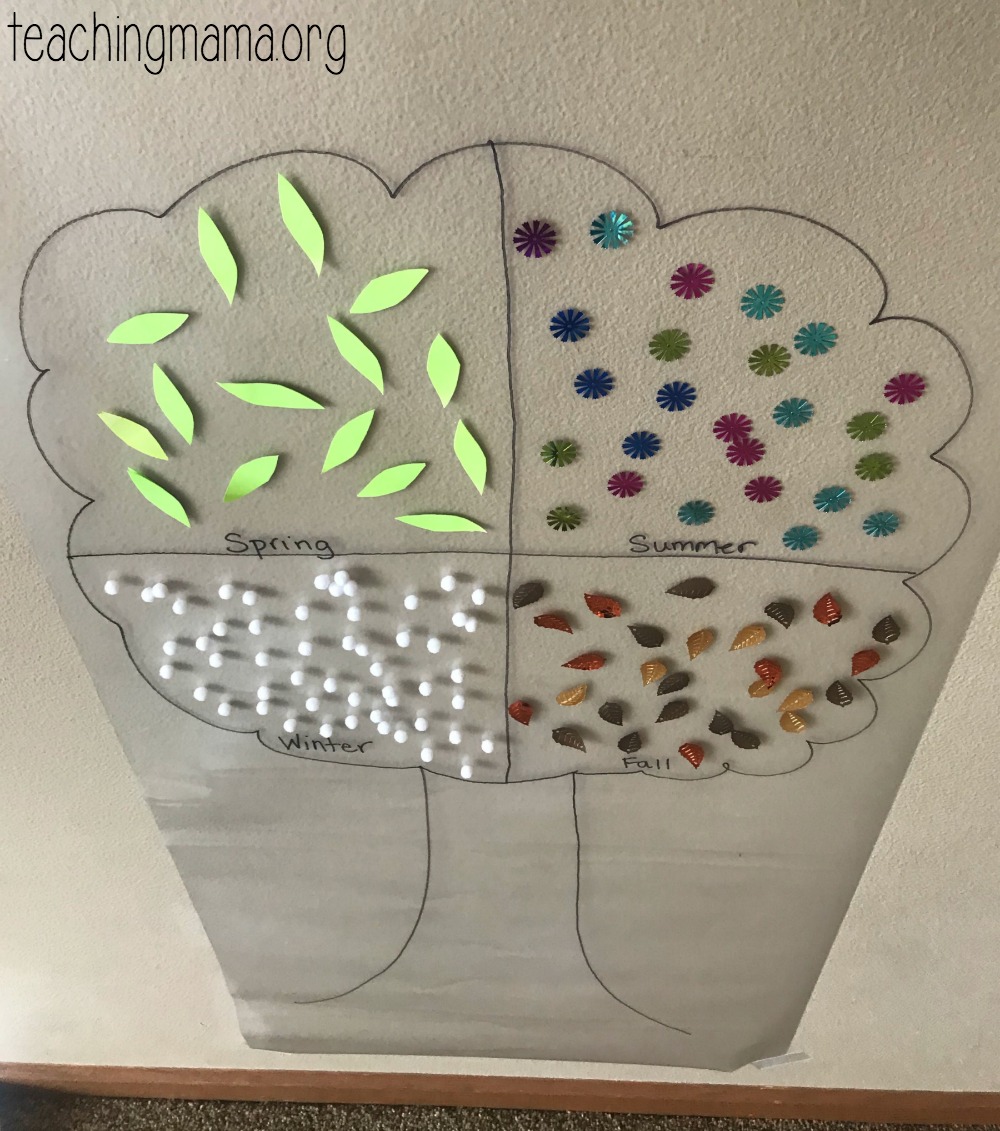
- Draw the outline of a tree using a permanent marker. Divide the tree into four sections and write the names of the four seasons: winter, spring, summer, fall
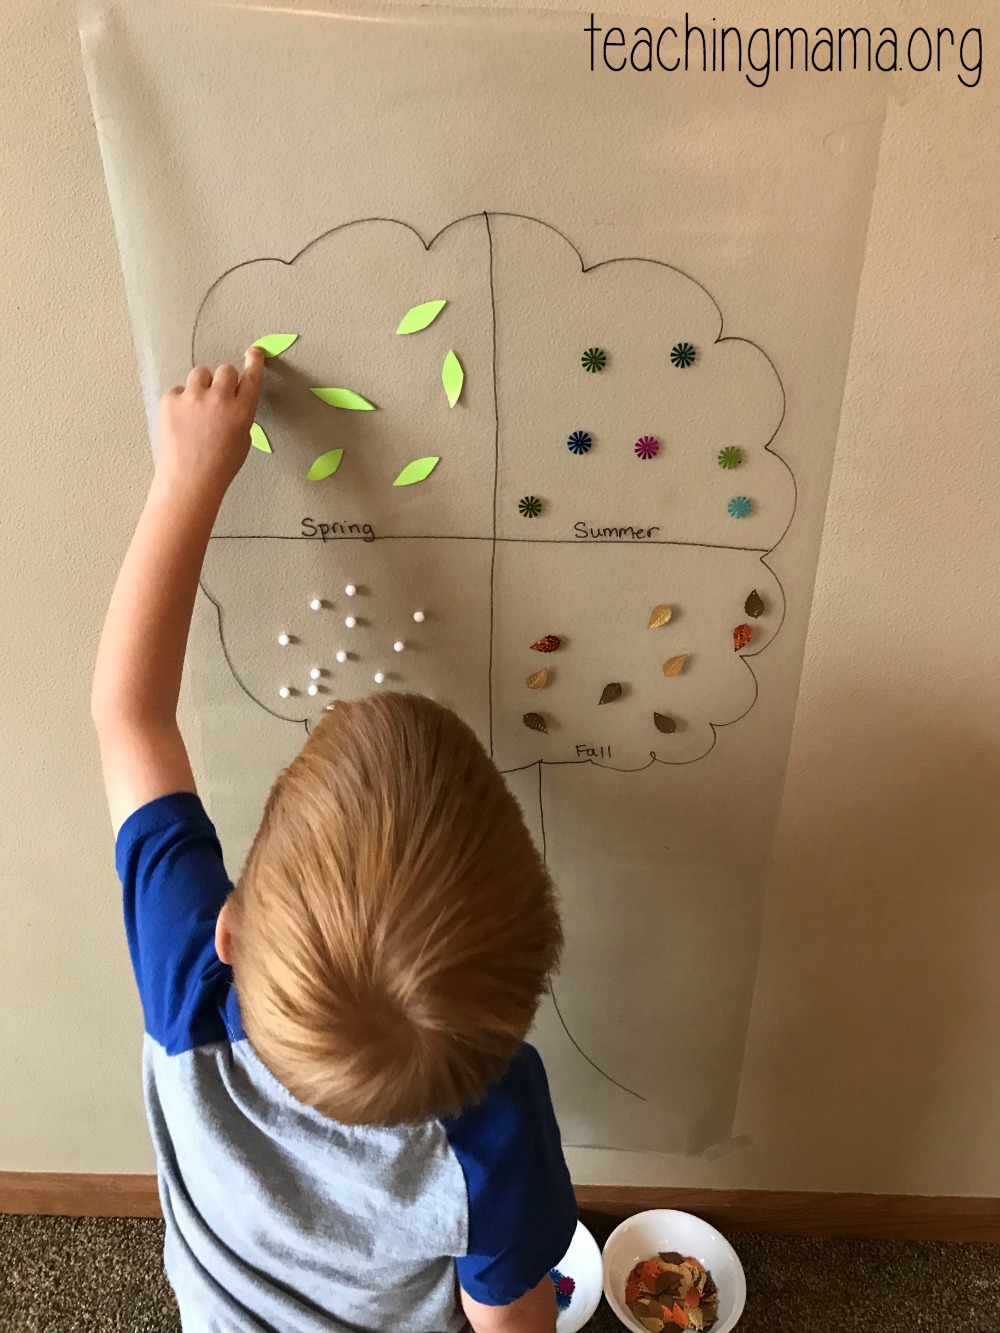
Then invite your little one to decorate the tree for each season. The white pom poms are for snow (winter), the green paper for green leaves (spring), the flower confetti (summer), and leaves confetti (fall).
Since the contact paper is super sticky, the materials stick and don’t fall off! If you use heavier material, they could fall off so I recommend using light items.
While playing, talk about the different seasons and what each season looks like. This activity is great for toddlers and preschoolers because it’s simple and to the point. It’s a great starting point for teaching the four seasons.
Here are some of my other favorite resources for teaching about the four seasons:
- Season sensory bottles by Mama.Papa.Bubba
- 4 seasons craft with toilet paper rolls by Non-Toy Gifts
- Seasons tree craft by Easy Peasy Fun
- Handprint trees by Arty Crafty Kids
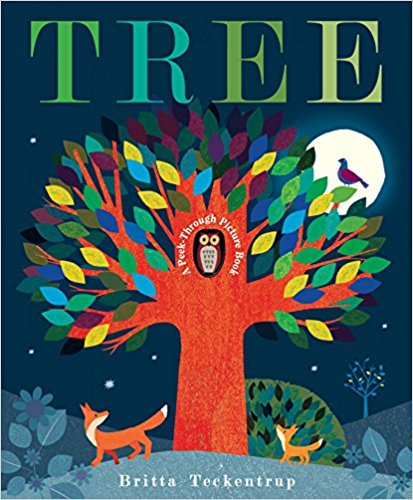
And if you’re looking for a great book to read on the seasons, I recommend the book Tree by Britta Teckentrup.
Hope you’ll try this out!



How cute! I would put the flowers on Spring, though… thansk for your fun site and creative idea sharing!