Rainbow Prints Art Project
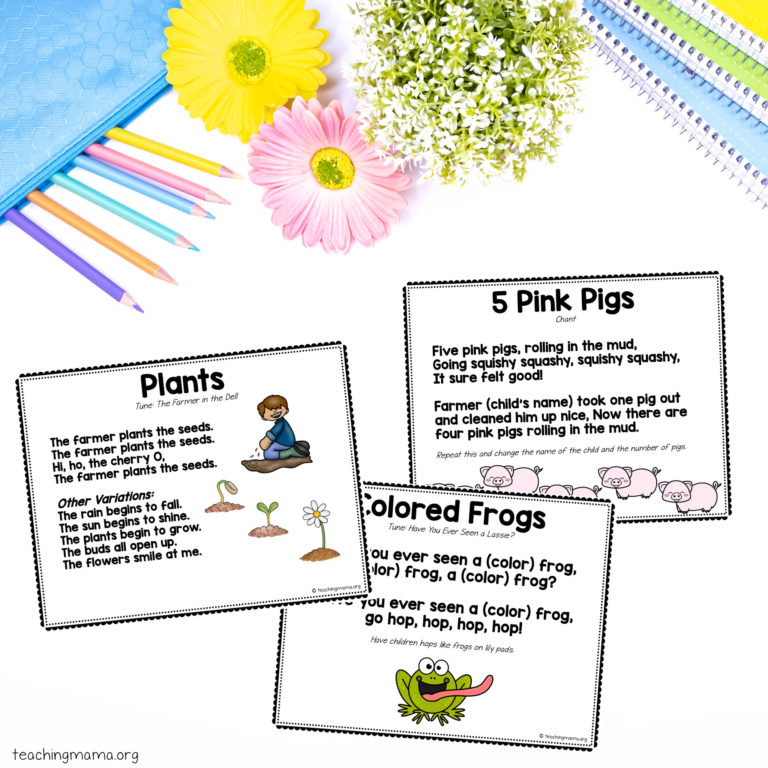
Looking for a colorful, engaging activity to brighten up your classroom or home? This rainbow prints art project is simple, fun, and perfect for little hands. Using just a few supplies, kids can explore color blending and create beautiful, unique prints. This activity would be great to do in March, or really any time of the year!
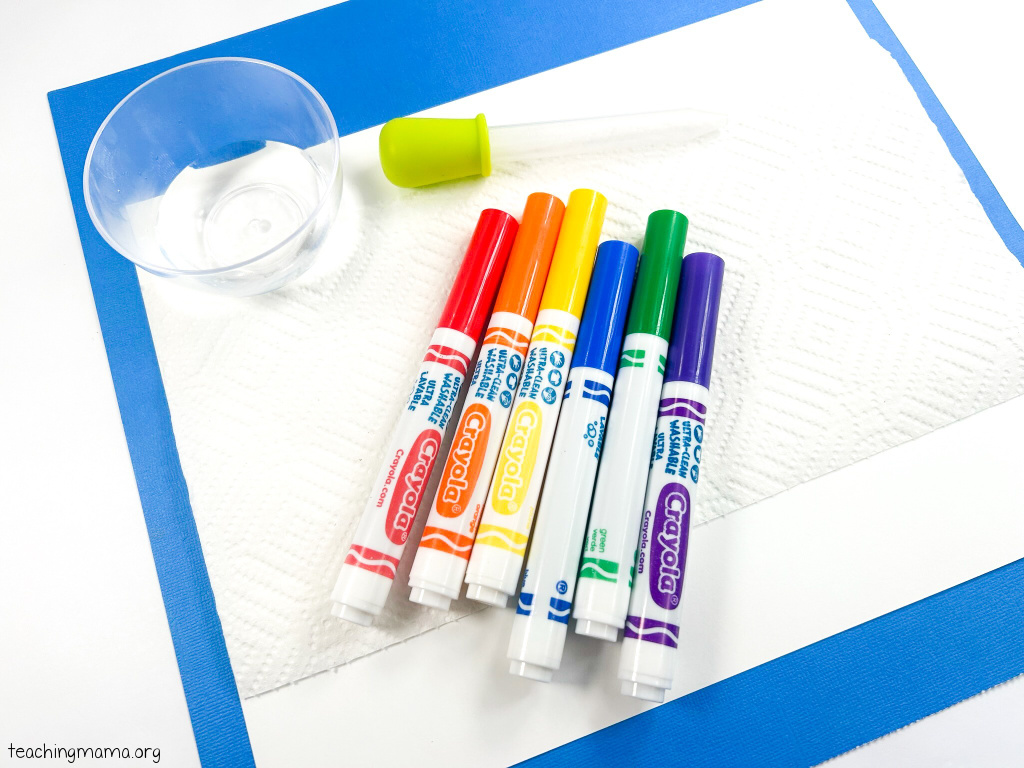
Materials Needed:
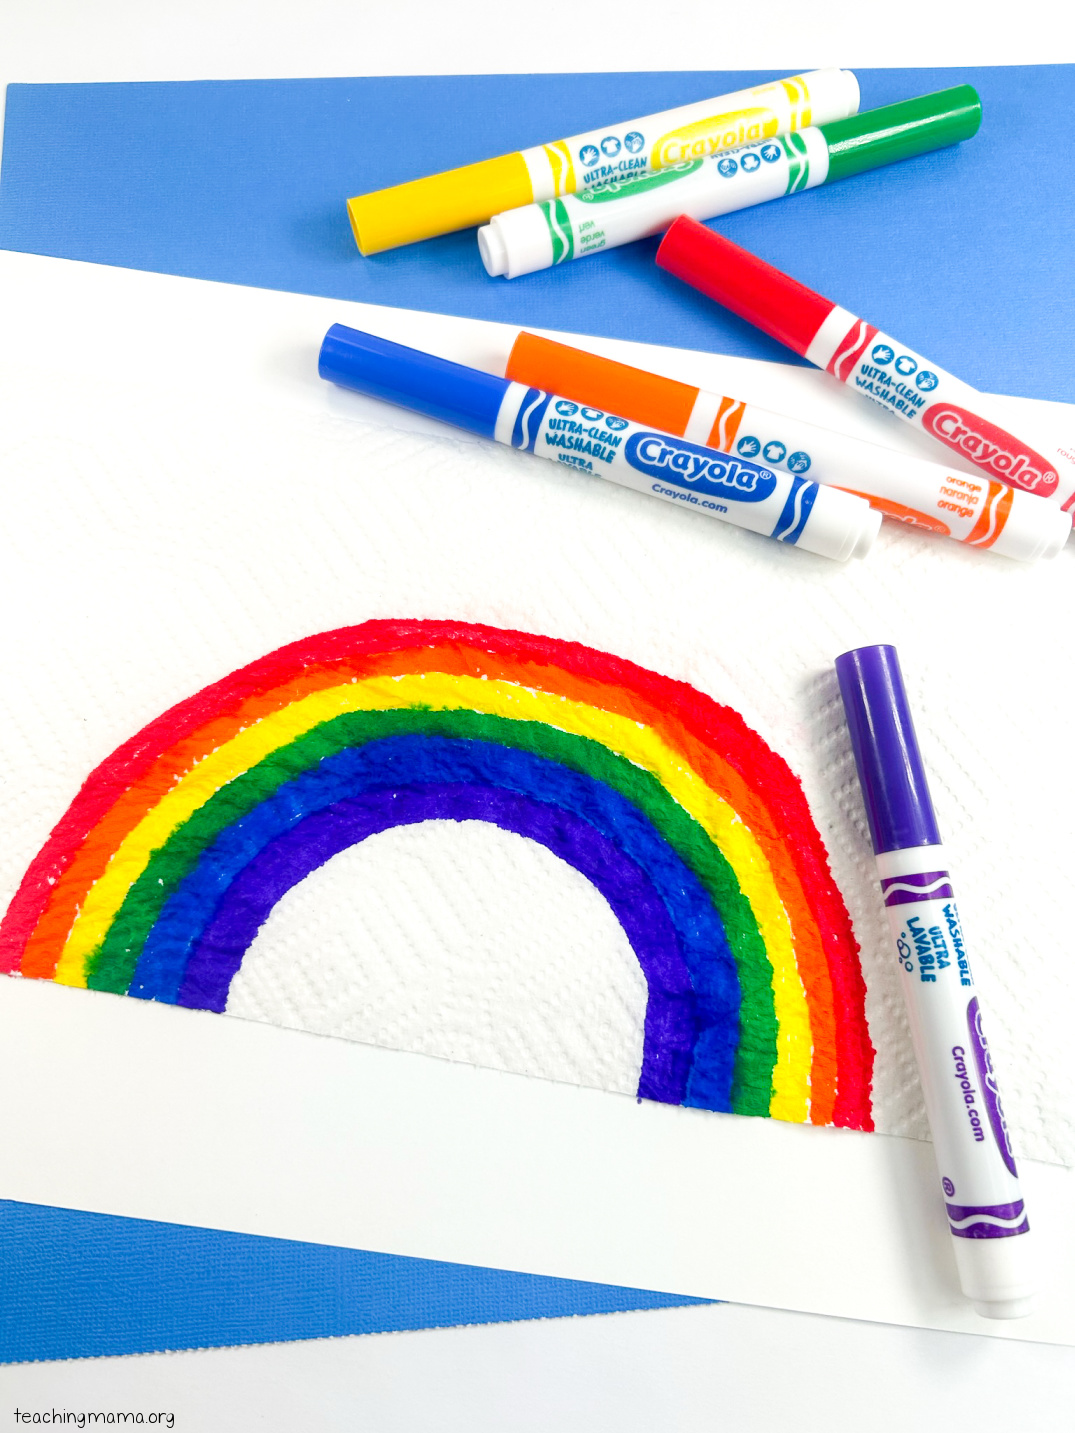
- Washable markers (red, orange, yellow, green, blue, purple)
- Paper towels
- White cardstock or heavy paper
- A small bowl of water
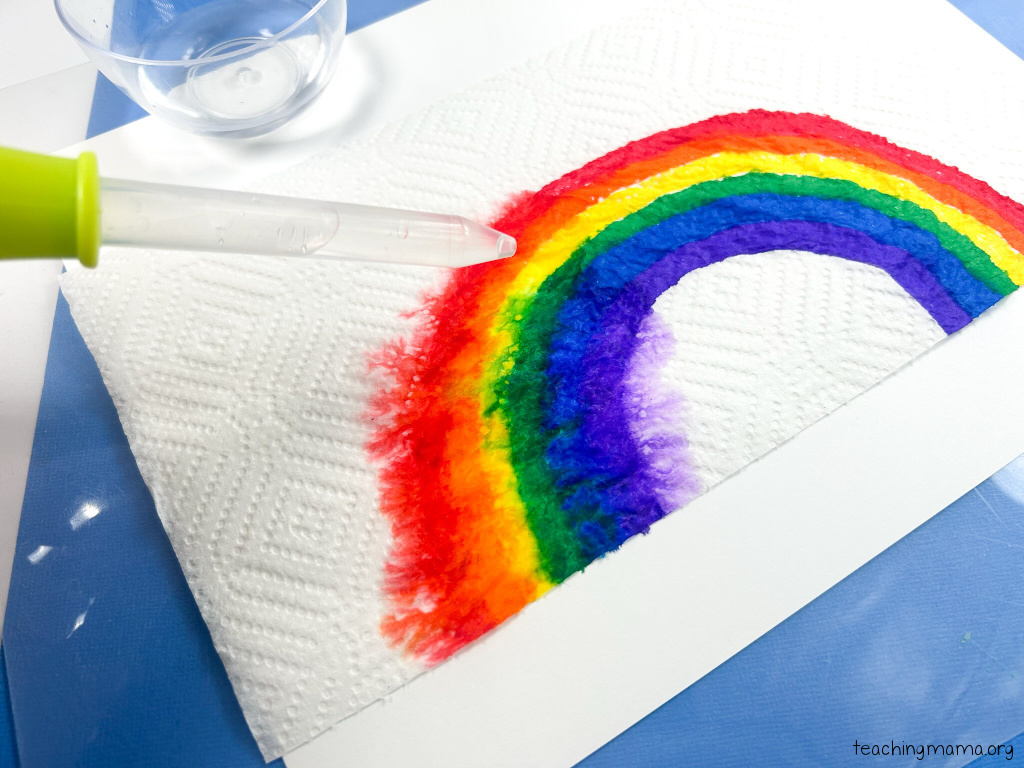
- Dropper or spray bottle
Step-by-Step Instructions:
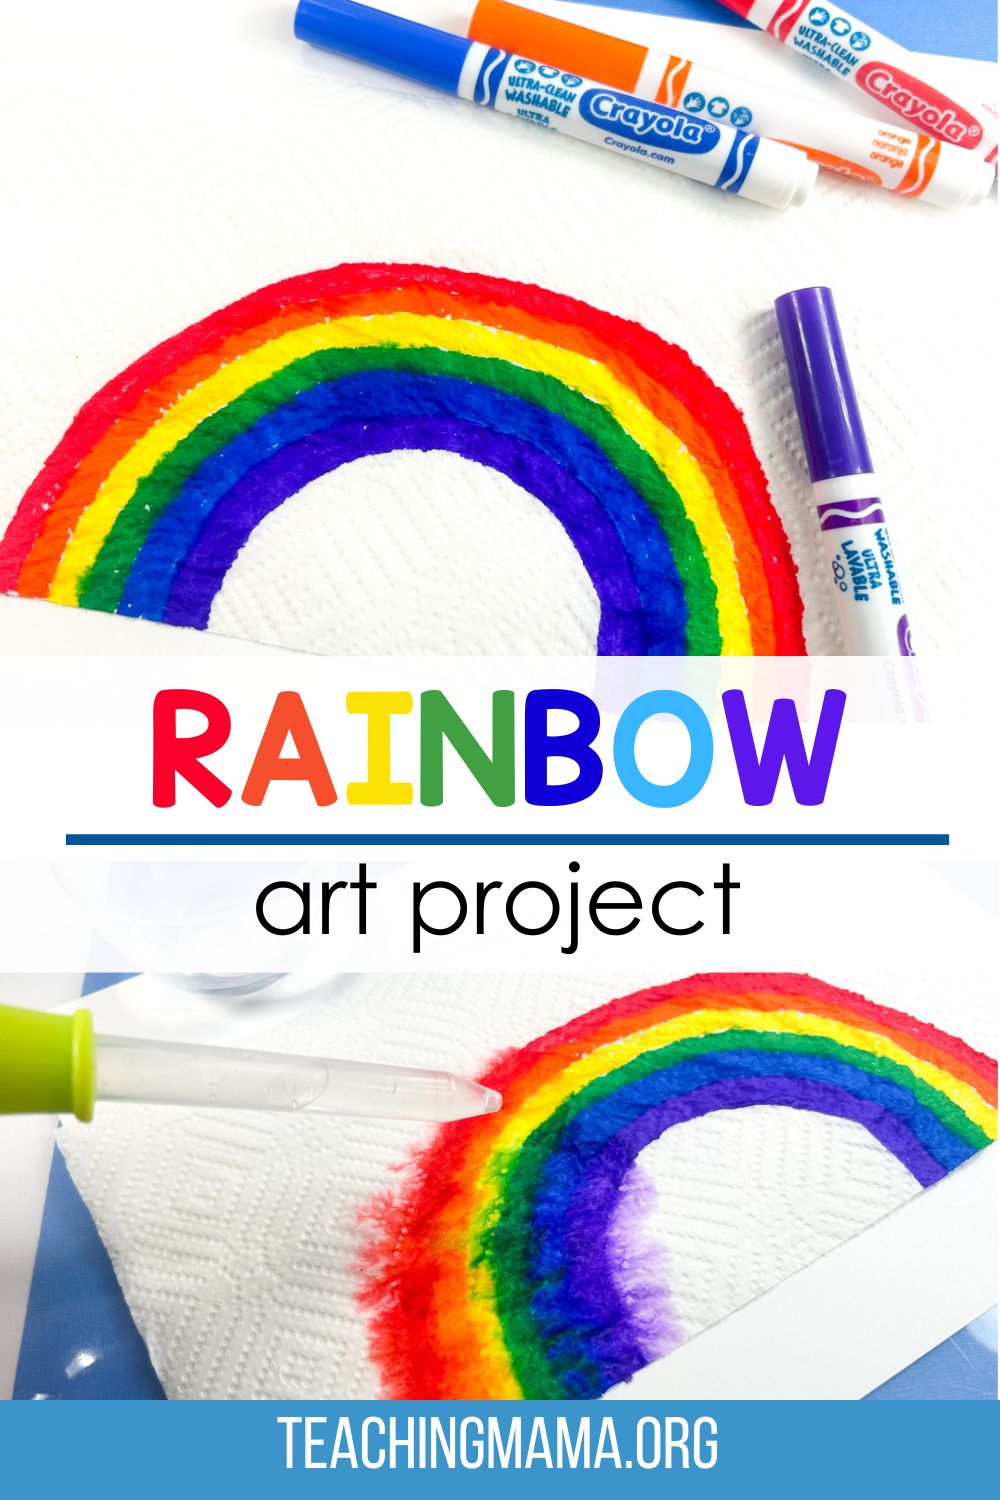
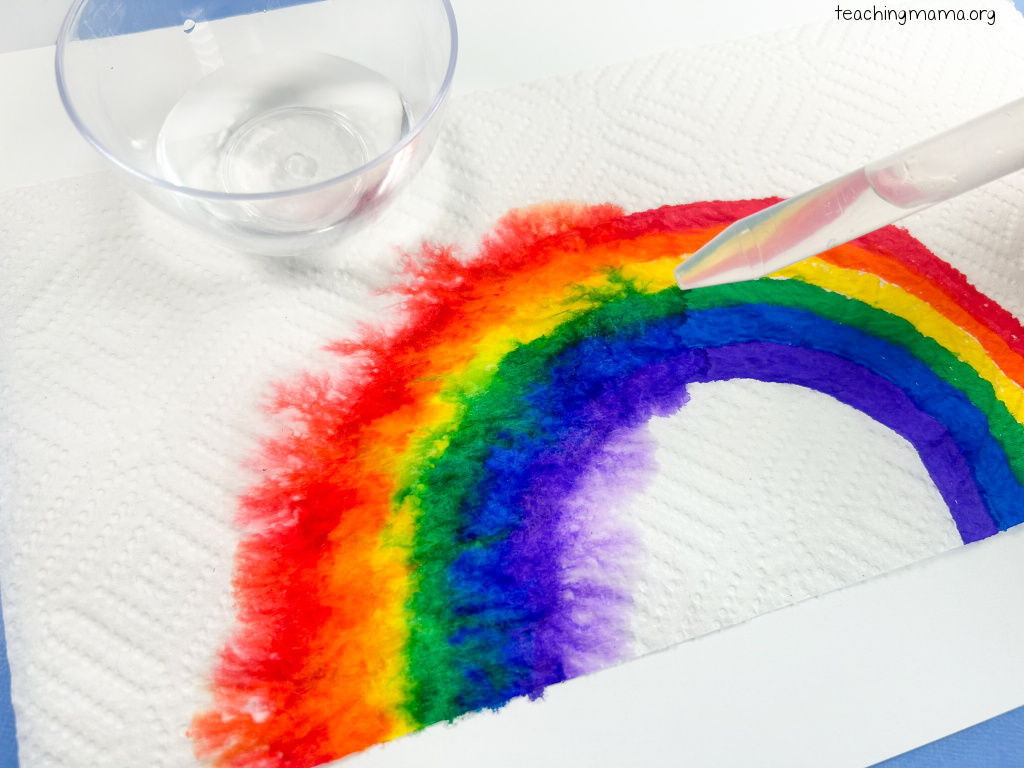
🌈 Draw Your Rainbow: Start by laying a paper towel flat on your work surface. Use washable markers to draw a rainbow, making sure to press firmly so the colors are vibrant.
💦 Add Water: Once your rainbow is complete, use a dropper or spray bottle to gently add water over the marker lines. Watch as the colors begin to blend and spread, creating a beautiful, watercolor effect.
Make the Print: Carefully place a sheet of white card stock paper over the wet paper towel. Press down gently to help the colors transfer onto the paper.
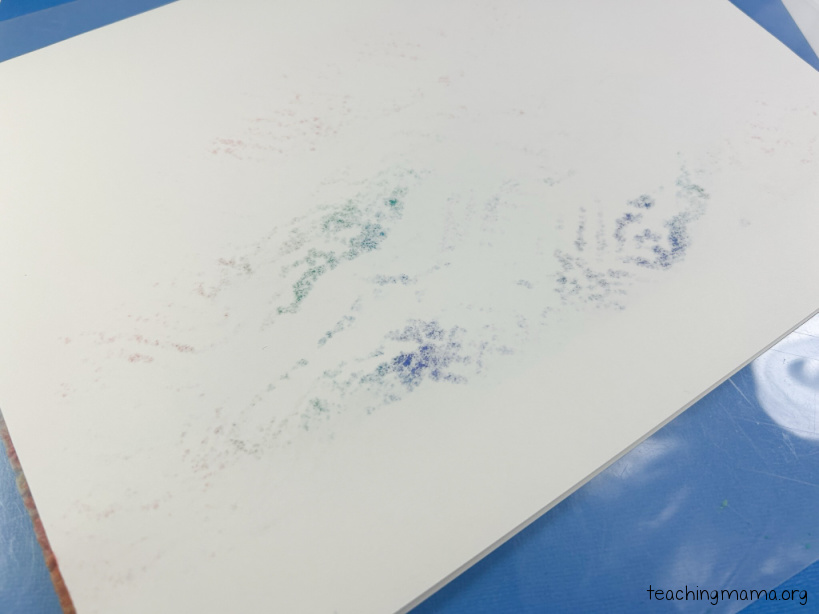
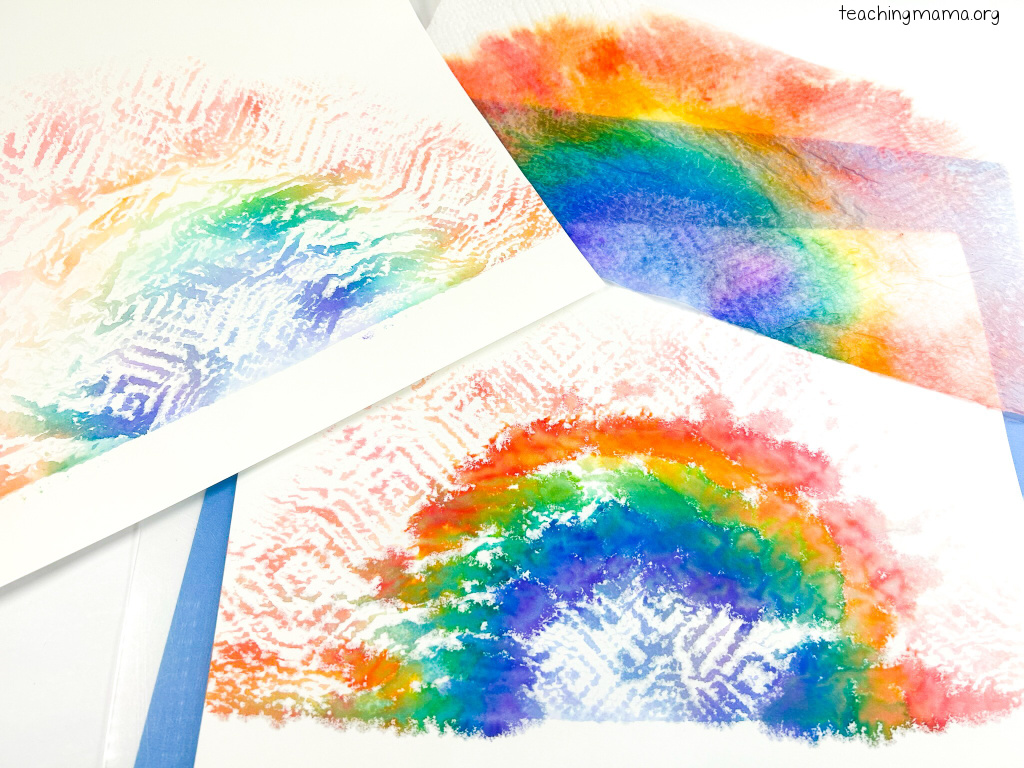
Remove the top piece of cardstock paper. Allow the paper towel to dry slightly, then remove the paper towel to see the colorful rainbow left on the bottom page!
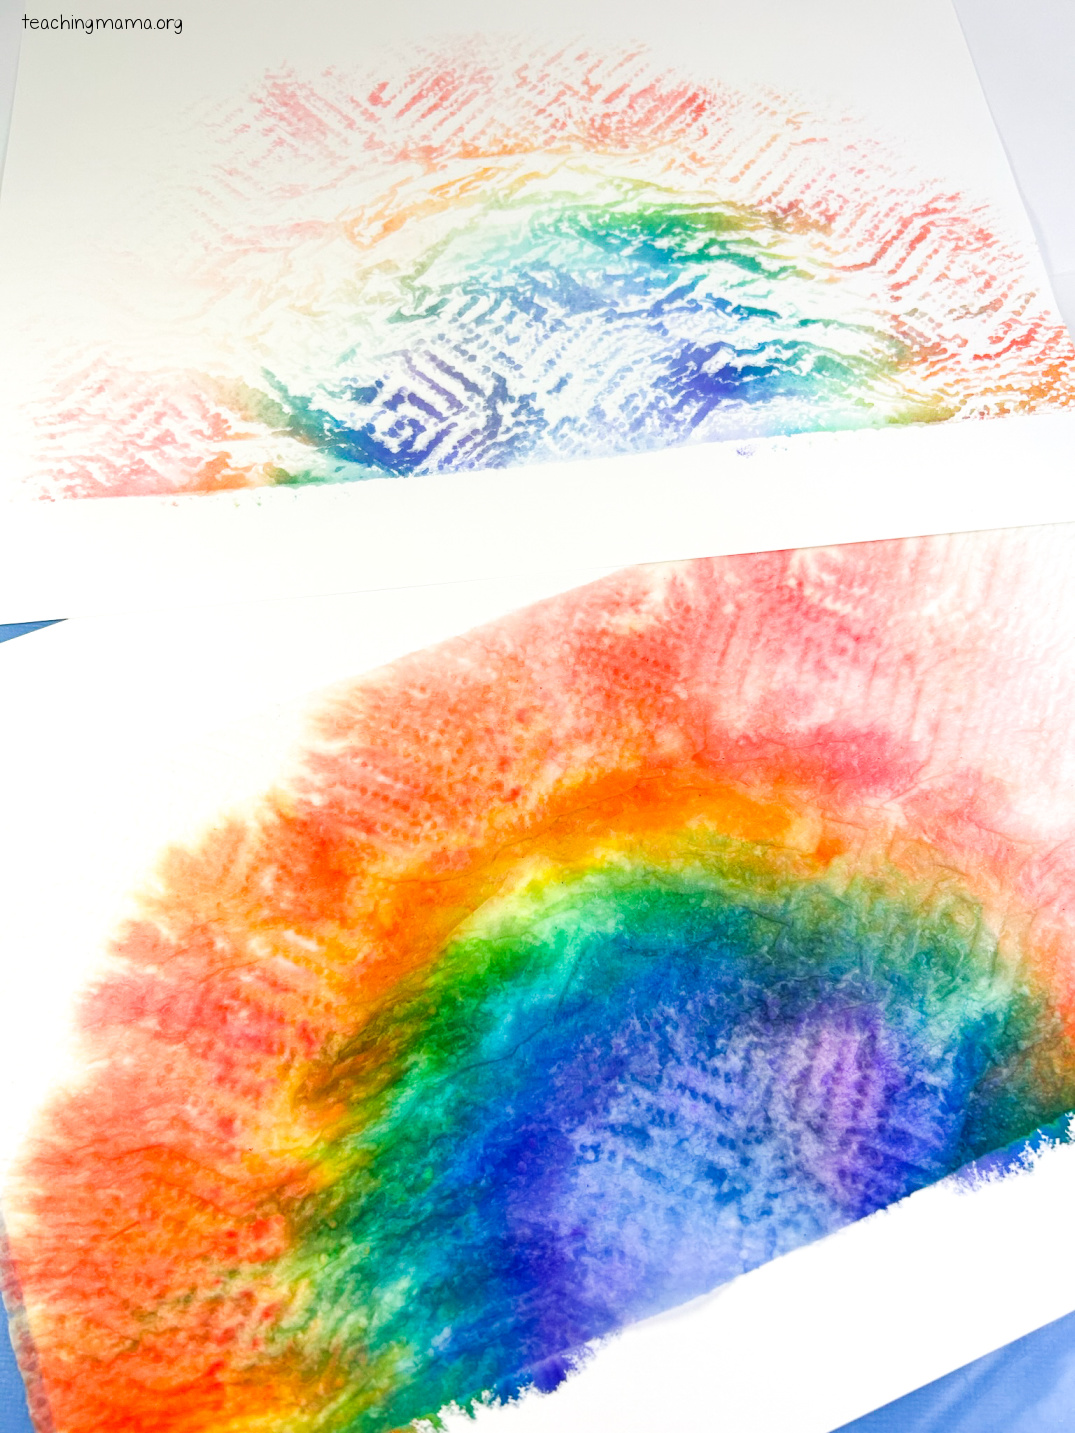
At the end of this experiment, you can have up to 3 different pieces of art work – the bottom page, the top page, and the paper towel itself!
Educational Benefits:
- Color Recognition: Helps young children learn and identify colors.
- Fine Motor Skills: Drawing and using droppers enhance hand-eye coordination.
- Creative Expression: Encourages kids to explore and create their own designs.
This activity is perfect for a rainy day, a classroom art project, or just some colorful fun at home. Plus, it’s easy to clean up since you’re using washable markers!
Pro Tip: Try using different types of paper towels to see how the texture affects your prints.
Have fun making your rainbow prints!!