Using Google Slides™ for digital resources is a great way for kids to independently practice. I love using it with my kids at home for homeschooling and I know many teachers use it with distance learning or during center time.
This tutorial will walk you through how to use Google Slides™ so you can start using them right away!
I should start by stating that these types of resources can be used on Google Classroom™. Google Classroom™ is a service provided for teachers and students to help host online teaching. You can post lessons, videos, assignments, and more! It makes it so easy to share files with students when meeting in person is not possible.
How to Use Google Classroom
If you are a teacher and you want to send digital resources to your students, you will need to start with setting up a Google Classroom™.
- Go to classroom.google.com
- Click ‘Sign In’ and put in your Google Account. For example, [email protected] or [email protected].
- At the top of the Classes page, click Add
Create class.
- Fill out the information for your class.
- There will be a code for your class. You can share this with your students so they can access your Google Classroom™.
After you’ve set up your classroom, you can start assigning work. To do this, click onCreate. Then choose what you’d like to assign.
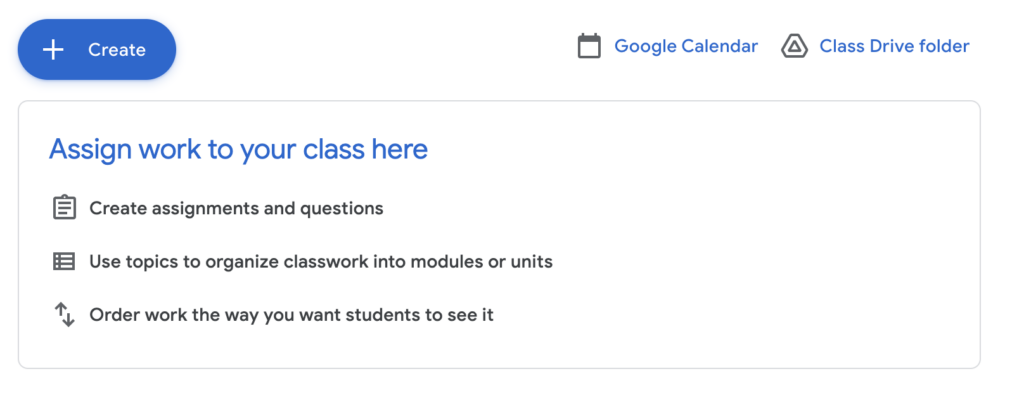
You will need to either attach a file from your computer or add an assignment from your Google Drive.
How to Use Google Slides™
You can use Google Slides™ files on a computer, tablet, or phone. If you plan on using a tablet, you do need to download the free Google Classroom™ and Google Slides™ apps. You will also need a free Google account.
- To use a Google Slides™ file, you will need a link to the file. Usually, creators give this to you in a PDF format. After you open the PDF up in Adobe Reader, you’ll just click on the link they give you.

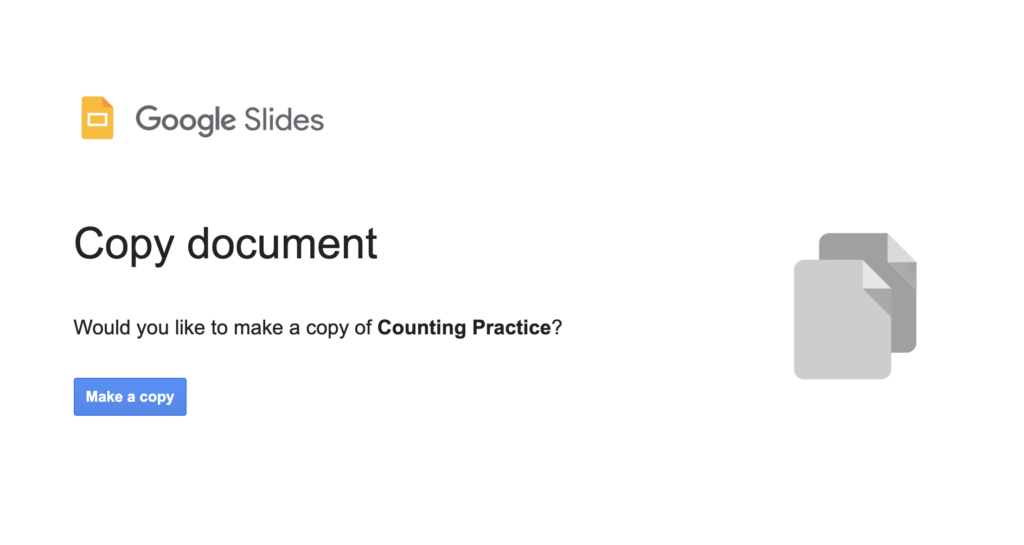
- When you click on the link on the next page, it will ask you to make a copy. You need to do this, otherwise, changes would be made to the original file.

- If you are a teacher and are using Google Classroom™, you will want to copy the Google Slides™ assignment into your Google Drive. After that, you will create an assignment and attach this Google Slides™ file.
- Make a copy for each student. They will only edit their own copy so any work they do will save to their copy, not the master copy.
- The students will log into Google Classroom™ and will find the assignment.
- After it’s open, the students just need to click and drag the pictures to complete the activities. If a student is using a tablet, make sure they TAP the picture before dragging it. If you make a mistake (such as resizing an image) you can just hit ‘undo.’
- Make sure you are not in ‘slideshow’ mode but in the ‘edit’ mode.
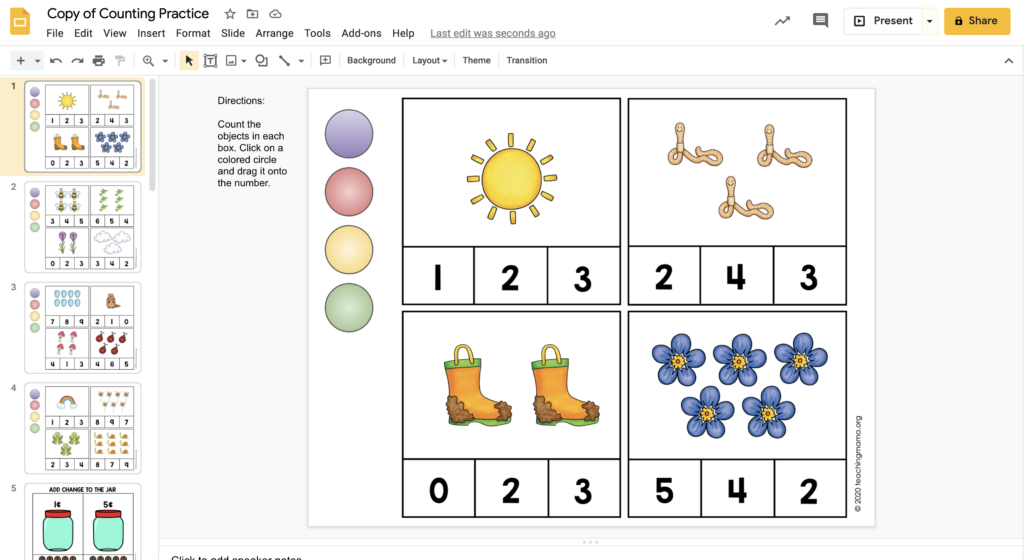
Here is a video explaining everything in detail.
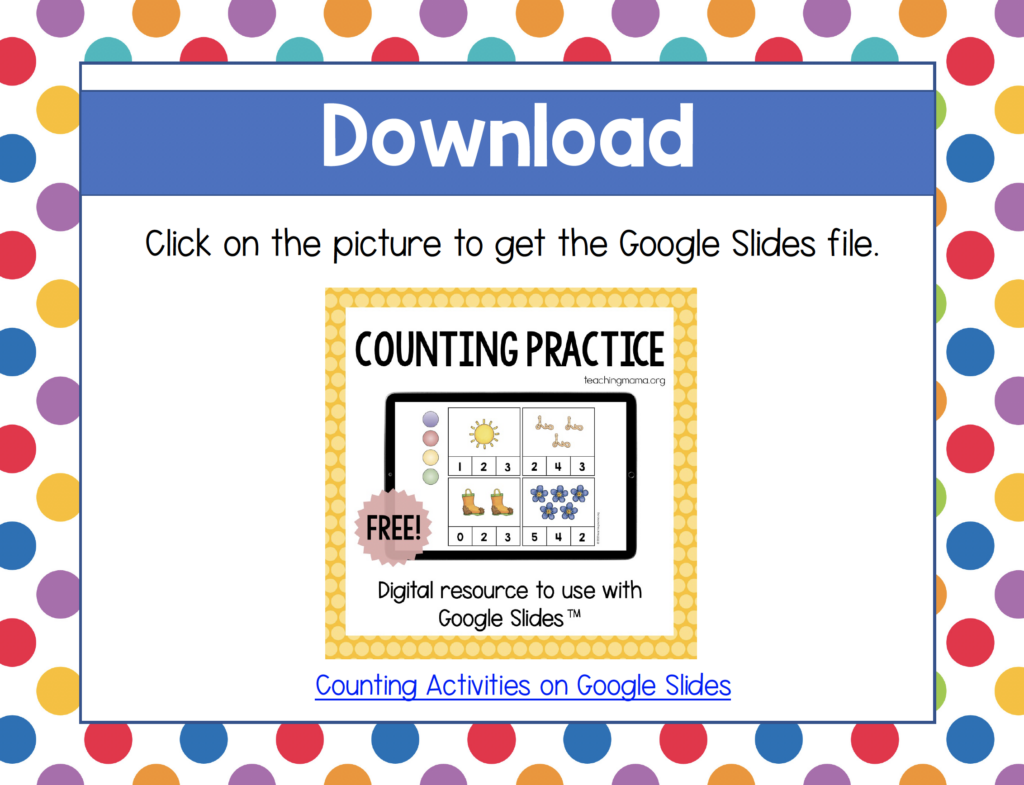
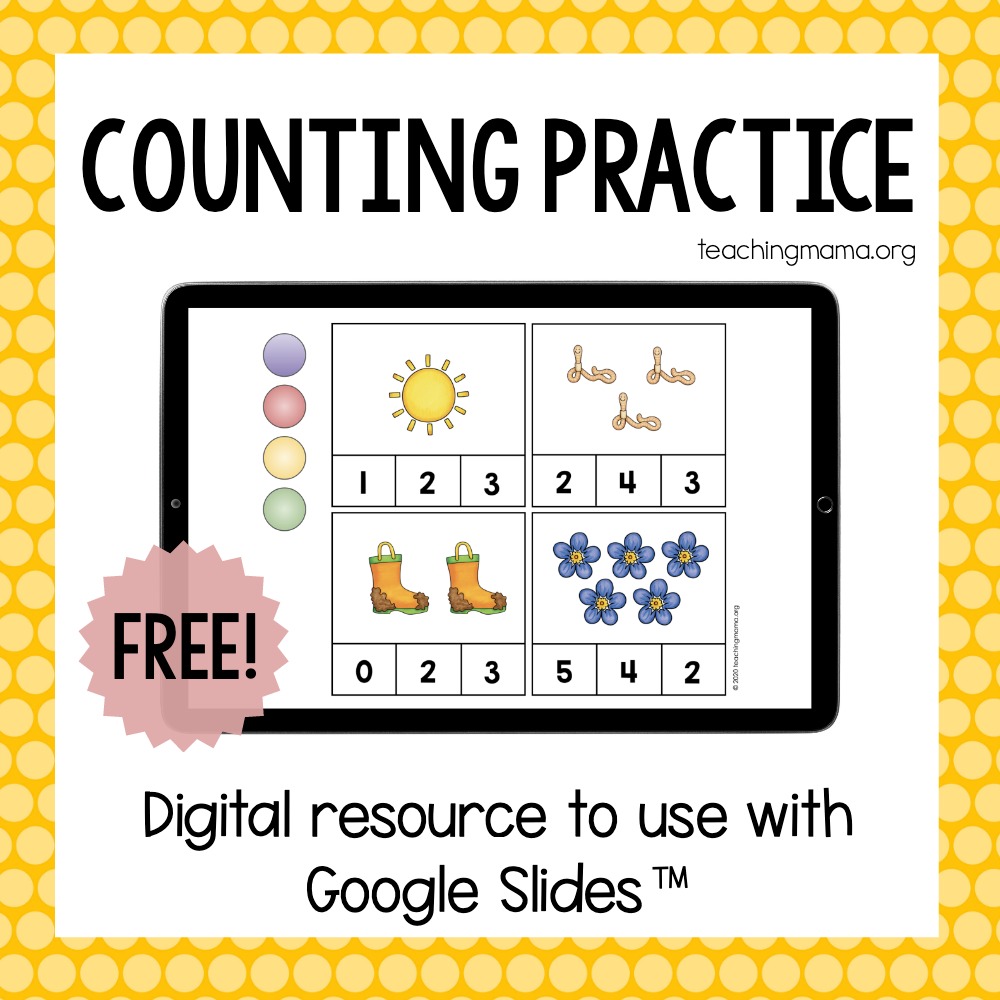
Interested in trying this out? Check out this free counting practice resource HERE.
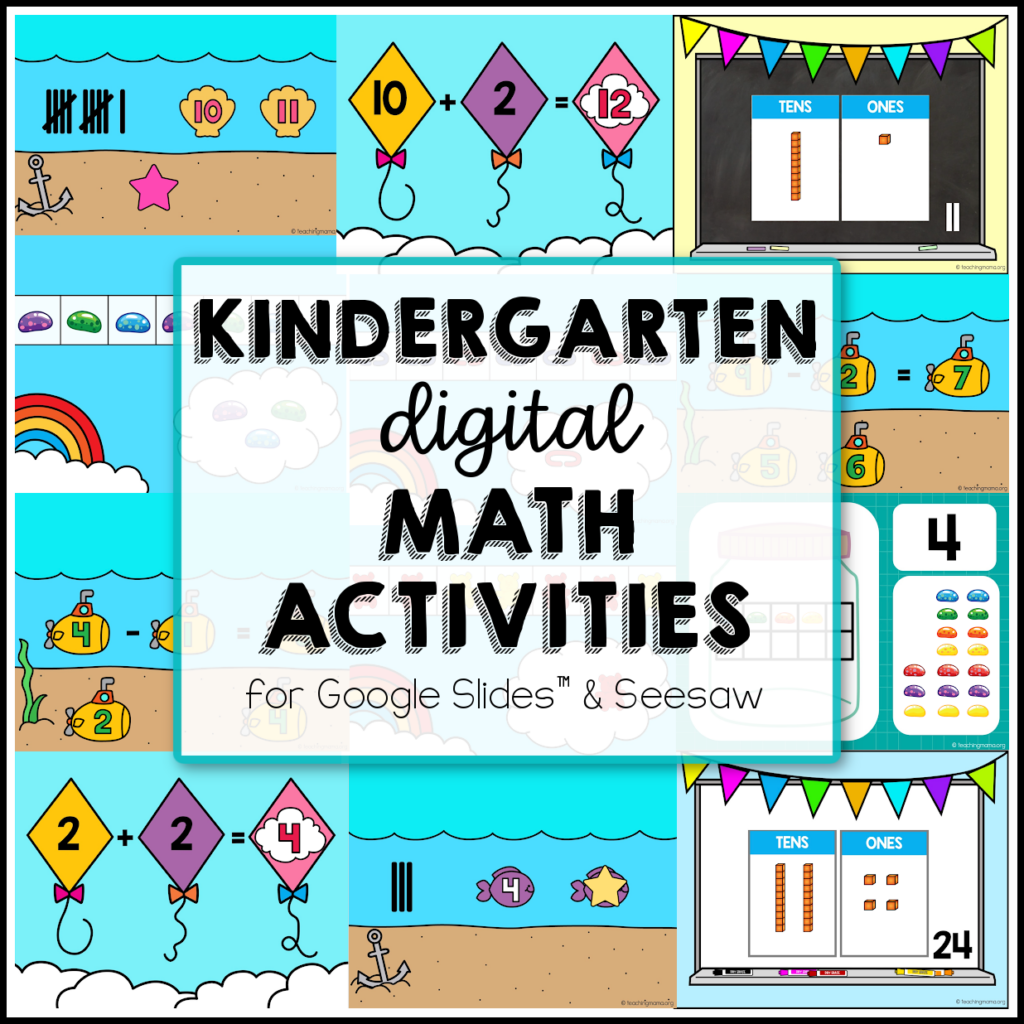
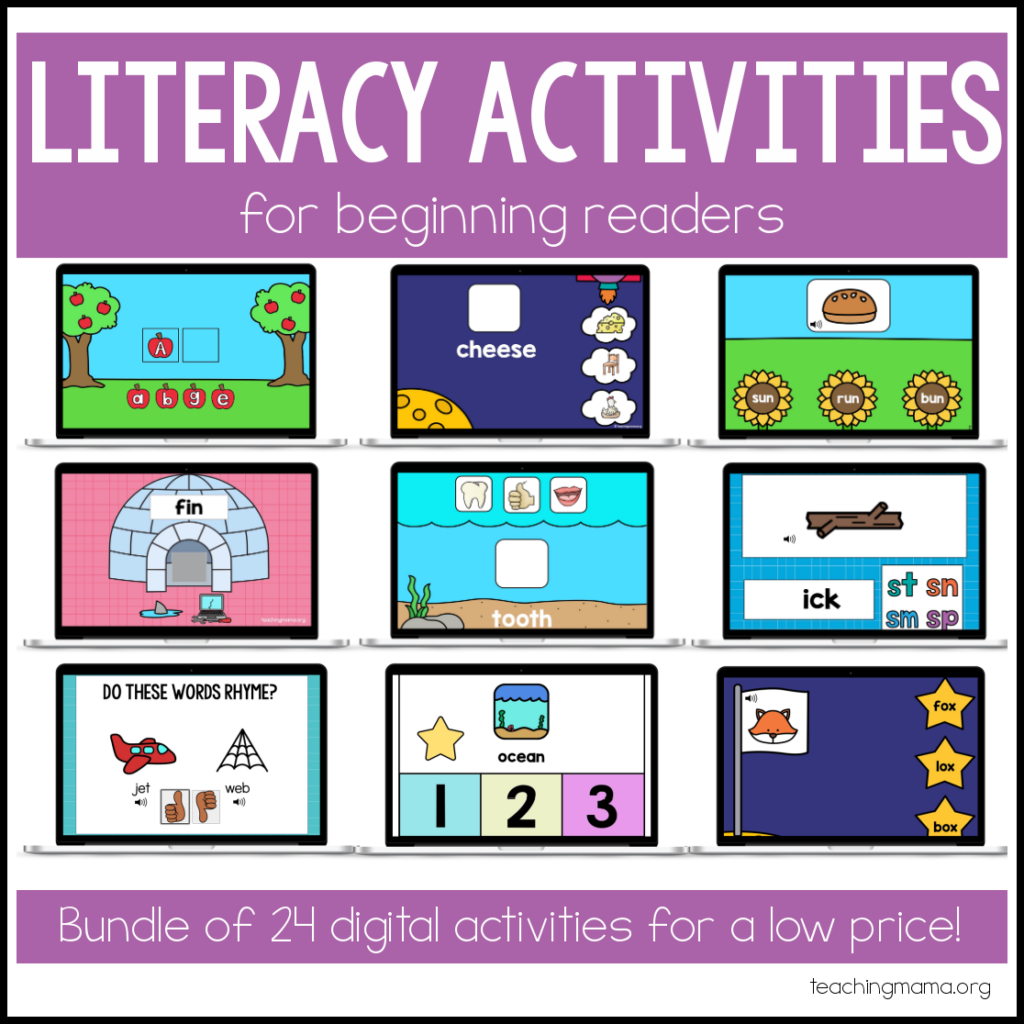
Or check out some more resources in my shop by clicking the pictures below!

